COMSPHERE 3900 Series Modems
7-6 September 1998 3910-A2-GN32-40
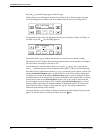
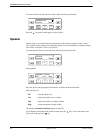
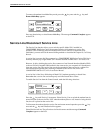
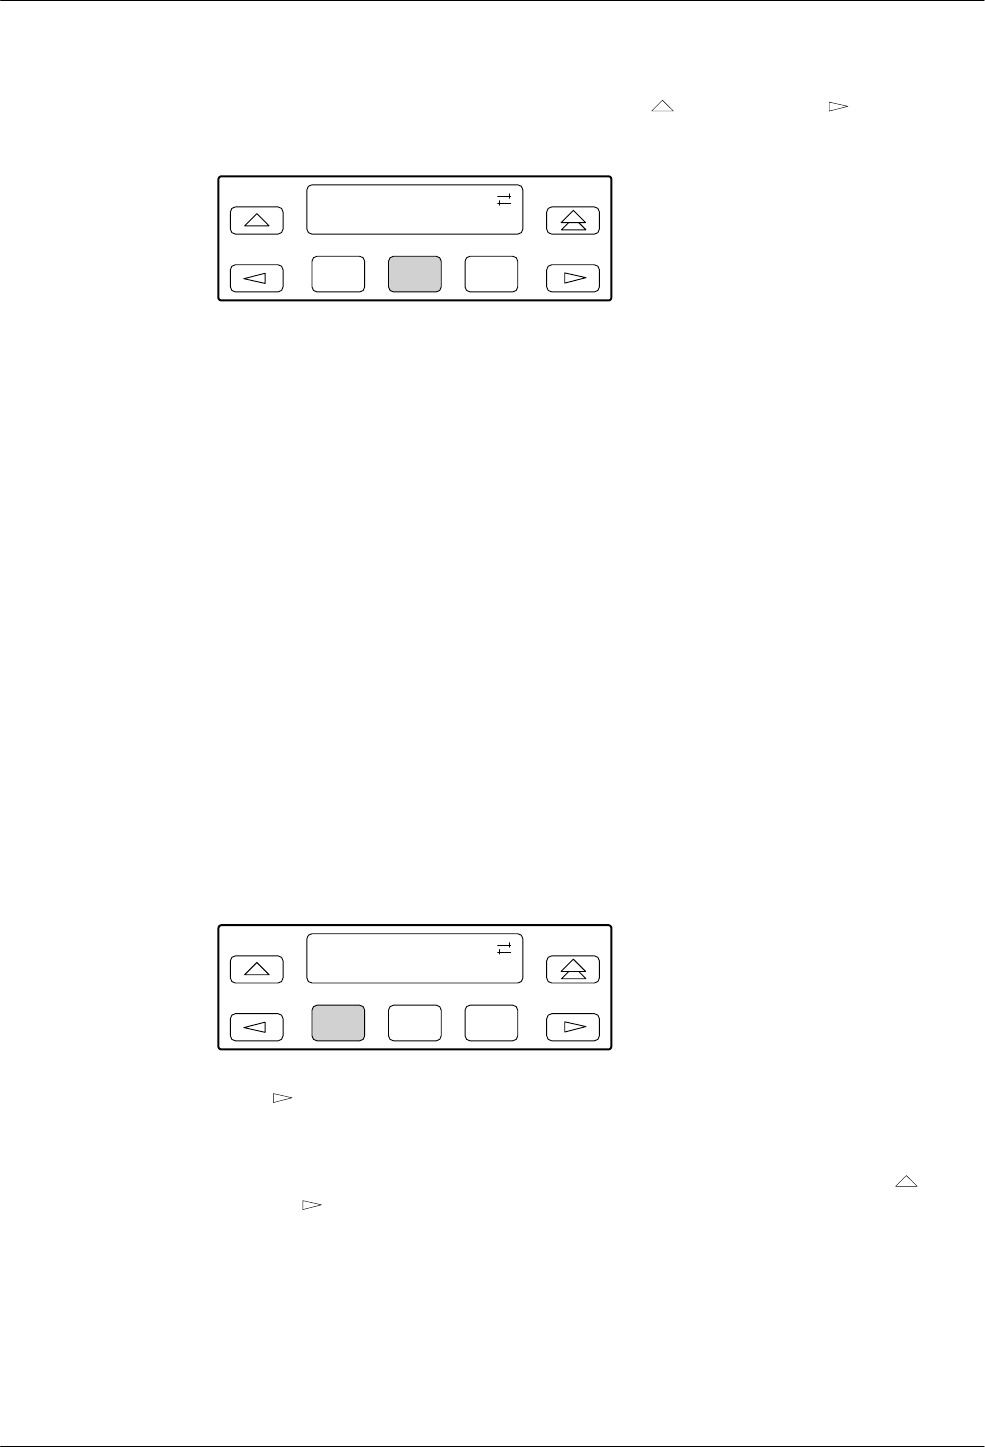
To remove the modem from Make Busy mode, press the key once and the key until
RemoveMakeBusy appears.
F1
Control:
RemoveMakeBusy
F2
F3
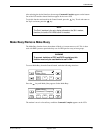
Press any function key to select RemoveMakeBusy. The message Command Complete appears
on the LCD.
Service Line/Disconnect Service Line
The Service Line function allows you to switch a specific Model 3911 installed in a
COMSPHERE 3000 Series Carrier from normal leased or dial operation to service-line
operation. This switch only places the modem on the service line. For a connection to be
established, you must still use the normal dialing methods as described in Chapter 10, Call Setup
Branch.
A service line is an extra dial line connected to a COMSPHERE 3000 Series Carrier. This line is
normally shared by up to eight Model 3911 modems installed in either Slots 1–8 or Slots 9–16.
However, by daisy chaining the service-line connector of one Network Interface Module (NIM)
to the service line of another NIM installed in the same carrier, you can permit all 16 modems to
share one service line. The service line can also be extended to other carriers in a cabinet. For
more information regarding daisy chaining of modems to the service line, refer to the
COMSPHERE 3000 Series Carrier, Installation Manual.
A service line is ideal for a dial backup of Model 3911 modems operating on leased lines.
Remember that a service line can back up only one failed leased line at a time.
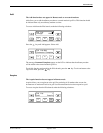
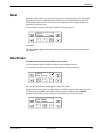
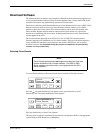
To enable Service Line from the Control branch, make the following selections:
F1
Control:
Service_Line
F2
F3
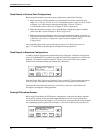
Press the key until Service_Line appears. Select Service_Line to switch the modem from its
normal dial line to the service line. Now, when the modem places a call, instead of using the dial
line, the call is placed on the service line.
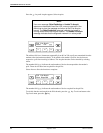
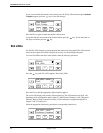
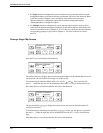
To disconnect the modem from the service line and resume normal operation, press the
key
once and the
key until DiscServiceLine appears.
Select DiscServiceLine. The call and service line disconnect and the message Command
Complete appears on the LCD.


