Configuring APs in an Infrastructure Network
5-6
Using the RoamAbout R2 Console Port
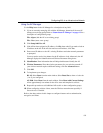
To use the console port, follow the instructions in “Connecting a Device to the Console
Port” in Appendix B. Use Help in the console screens for a description of any field.
1. Choose Network Configuration from the Main Menu and enter the following
parameters:
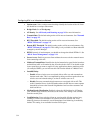
IP address: Enter the IP address you wish to assign to the AP.
Subnet mask: Enter the subnet mask you wish to assign to the AP.
Default gateway: Enter the IP address of the default gateway.
Spanning Tree: Set to Disable.
IP Address Mode: Set to Manual when configuring an AP for the first time. For more
information, see “Modifying the IP Address” on page 5-19.
Ethernet Speed: This sets the speed of the wired Ethernet connection. The default
setting, autonegotiate, works well in most environments.
GVRP: Set to Disabled unless you are configuring the AP to support VLANs, as
described in “Configuring for VLANs” on page 5-40.
CDP: This setting is Disabled by default in Workgroup mode. To change this setting,
refer to “Setting the Cabletron Discovery Protocol” on page 5-21.
2. Choose Save.
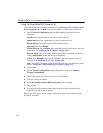
3. Choose Wireless Configuration from the Main Menu, then choose Set/Show
Wireless Configuration.
4. At the top of screen, select the radio slot (1 or 2) to configure.
5. Enter the wireless parameters.
6. Set the Reset Option to Reset Radio if necessary (default setting).
7. Choose Save.
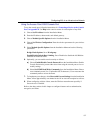
8. To configure the RoamAbout clients, write down the Wireless Network Name,
especially if Secure Access is enabled.
Refer to the other sections in this chapter to configure features such as authentication,
encryption, and filters.


