


EPSON LQ-2080
12 -
EPSON LQ-2080
2/99
You load labels the same way you load ordinary continuous
paper, except you must set the paper thickness lever to 2
before printing.
Caution:
Do not load continuous paper with labels in the rear
paper slot because the paper path from the rear slot is
curved; labels may come off their backing sheet inside
the printer and cause a paper jam.
Never use the tear-off feature (by pressing the
Tear
Off/Bin
button or turning on the auto tear-off mode) to
feed continuous paper with labels backward; they may
come off their backing sheet and jam the printer.
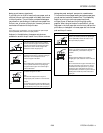
Because labels are sensitive to temperature and
humidity, use them only under normal operating
conditions, as follows:
Temperature 59 to 77 °F (15 to 25 °C)
Humidity 30 to 60%RH
Do not load continuous paper with labels that is
damaged, curled, or wrinkled.
Do not leave labels loaded in the printer between jobs;
they may curl around the platen and jam when you
resume printing.
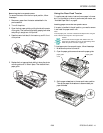
Removing continuous paper with labels
To avoid peeling labels off the backing sheet and jamming the
printer, follow the steps below when you remove continuous
paper with labels from the printer.
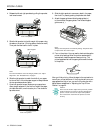
1. After you finish printing, tear off the fresh supply of
continuous labels at the perforation nearest the paper
entry slot.
2. Hold down the
LF/FF
button to eject the remaining labels
from the printer.
Caution:
Never press the
Load/Eject
or
Tear Off/Bin
button.
When fed backward, labels can easily come off the
backing sheet and cause a paper jam.
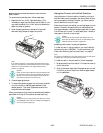
Using the Front Push Tractor (optional)
To use the front push tractor, you need to purchase the
optional tractor unit (C80032*), and install it in the front
push position. For more information on when to use the front
push tractor, see “Available Paper Paths” on page 8.
Note:
The tractor is installed in the rear push position only when the printer
is shipped. For the front push tractor, purchase the optional tractor
unit (C80032*).
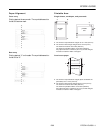
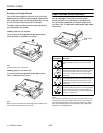
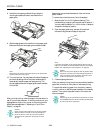
Installing the tractor in the front push position
If a tractor is installed in the front push position, skip to the
next section, “Loading paper onto the front push tractor.”
If a tractor is installed in the pull position, you need to remove
it and install the paper tension unit. To install the tractor in
the front push position, follow these steps:
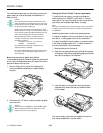
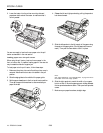
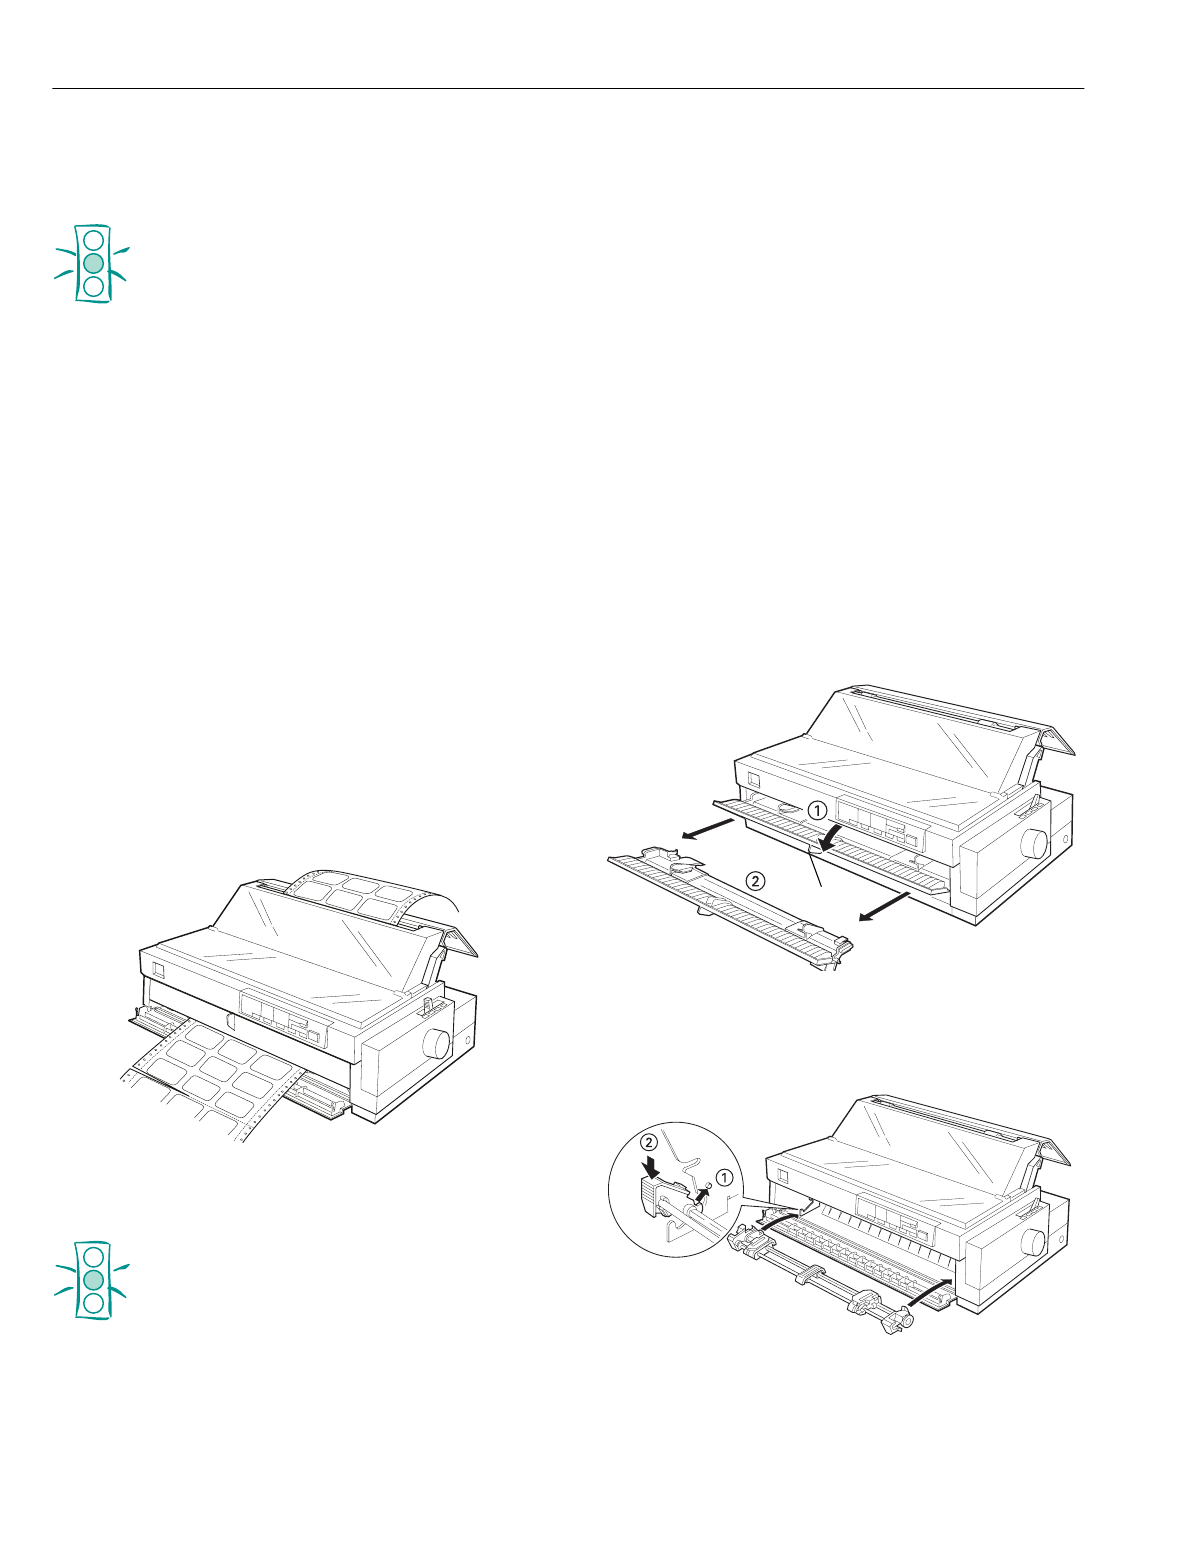
1. Make sure the printer is turned off.
2. Open the front paper guide by pulling the tab at the center
of the guide. Then remove the guide by grasping both sides
and pulling it straight out of the printer.
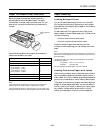
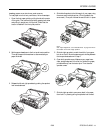
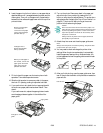
3. Insert the tractor into the printer’s mounting slots and
press down both ends of the tractor to make sure that it
is firmly seated.
You are now ready to load continuous paper onto the front
push tractor as described in the next section.
tab