


EPSON LQ-2080
2/99 EPSON LQ-2080
- 13
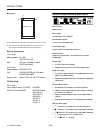
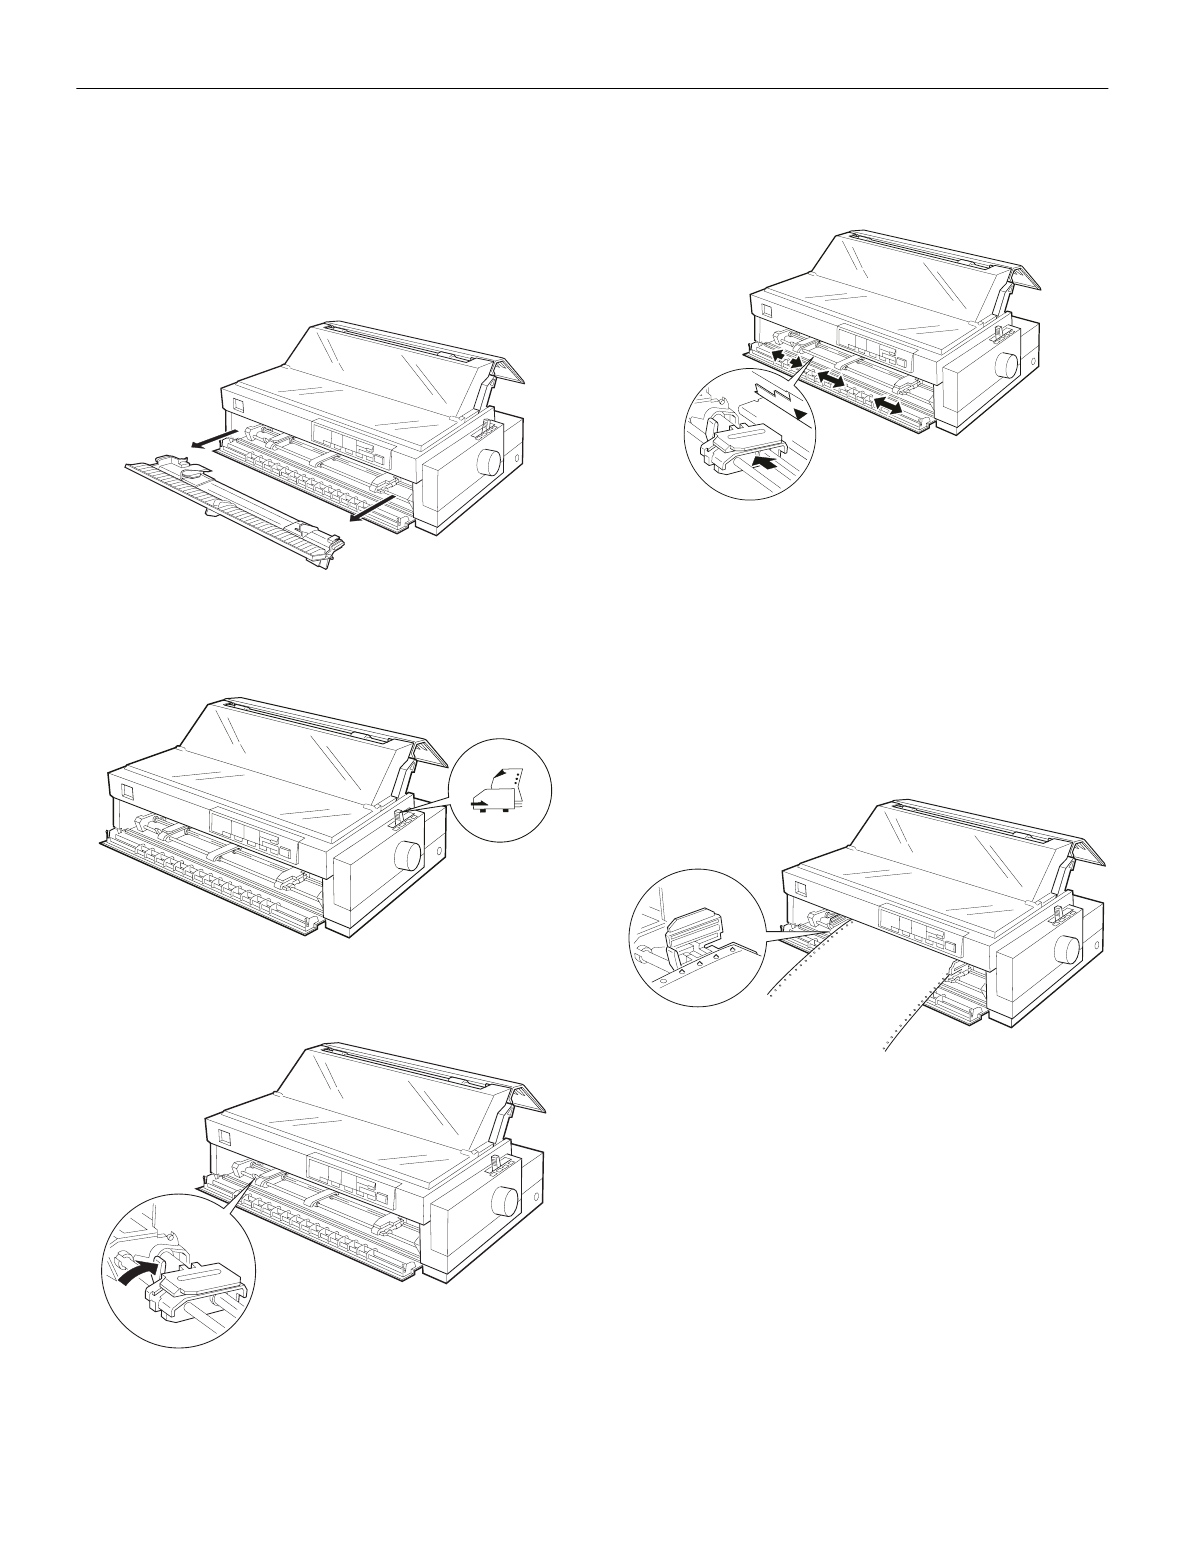
Loading paper onto the front push tractor
To load paper onto the front push tractor, follow these steps:
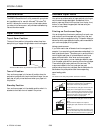
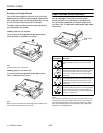
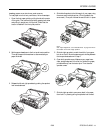
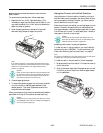
1. Open the front paper guide by pulling the tab at the center
of the guide. Then remove the guide by grasping both sides
and pulling it straight out of the printer. Check that the
tractor is installed in the front push position.
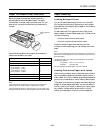
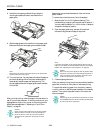
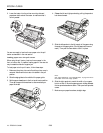
2. Set the paper release lever to the front push tractor position.
Then set the paper thickness lever to accommodate your
paper thickness.
3. Release the left and right sprockets by pushing the sprocket
lock levers backward.
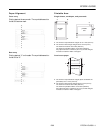
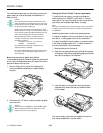
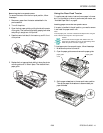
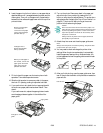
4. Slide the left sprocket to the left margin of your paper using
the arrow mark inside the printer. (Printing starts at the
arrow mark.) Then pull the lever forward to lock it in place.
Note:
See “Paper Alignment” and “Printable Area” on page 5 for more
information on the left margin position.
5. Slide the right sprocket to match the width of your paper,
but do not lock it. Move the paper support midway between
the two sprockets as shown in step 4.
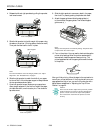
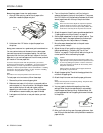
6. Open both sprocket covers. Make sure your paper has a
clean, straight edge and fit the first four holes of the paper,
printable side up, over the tractor pins. Then close the
sprocket covers.
7. Slide the right sprocket to remove any slack in the paper;
then lock it in place by pulling the sprocket lock forward.