


EPSON Stylus PHOTO 810/820/830 Revision B
Disassembly and Assembly Disassembly 116
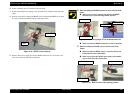
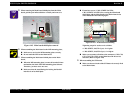
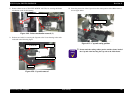
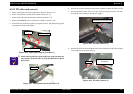
8. Remove three screws (C.B.P-TITE SCREW 3x8 F/Zn) for securing the Printer
mechanism to the Lower housing.
Figure 4-49. Printer mechanism removal (1)
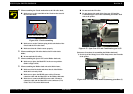
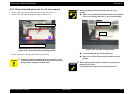
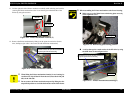
9. Release two hooks for securing the Cap unit to the Lower housing in the order
indicated in the following figure.
Figure 4-50. Cap unit removal
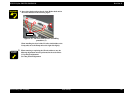
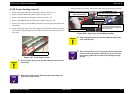
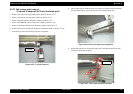
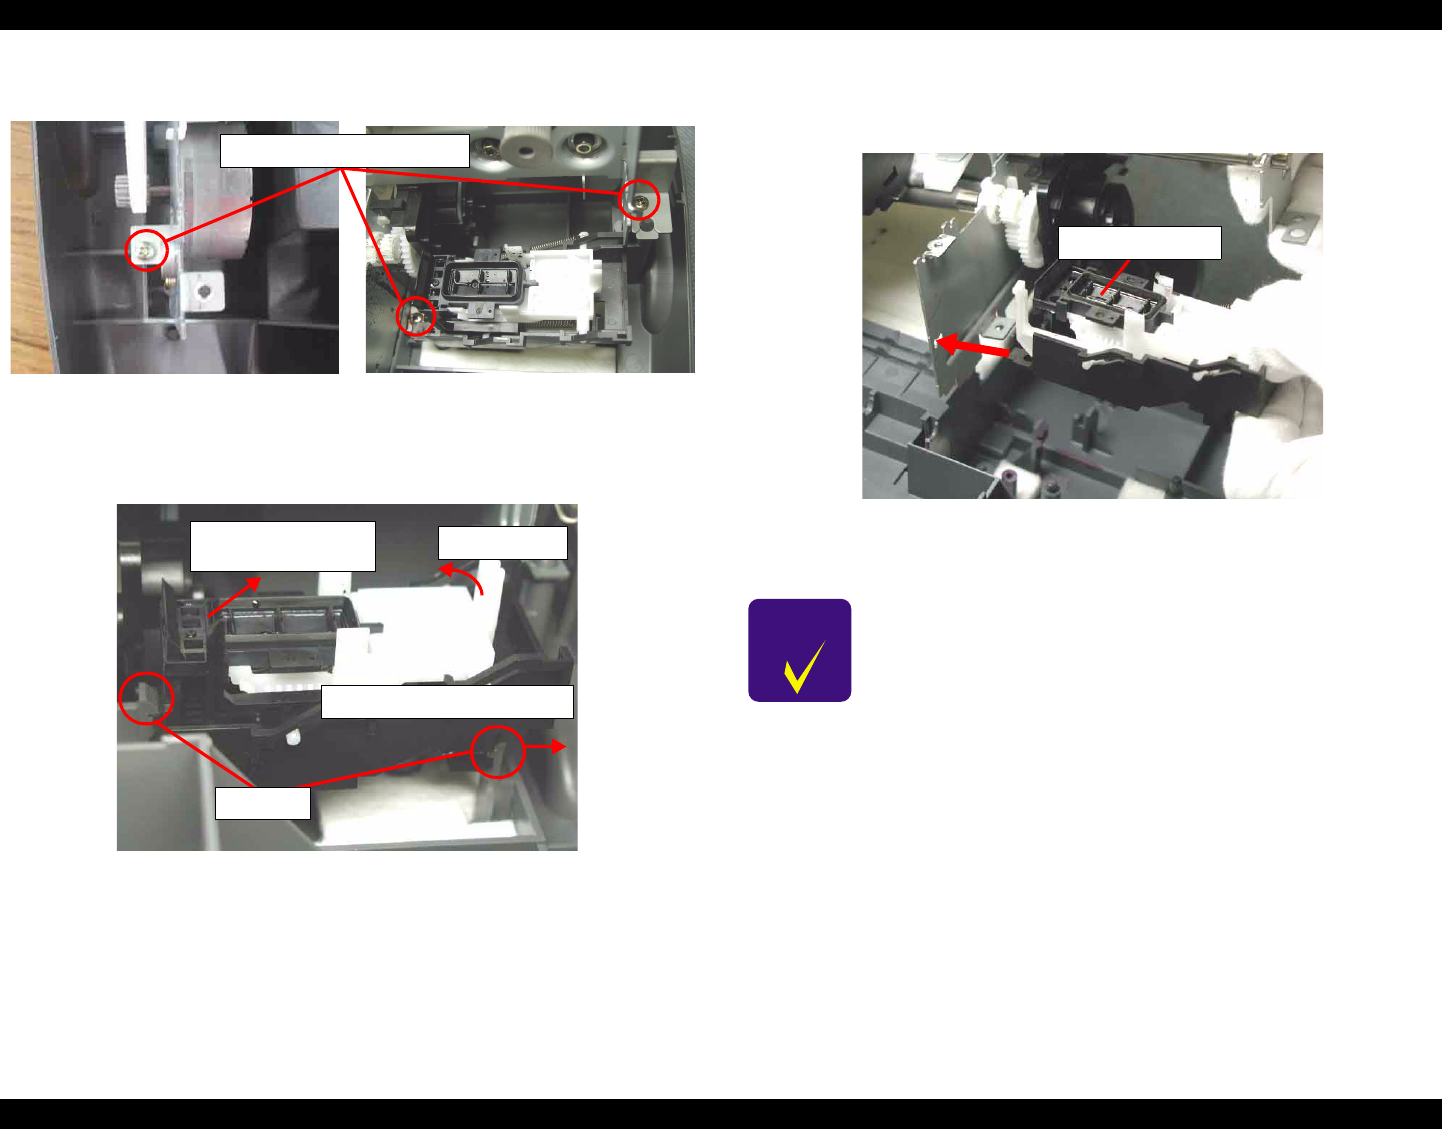
10. Insert the protrusion of the Cap unit into the cutout portion of the Main frame as
shown figure below.
Figure 4-51. Cap unit setting position
C.B.P-TITE SCREW, 3x10, F/Zn
Step1) Remove hook to the right
Step2)
Lift up
Step3) Pull the Cap unit
to the left side
Hooks
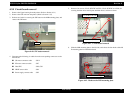
CHECK
POINT
Do not touch the sealing rubber portion and the cleaner head of
the Cap unit when inserting the Cap unit to the Main frame.
Cap unit