


1. Click the printer icon in the Dock.
2. If you see a message telling you that you can temporarily print with only black ink, click the Delete
icon to cancel your print job.
Note: If the message screen appears on another computer on a network, you may need to cancel
the print job using the product control panel.
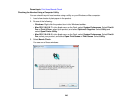
3. Do one of the following:
• Mac OS X 10.6/10.7: In the Apple menu or the Dock, select System Preferences. Select Print &
Fax or Print & Scan, select your product, and select Options & Supplies. Select Utility and
select Open Printer Utility.
• Mac OS X 10.5: In the Apple menu or the Dock, select System Preferences. Select Print & Fax,
select your product, and select Open Print Queue. Select Utility.
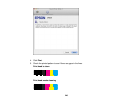
4. Select Monitoring Preferences.
5. Make sure the Permit temporary black printing checkbox is selected.
6. Close the utility window.
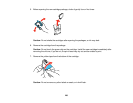
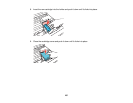
7. Load plain paper or an envelope in your product.
8. Access the print settings in your print application.
9. Select Print Settings from the pop-up menu.
10. Select Plain Paper/Bright White Paper or Envelope as the paper type setting.
11. Select the Grayscale option.
12. Click Print to print your document.
Parent topic: Printing With Black Ink and Expended Color Cartridges
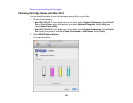
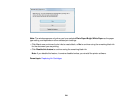
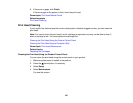
Conserving Low Black Ink with Windows
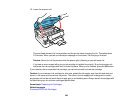
The following window appears when black ink runs low and there is more color ink.
240