Using the Projector
29
Adjusting Your Image
Once you see your image, you’ll need to make certain adjustments:
■
To focus your image, see below.
■
To resize or zoom into your image, see below.
■
To raise or lower the image, see page 30.
■
If the image isn’t square, see page 31.
■
If the projected image is flickering or “noisy,” see page 32.
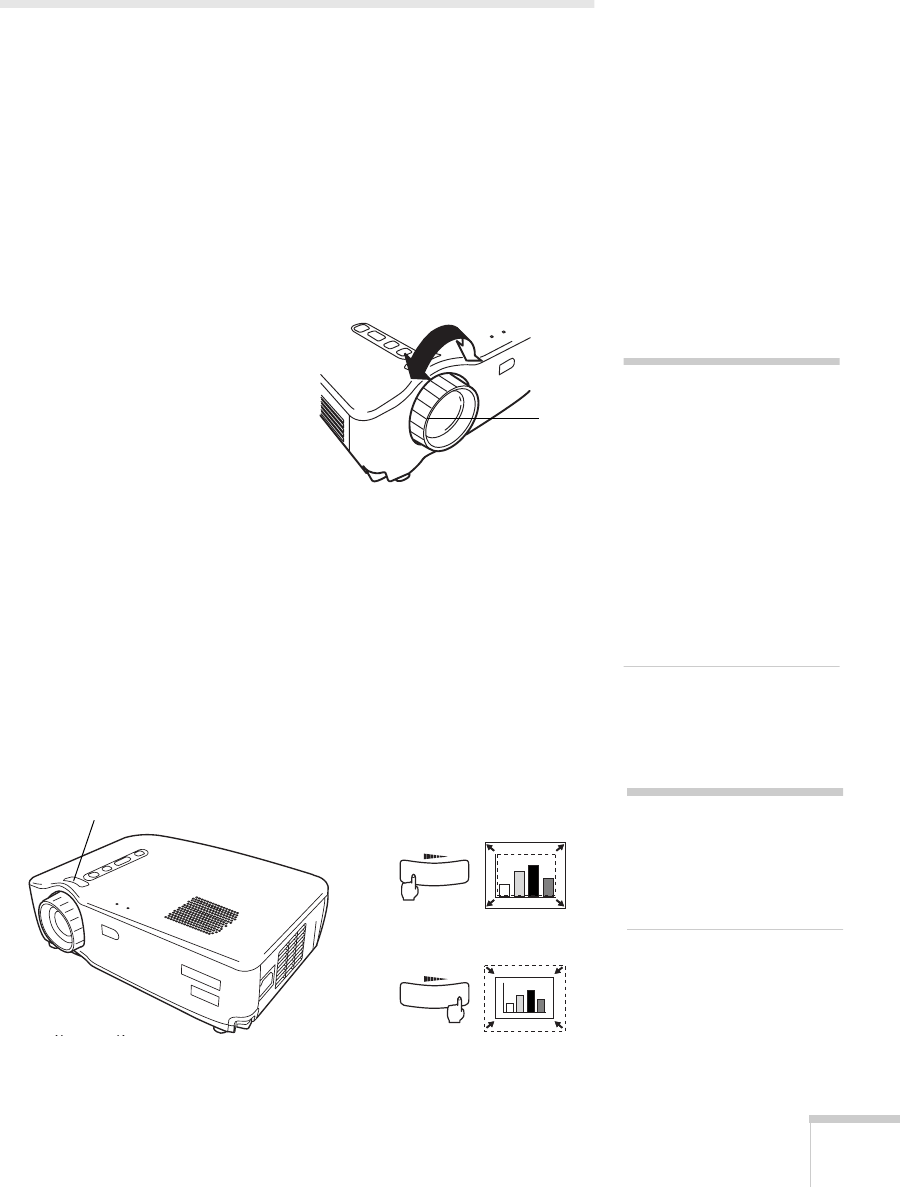
Focusing Your Image
Rotate the focus ring to sharpen
the image.
Adjusting the Image
Size
You can adjust your image size using the
Wide/Tele
button on the
projector or zoom into a portion of the image using the
E-Zoom
button on the remote control.
Using the Wide/Tele Button
To enlarge or reduce your image size in small increments, use the
Wide/Tele
button on the projector. Press the
T
side of the button to
reduce the image size, or the
W
side of the
Wide/Tele
button to
enlarge the image to full size.
focus
ring
note
If the image from your
computer is still out of focus,
you can increase the clarity by
pressing the
Auto
button on
the remote control. This
optimizes the projector’s
tracking, sync, and position
settings. (You can also adjust
these settings using the
projector menus; see
Chapter 3.)
note
You can always move the
projector closer to or farther
from the screen to adjust the
image size.
Wide/Tele button
W
W
T
T
Enlarge
Reduce
