


Installation 1-11
TM-U230 Developer’s Guide
Confidential
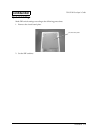
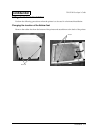
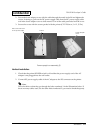
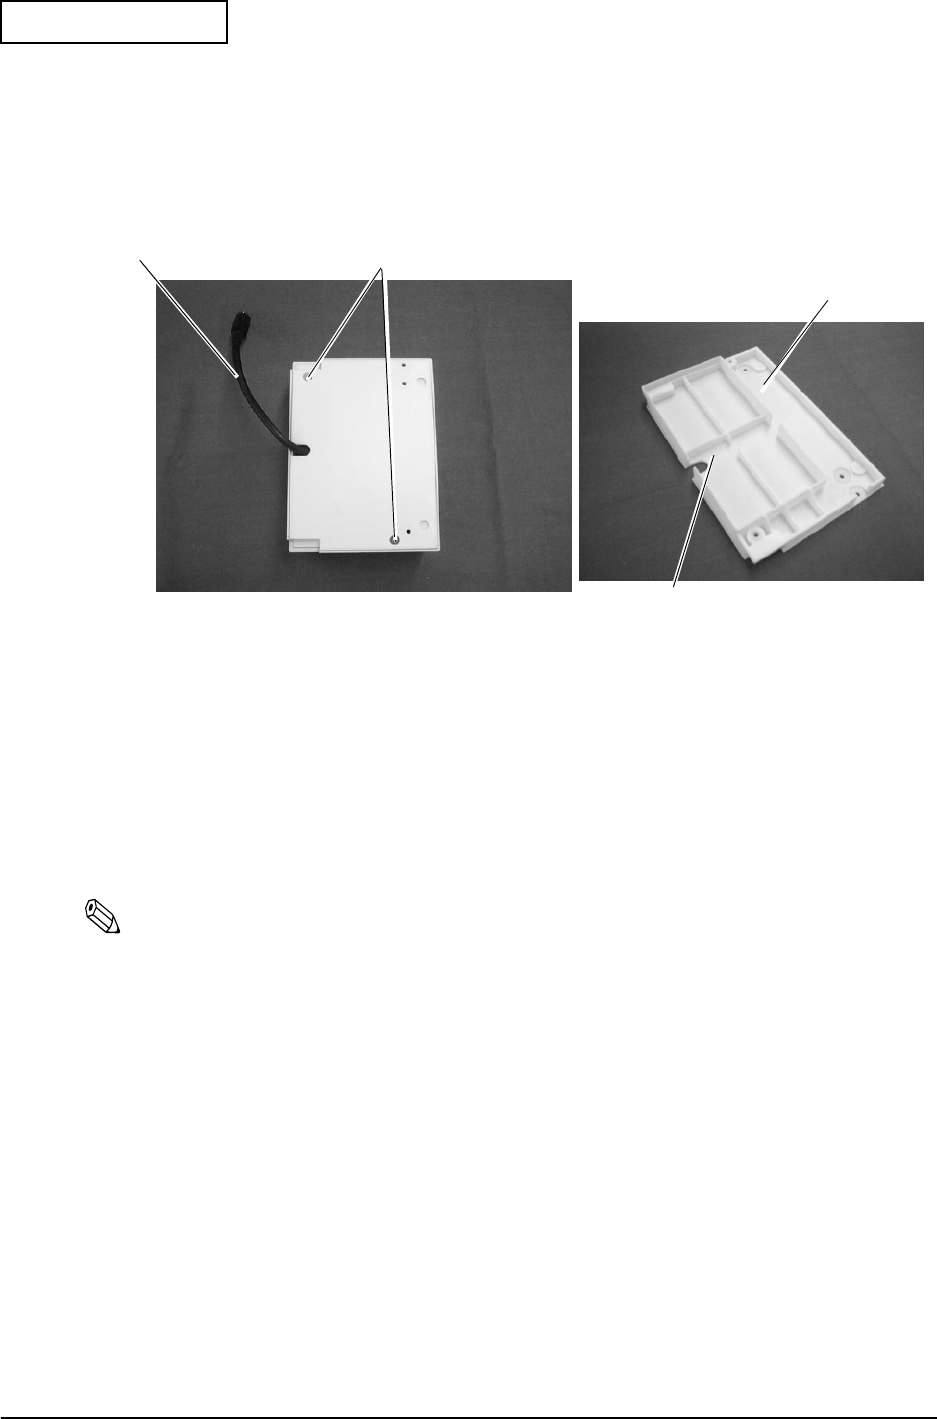
2. Put on the lower adapter cover with the cable through the notch in the lid and tighten the
screws. In doing so, pull out the DC power supply cable from the DC power supply cable
exit in the lower adapter cover so that around 15 cm of the cable protrudes from the cover.
3. Secure the covers with the screws packed with the printer (C.P.T-B Screw, 3 × 12, F/Zn).
Power supply box assembly (2)
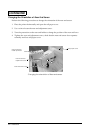
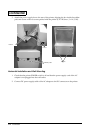
Vertical Installation
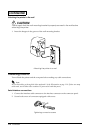
1. Check that the printer POWER switch is off and that the power supply cord of the AC
adapter is not plugged into the wall outlet.
2. Connect DC power supply cable of the AC adapter to the DC connector on the printer.
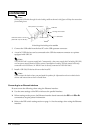
Note:
Place the cables so that they go through the holes numbered 1 in the illlustration below. If
there are many cables used, use the other holes numbered 2 (you need to break that parts).
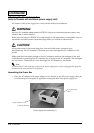
Lower adapter
cover
Pull out around 15 cm
of the power cable
notch
Screws