How To Scan 27
Customizing Your Scan
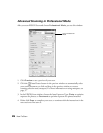
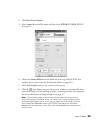
Follow these steps to use advanced settings:
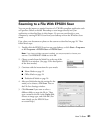
1. Choose a color depth setting from the Image Type menu:
■ 24-bit Color for the highest quality color scans
■ Color Smoothing for color documents without photographs
■ 8-bit Grayscale for the highest quality scans of black-and-white photos or
images
■ Halftone if you want to select special halftone patterns
■ Black&White for text or line art
2. Click to see more options, then choose Best or Draft for the Scanning Quality
setting.
3. Choose a resolution setting (50 to 9600 dpi).
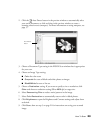
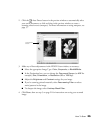
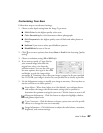
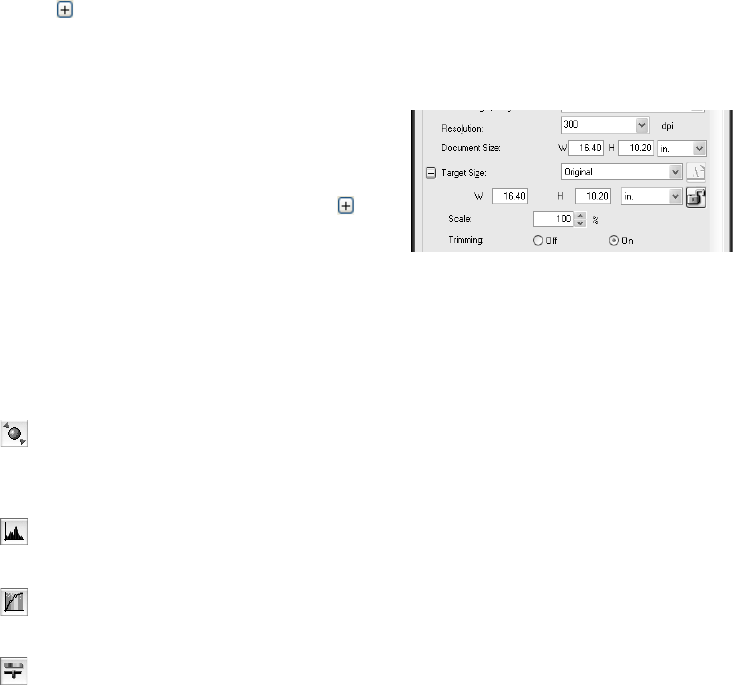
4. If you want to specify a Target Size for
your scanned image other than the
original size, select a size from the
pull-down menu. You can also click to
see more options, then type in the width
and height, or scale the image with a
percentage. If Trimming is set to On, your image is cropped to fit your specified
size. If it is Off, your image is sized to fit your specified size as closely as possible.
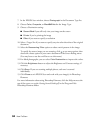
5. Use the Adjustment settings to modify your image as necessary. (You may have to
use the scroll bar to see these options.)
Auto Adjust – When Auto Adjust is on (the default), your software detects
and analyzes the image with the document settings you’ve specified to
determine the optimum settings for your scan. Click the button to turn it off.
Histogram Adjustment – Click this button to adjust the highlight, shadow,
and gamma input levels.
Tone Correction – Click this button to choose a preset tone curve for specific
effects or to change the tone curve manually.
Image Adjustment – Click this button to adjust the color balance, saturation,
brightness, and contrast settings.


