Using Optional Equipment 43
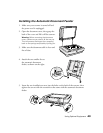
Installing the Automatic Document Feeder
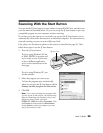
1. Make sure your scanner is turned off and
the power cord is unplugged.
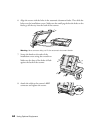
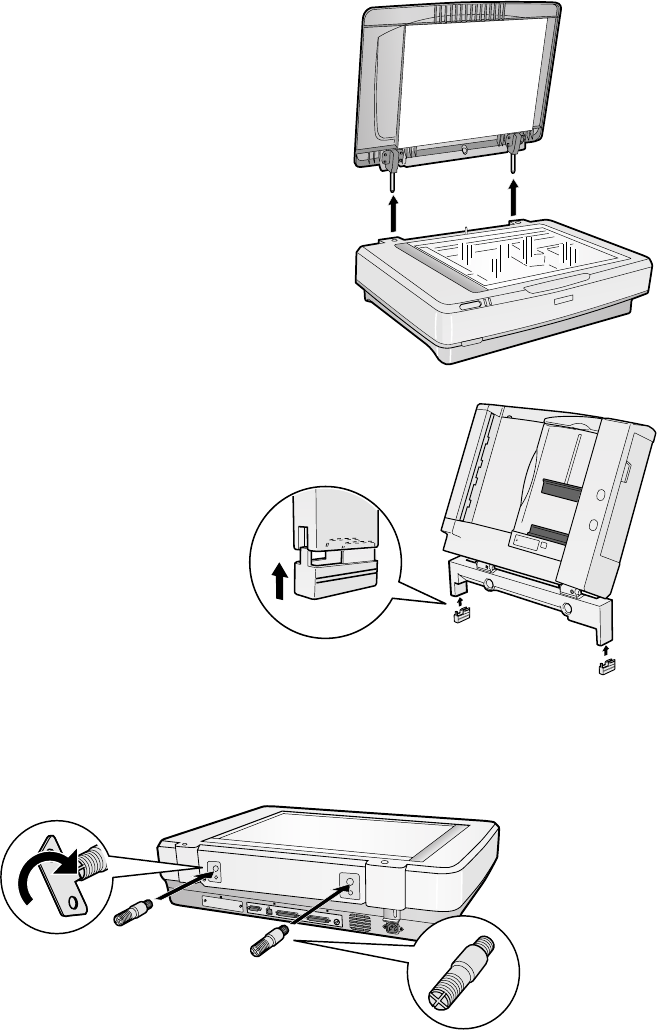
2. Open the document cover, then grasp the
back of the cover and lift it off the scanner.
Warning: Before removing the document
cover, make sure you raise it all the way up.
This will prevent the hinges from snapping
back on the springs and possibly injuring you.
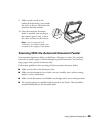
3. Make sure the document table is clean and
free of dust.
4. Attach the two smaller feet to
the automatic document
feeder, as shown on the right:
5. Insert the two installation screws into the holes on the back of the scanner, then
tighten the screws with the screwdriver that came with the automatic document
feeder.


