Setting Up the Projector 17
Also keep these considerations in mind:
■ Place the projector on a sturdy, level surface.
■ Make sure there is plenty of space for ventilation around and
under the projector. Do not set the projector on top of loose
papers that could block the vents under the projector.
■ Make sure the projector is within 6 feet (2 m) of a grounded
electrical outlet or extension cord.
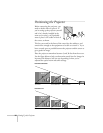
Try to place the projector directly in front of the center of the screen,
facing it toward the screen squarely. If the projector isn’t positioned
this way, the image will be “keystone” shaped, instead of square or
rectangular.
If you place the projector below the level of the screen, you’ll have to
tilt it up by extending the front adjustable foot, as described on
page 39. This also causes the image to lose its rectangular shape. You
can adjust the shape using the buttons on the projector (see page 39),
or using the projector’s menu system (see page 61).
On the PowerLite 77c, the Auto Keystone feature corrects the
distortion automatically. See page 62 for more information about
Auto Keystone correction. If necessary, you can adjust the image
shape manually as described on page 39.
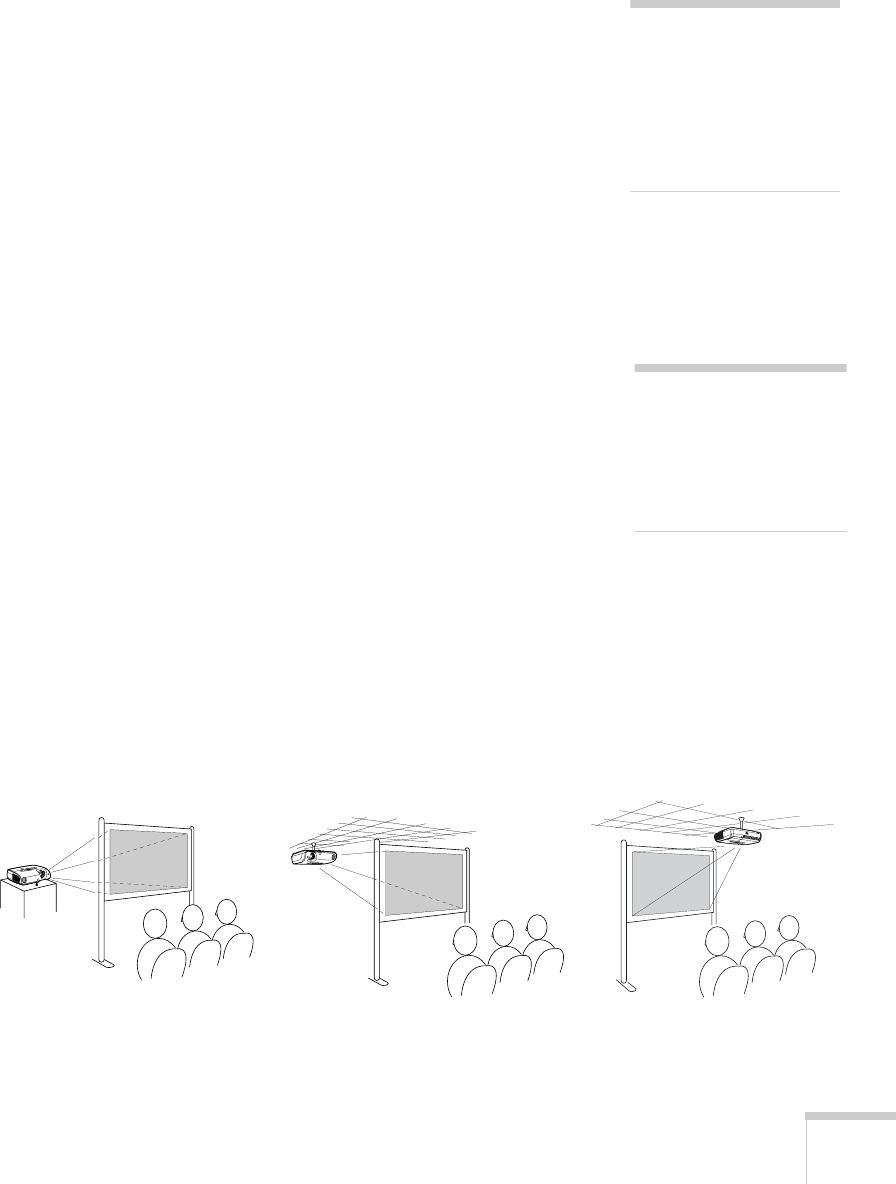
Other Installations
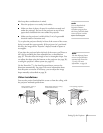
You can also project from behind the screen or from the ceiling, with
the projector mounted upside-down:
note
You can download the
Projection Distance
Calculator program from
the Drivers and Downloads
section of Epson’s website:
epson.com/support
note
The Auto Keystone feature
corrects vertical distortion
automatically (PowerLite
77c only). For more
information, see page 39.
Front/ceiling projectionRear projection (using a
translucent screen)
Rear/ceiling projection (using
a translucent screen)


