


1-31
Setting Up the Printer | 31
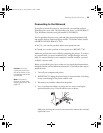
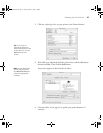
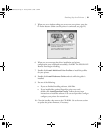
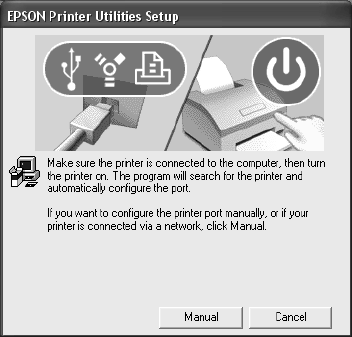
5. When you see a window asking you to turn on your printer, press the
P Power button. (Make sure the printer is connected; see page 22.)
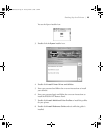
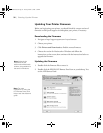
6. When you see a message that driver installation and printer
configuration were completed successfully, click
OK. The EPSON LFP
Remote Panel begins installing.
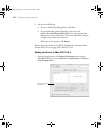
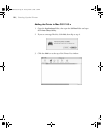
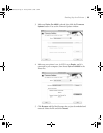
7. Double-click
Install Additional Color Profiles to install the profiles
for your printer.
8. Double-click
Install Reference Guide and wait while the guide is
installed.
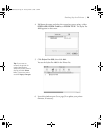
9. Do one of the following:
• If you are finished installing software, click Exit.
•
If you installed the optional EpsonNet print server card,
double-click
InstallEpsonNet Config. Follow the on-screen
instructions to install the software. You can use EpsonNet Config to
configure your printer for network use.
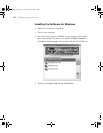
10. Close the installer, then remove the CD-ROM. Go to the next section
to update the printer firmware, if necessary.
sp4800Guide.book Page 31 Tuesday, March 7, 2006 3:49 PM