Printing From Start to Finish 21
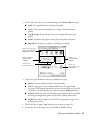
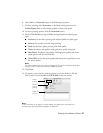
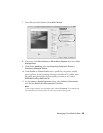
8. Select
Color or Grayscale output in the Color pop-up menu.
9. For basic printing, select
Automatic as the Mode setting and move the
Quality/Speed slider to select higher quality or faster print speed.
10. For more printing options, click the
Advanced button.
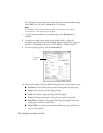
11. Select a
Print Quality setting (available settings depend on selected paper
type):
■ Economy: for the fastes printing with reduced quality on plain paper
■ Normal: for everyday text and image printing
■ Draft: for the fastest photo printing with draft quality
■ Photo: for photos and graphics with good print quality and speed
■ Best Photo: for photos and graphics with high print quality and slower
speed (good to use for canvas media)
■ Photo RPM: for the best print quality and slowest print speed (best to use
for canvas media)
Note:
For color management instructions, see page 23. For more information about print
settings, click ? or see your on-screen Reference Guide.
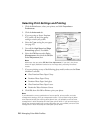
12. Click Print.
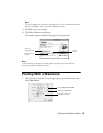
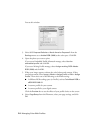
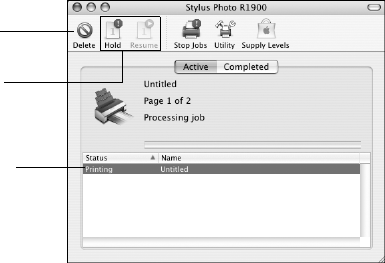
13. To monitor your print job, click the printer icon in the dock (or click the
Print Center icon and double-click
SP R1900 on the next screen).
Note:
If you’re printing on roll paper or canvas media, see page 12 for instructions on
removing your printed photos and paper, if necessary.
Cancel
printing
Select the
print job
Pause or
resume
printing


