


Extron • System 4
xi
Switcher Series • User’s Manual
Chapter 3 • Using the System 4
xi
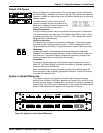
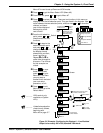
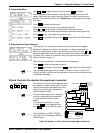
Front Panel
3-9
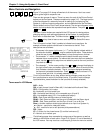
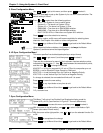
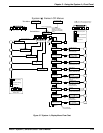
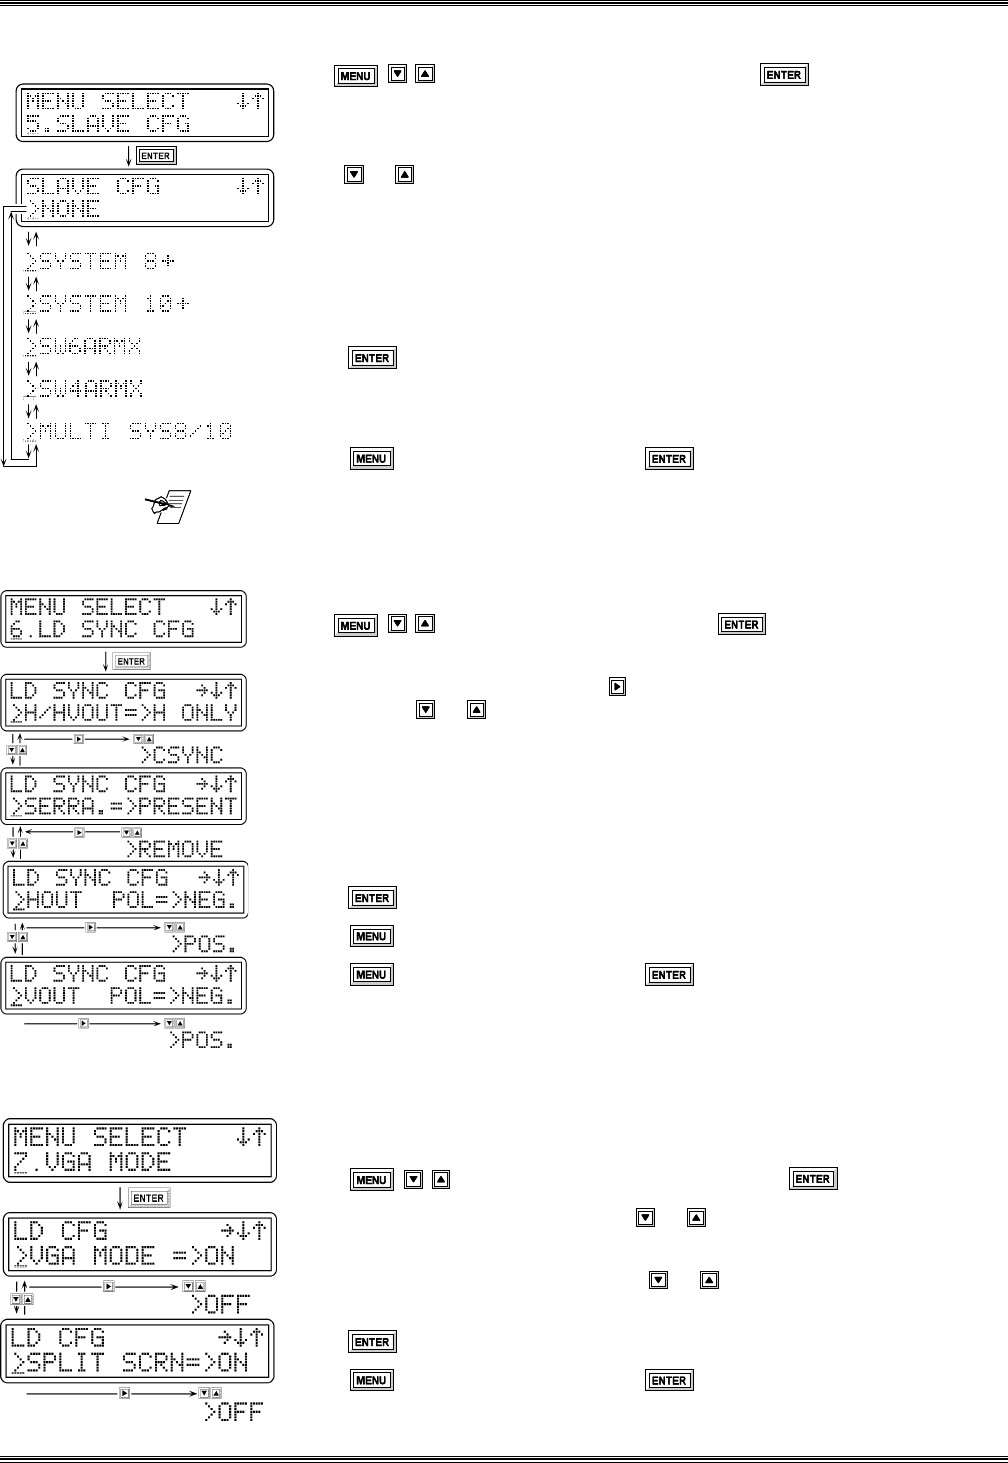
5. Slave Configuration Menu
Use to get to this menu, and then press to select it.
Menu 5 is used only to set up the System 4xi for use with a slave switcher. The
default setting is "None".
Press or to select from the following options:
- None = The System 4xi has no slave inputs.
- System 8+ = The slave is a System 8 Plus.
- System 10+ = The slave is a System 10 Plus.
- SW6ARMX = The slave is an SW6 ARMX switcher.
- SW4ARMX = The slave is an SW4 ARMX switcher.
- MULTI SYS8/10 Plus = More than one System 8/10 switcher.
Press to save the selection to memory.
Once set for a slave, an 8th menu will become available for selecting slave
channels. See Chapter 4 for details on slave configurations.
Press to go to Menu #0 and then to go back to the Default Menu.
_______ When looped with other switchers, the System 4
xi
is always the Master.
System 4
xi
switchers cannot be looped together.
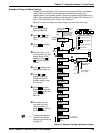
6. LD Sync Configuration Menu*
This menu specifies line-doubled/quadrupled sync output format.
Use to get menu 6, and then press to select it.
There are four submenus for menu 6. Each submenu has two selection points,
indicated by the character ">". Use to step between the two selection points,
and then use or to change the choices.
H/HVOUT => H Only for separate H & V out or CSync for composite sync out.
SERRA.=> set for Serration Pulses Present or Removed.
HOUT POL=> to set Horizontal Sync for Positive or Negative Polarity.
VOUT POL=> to set Vertical Sync for Positive or Negative Polarity.
If a change is selected, the new selection blinks until it is saved.
Press to save the new setting.
Press or any input button at any time to exit.
Press to go to Menu #0 and then to go back to the Default Menu.
*LDxi is shown here
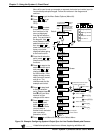
7. Sync Configuration Menu
This Menu 7 will set up Line-Doubler/Line Quadrupler display mode for
System 4LDxi /4LQxi (see flowchart in Figure 3-7 for menu differences).
Press to access this menu, and then press to select it.
With the cursor in the left position, use or to select VGA Mode or Split
Screen (also called “Demo mode”).
With the cursor at the right position, use or to turn the selected function On
or Off.
Press to accept/save the change.
Press to go to Menu #0 and then to go back to the Default Menu.