


IPL M PDP-ES • Communication and ControlIPL M PDP-ES • Communication and Control
Communication and Control, cont’d
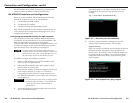
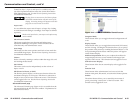
Update the firmware as follows:
1. Visit the Extron web site at www.extron.com.
2. Select the IPL product category from the “Product
Shortcut” drop-down box, and select the latest firmware
file for download.
3. Note the folder to which you save the firmware file.
4. Access the IPL M PDP-ES interface card using the
on-board Web server.
5. Select the Configuration tab.
6. Click the Firmware Upgrade link on the left side of the
Configuration page.
7. Click the Browse button. An open file window appears.
8. Navigate to the folder where you saved the firmware
upgrade file. Select, then double-click the file.
Valid firmware files must have the file extension “.S19”.
Any other file extension is not a firmware upgrade.
The original factory-installed firmware is permanently
available on the IPL M PDP-ES interface card. If the
attempted firmware upload fails for any reason, the card
reverts to the factory-installed firmware.
9. Click the Upload button. The firmware upload to the
interface card may take a few minutes.
If you have access to view the IPL M PDP-ES interface card, you
can get visual confirmation of success: the power LED blinks
three times after the upgrade is complete.
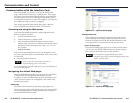
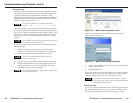
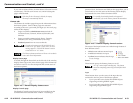
File Management tab
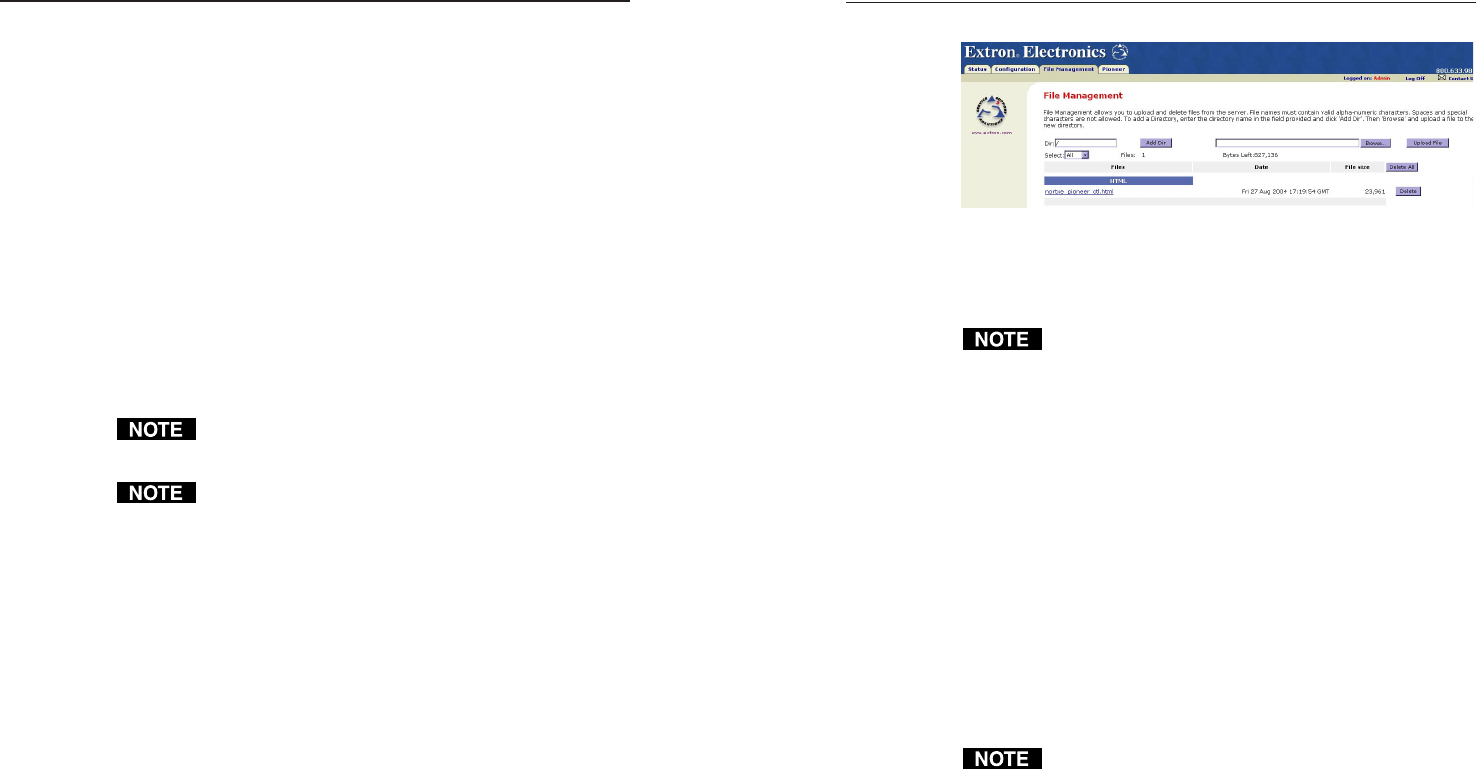
The File Management tab includes the File Management page
(figure 4-8).
The File Management page is a useful tool that allows you to
use and upload existing and custom Web pages. Custom pages
can be developed using a third-party Web page development
program such as FrontPage or Dreamweaver. File management
also allows you to remove unnecessary or outdated files when
they are no longer needed.
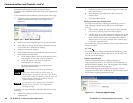
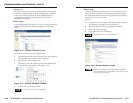
To add or update files:
1. Select the File Management tab. The File Management
screen (figure 4-8) is displayed.
Figure 4-8 — Web server File Management screen
2. Click the Browse button to locate the file(s) you want to
upload.
If you want one of the pages that you create and upload
to be the default start-up page, name that file
“index.html.”
3. Click the Upload File button to upload the file.
The file is added to the list of files under the Files column.
You can also create directories within the File Management
page.
To create a directory:
1. Enter the new directory name in the Dir field alongside the
forward slash.
2. Click the Add Dir button. The new directory opens.
3. Click the Browse button, locate your chosen file, and
double click.
4. Click the Upload button. The new file appears under the
file column.
A new directory does not appear on the root level unless
a file has been placed within it.
To delete unwanted files or directories:
1. Find the file or directory you wish to delete under the Files
list.
2. Click the Delete button of the file or directory to be
deleted. If you wish to delete additional files, wait for the
screen to refresh before clicking the delete button of the
next file.
4-10 4-11