


DISPLAY SET SETTINGS
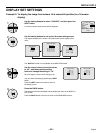
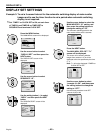
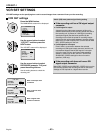
Press the BACK button.
The setting will then be completed and the
display will return to the DISPLAY SET
screen.
Press the BACK button once more to
return to the MAIN MENU screen.
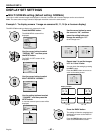
Press the MENU button.
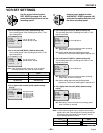
The camera image display menu is
restored. At the time specified by the timer
settings, the specified camera images will
be covered with a gray pattern.
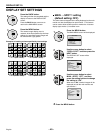
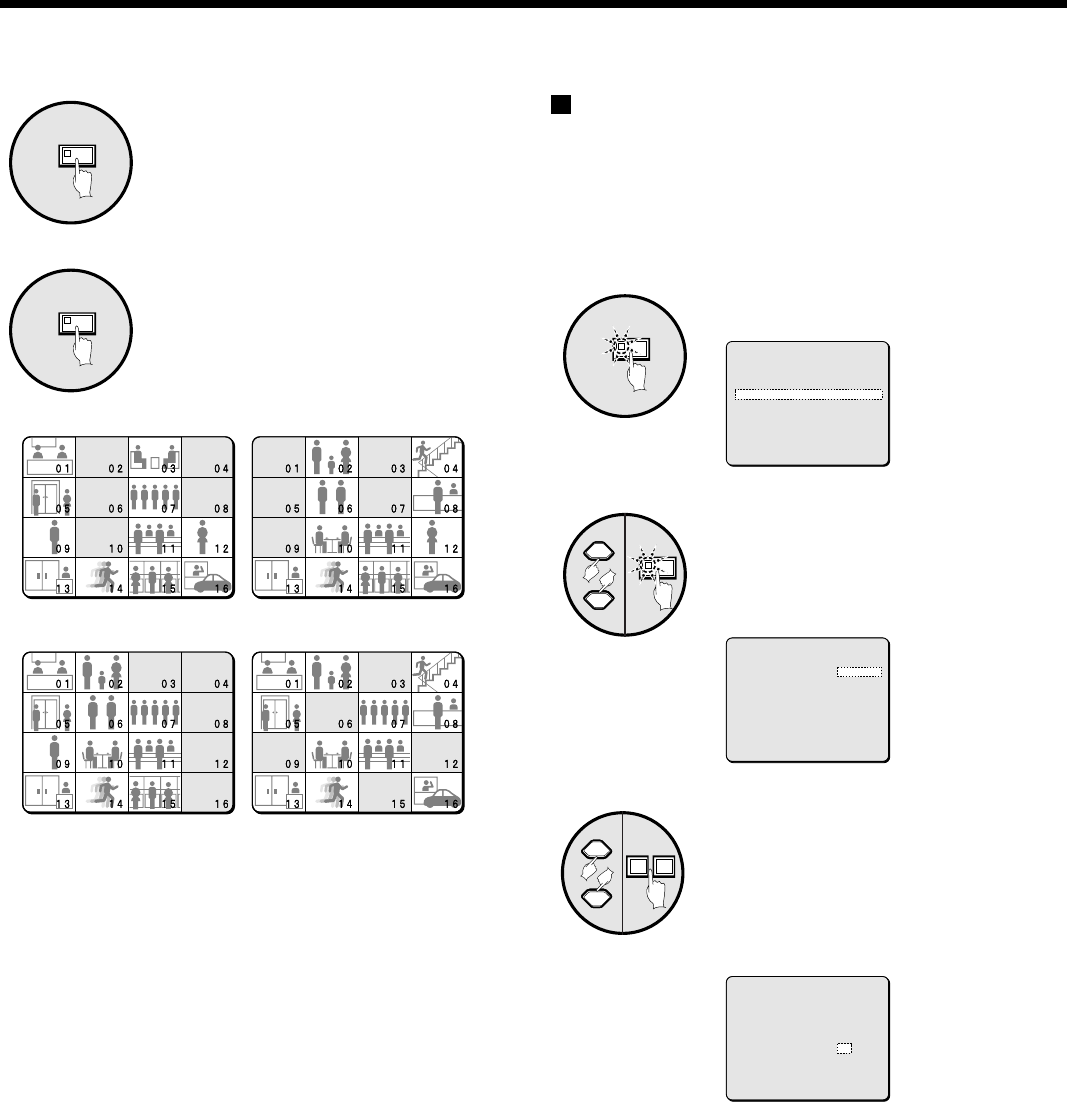
Examples of masking at times specified by timer settings
BACK
9
MENU
10
T – 1 (6:00 – 12:00) T – 2 (12:00 – 16:00)
T – 3 (16:00 – 24:00) T – 4 (24:00 – 6:00)
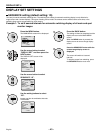
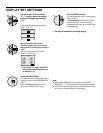
MAIN → SPOT 1 setting
(default setting: OFF)
The same camera images that are being displayed on the main
monitor can also be displayed on spot monitor 1. This feature
can be used to allow another person to monitor the 16-screen
display (spot monitor 1) in another room.
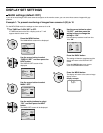
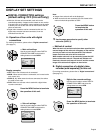
Press the MENU button.
The MAIN MENU screen will be displayed.
Use the cursor button to select
“DISPLAY SET” and then press the
NEXT button.
The DISPLAY SET screen will be
displayed.
Use the cursor button to select
MAIN→SPOT1 “OFF”, and then
press the setting buttons to change
the setting to “ON”.
When set to “ON”, identical images will be
displayed on both the main monitor and
spot monitor 1.
4
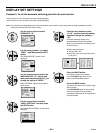
Press the MENU button.
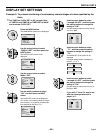
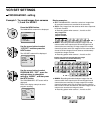
DISPLAY SET-10
MENU
1
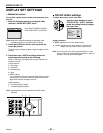
(MAIN MENU)
1 LANGUAGE ¤
2 CLOCK SET ¤
3 DISPLAY SET ¤
4 VCR SET ¤
5 ALARM SET ¤
6 SECURITY SET ¤
7 CONTROL SET ¤
8 ALARM DATA ¤
(*:NEXT)
NEXT
2
(DISPLAY SET)
TITLE DOWN ¤
MULTI SCREEN NORMAL
SEQUENCE 1 S
MASK OFF
MAIN†SPOT1 OFF
DIGITAL CONNECTION OFF
COLOR LEVEL AUTO
(*:NEXT)
+–
3
(DISPLAY SET)
TITLE DOWN ¤
MULTI SCREEN NORMAL
SEQUENCE 1 S
MASK OFF
MAIN†SPOT1 ON
DIGITAL CONNECTION OFF
COLOR LEVEL AUTO
DISPLAY SET-10
English
– 49 –