


64
Replacing Gateway 400VTX Components
www.gateway.com
15 If your replacement diskette drive came in a kit, go to Step 19.
-OR-
If you need to replace the diskette drive in the diskette drive kit, go to
Step 16.
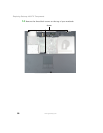
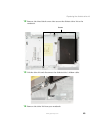
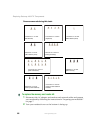
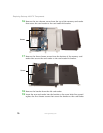
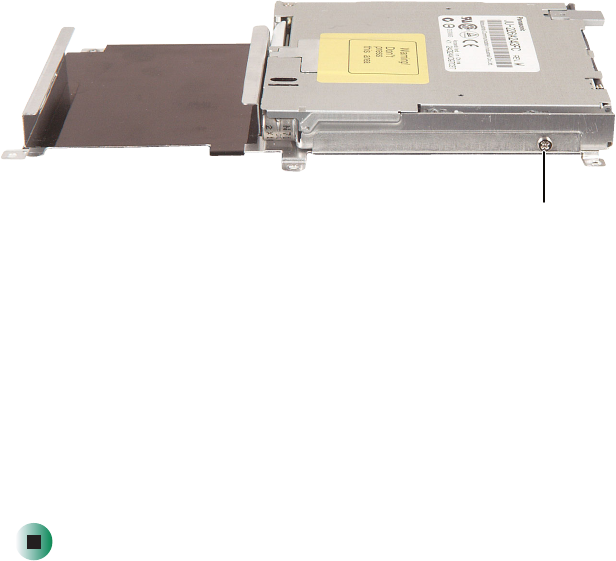
16 Remove the three chrome screws (one on the left side, two on the right
side) that secure the diskette drive to the diskette drive kit bracket.
17 Remove the bracket from the old drive.
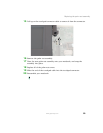
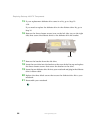
18 Insert the new drive into the bracket so the screw holes line up and replace
the three chrome screws that secure the bracket to the drive.
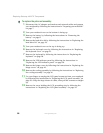
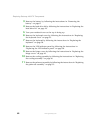
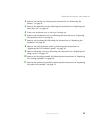
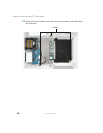
19 Insert the new diskette drive kit into your notebook and plug in the diskette
drive’s ribbon cable.
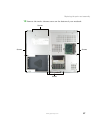
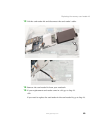
20 Replace the three black screws that secure the diskette drive kit to your
notebook.
21 Reassemble your notebook.
Screw