Installing the IP Console Switch
HP IP Console Switch User Guide 2-9
HP CONFIDENTIAL
Writer: Amy L. Laffitte File Name: c-ch2 Installing.doc
Codename: Eagle Part Number: 263924-002 Last Saved On: 3/31/03 3:13 PM
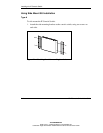
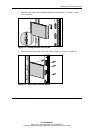
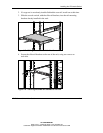
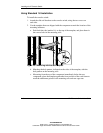
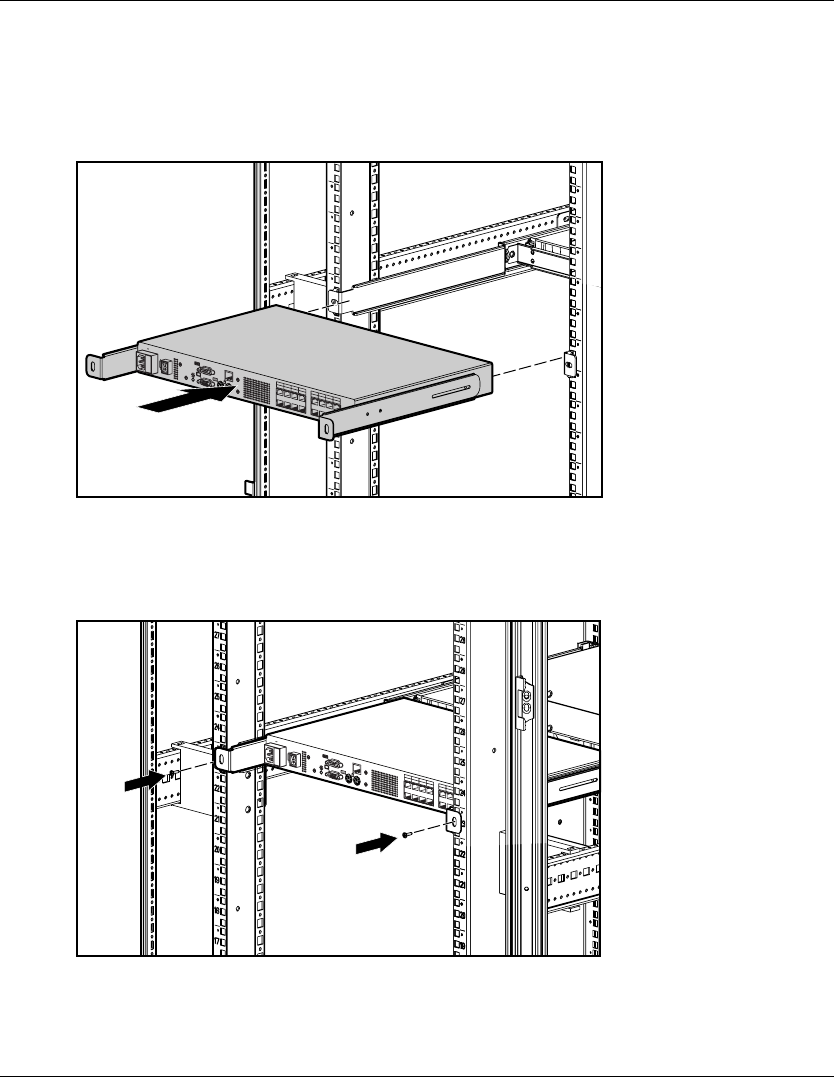
2. If a cage nut is not already installed behind the rear rail, install one at this time.
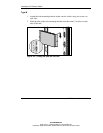
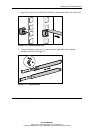
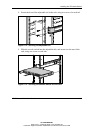
3. Slide the console switch, with the slide rail brackets, into the rail-mounting
brackets already installed in the rack.
1
2
3
4
5
6
7
8
9
10
11
12
13
14
15
16
100-240V
, 1.0A, 50/60 Hz
T 2A, 250 VAC CAU
TION:
F
o
r
c
o
n
t
in
u
e
d
pr
o
te
c
ti
o
n
a
g
a
i
n
s
t
r
is
k
o
f
fir
e
,
re
p
l
a
c
e
o
n
ly
w
it
h
s
a
m
e
ty
p
e
a
n
d
ra
t
in
g
o
f
fu
s
e
.
Figure 2-7: Sliding the console switch into the rack
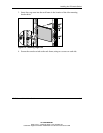
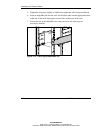
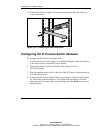
4. Secure the slide rail brackets to the rear of the rack, using two screws on
each side.
1
2
3
4
5
6
7
8
9
1
0
1
1
1
2
1
3
1
4
1
5
1
6
1
0
0
-2
4
0
V
, 1
.
0
A
,
5
0
/6
0
H
z
T
2
A
,
2
5
0
V
A
C
C
A
U
T
IO
N
:
F
o
r
c
o
n
t
i
n
u
e
d
p
r
o
t
e
c
t
i
o
n
a
g
a
i
n
s
t
r
i
s
k
o
f
f
i
r
e
,
r
e
p
l
a
c
e
o
n
l
y
w
i
t
h
s
a
m
e
t
y
p
e
a
n
d
r
a
t
i
n
g
o
f
f
u
s
e
.
Figure 2-8: Securing the slide rail brackets to the rack


