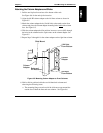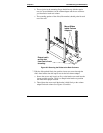
Chapter 8 Rack-Mounting the HP NetServer
93
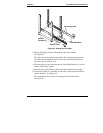
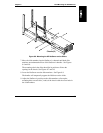
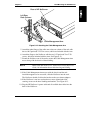
Rear of HP NetServer
Left Rear
Rack Column
Cable Management Arm
Figure 8-12. Attaching the Cable Management Arm
5. Attach the other flange of the cable arm to the rear column of the rack with
the two M-5 pan head T-25 Torx screws, which are included with the Arm.
6. Attach the flange to the NetServer with the two 8-32 pan head Torx T-20
screws, which are included with the Arm. See Figure 8-12.
7. Extend the NetServer out of the rack to ensure the Cable Management Arm
moves along with the chassis without binding.
NOTE Refer to the HP NetServer LC 2000r Rack Cabling Reference
Guide, for information about cable dressing and routing.
8. If the Cable Management Arm moves with the chassis and the rack
installation appears to be successful, slide the NetServer into the rack.
The NetServer should click into the latches on the two column adapters.
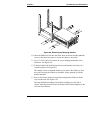
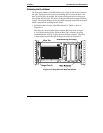
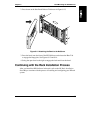
9. If the NetServer is not in a restricted-access area, tighten both slide
securing screws on the bezel latching mechanisms. See Figure 8-13.
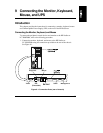
10. Plug the HP NetServer’s power cable and all available data cables into the
back of the NetServer.


