3-12 Troubleshooting and Diagnostics HP OmniBook XE2
• On any computer with World Wide Web access, download the diagnostic software package from
the OmniBook website (see page vi), run this file to unpack the files, then run
diaginst to create
the diagnostic disk.
Running the Diagnostic Test
1. Insert the diagnostic disk in the floppy drive—or press F10 in the next step.
2. Reboot the OmniBook.
3. Go through the first several screens.
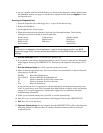
4. When the hardware detection finishes, check the list of detected hardware. The following
information and devices should be listed if applicable:
Product name Cache memory Graphics adapter
Processor type Main memory Serial ports
BIOS version IDE drives Parallel port
Serial number Audio device
Note
If a device is not detected or fails its test below, it may be configured incorrectly in the BIOS
Setup utility (page 3-22). You can confirm the problem by running BIOS Setup and checking the
settings.
5. Run the basic test. Press F2 to start the basic hardware test.
6. If you intend to exit without running advanced tests, press F4 to save system and test information
in the Support Ticket log file, HPSUPPT.TXT. Then remove the diagnostic disk and press F3 to
exit.
7.
Run the advanced tests. Press F2 to open the advanced test screen.
8. Select and run the appropriate tests. Tests are not listed if no such hardware is detected. Press the
following keys to run tests:
ENTER Runs the highlighted test.
F5 or SPACE Marks or unmarks the highlighted test.
F6 Marks or unmarks all tests in the current menu.
F7 Marks or unmarks all tests in all menus.
F10 Runs all marked tests.
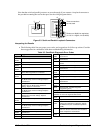
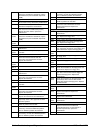
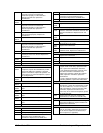
If any test fails, the error is logged (error code and description) and displayed temporarily (error
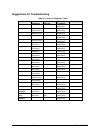
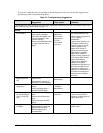
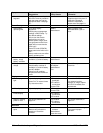
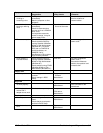
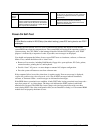
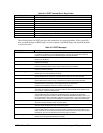
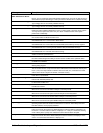
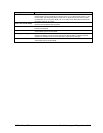
code). If several errors occur, look for patterns that might indicate a common cause. See the table
on page 3-13 for repair suggestions. Consider these suggestions in combination with other
troubleshooting information.
9. When you are finished running tests, press ESC to exit the advanced tests.
10. Press F4 to save system and test information in the Support Ticket log file, HPSUPPT.TXT.
11.
Exit. Press F3 to exit and reboot.
12.
Optional: Check the log. On any computer, open the HPSUPPT.TXT log file on the diagnostic
disk using Notepad or other text editor. It contains a hardware summary and a list of all test
results and errors.


