


14
Basics
Basics
Read this chapter to learn about the Sero 7 basic features.
Setup Guide
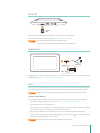
Turning Your Sero 7 On for the First Time
To start, turn on your Sero 7 by pressing and holding Power button for a few seconds. After boot
animation follow the on-screen instructions to set up your Sero 7.
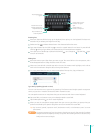
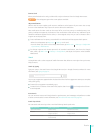
1. Slide up and down to select the language, then tap Start.
2. When prompted, sign in the using email address and password for your Google Account. If you
don’t have one yet, go ahead and create one. For more information about Google Account, see
Google Account on page 25 .
Connect to a Wi-Fi network. Tap a network name to see more details or connect to it, and enter a
password if necessary.
Set up your credit card with Google Wallet, then back up with your Google Account, and restore
from your Google Account.
NOTES
• You can skip connecting progress, and set a Wi-Fi network in Settings later. For more
information, see Wi-Fi on page 11 .
• When you sign in with a Google Account, step 4 ~ 6 will be cancelled.
3. Select whether use Wi-Fi location or not, whether let Google Apps access your location or not.
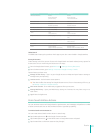
4. Select your time zone, set current date and time of your Sero 7.
5. Enter owner name.
6. Read the Google services.
7. Sign up the VUDU account.
Basic Operation
Using Apps
You interact with the Sero 7 using your ngers to tap, double tap, press & hold, slide, pinch, and rotate
objects on the touchscreen.
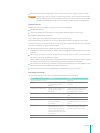
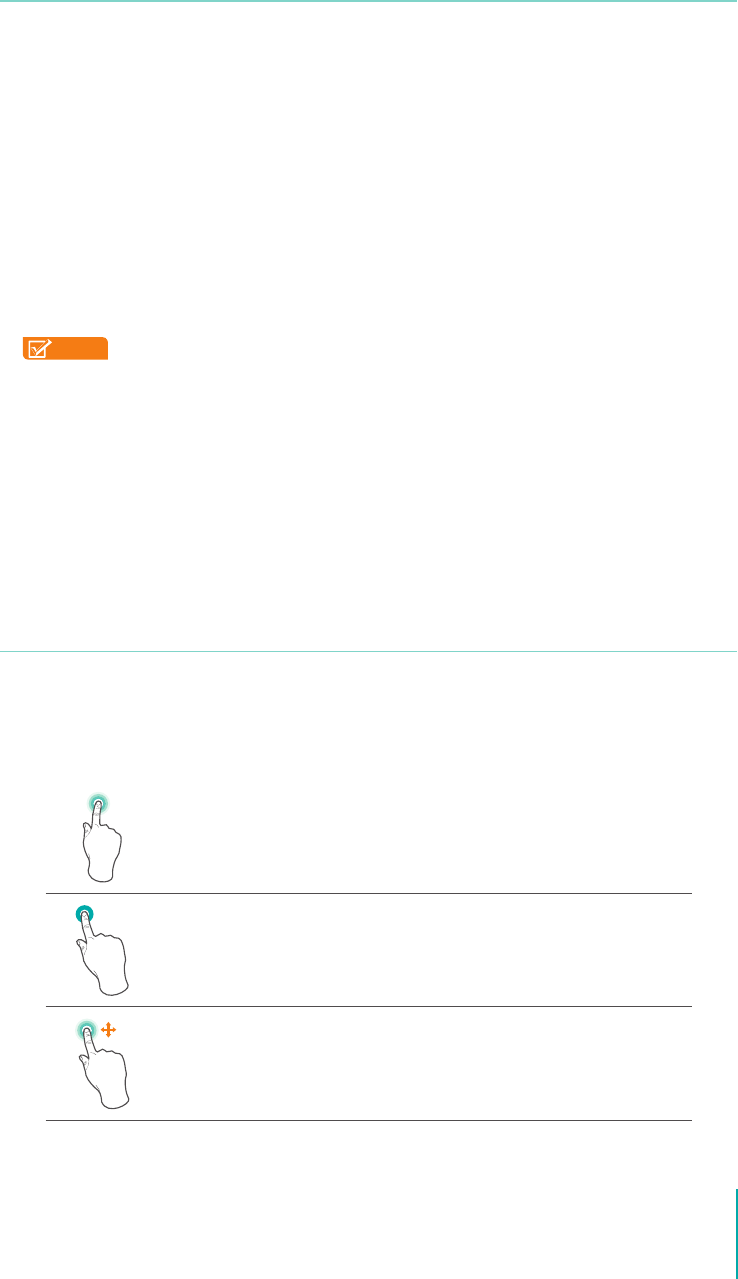
Tap or Double Tap
To select a feature or item, touch your nger quickly to the screen.
Double tap your nger quickly on an item to bring up more details.
Press & Hold
Touch your nger to the screen and hold it there for approximately 2 seconds.
In many situations, pressing and holding will open a menu.
Slide or Drag
Touch your nger to the screen and slide it to another location on the screen.
Press & hold on an object and slide it to another location on the screen.
3