39
5
PRESS OK
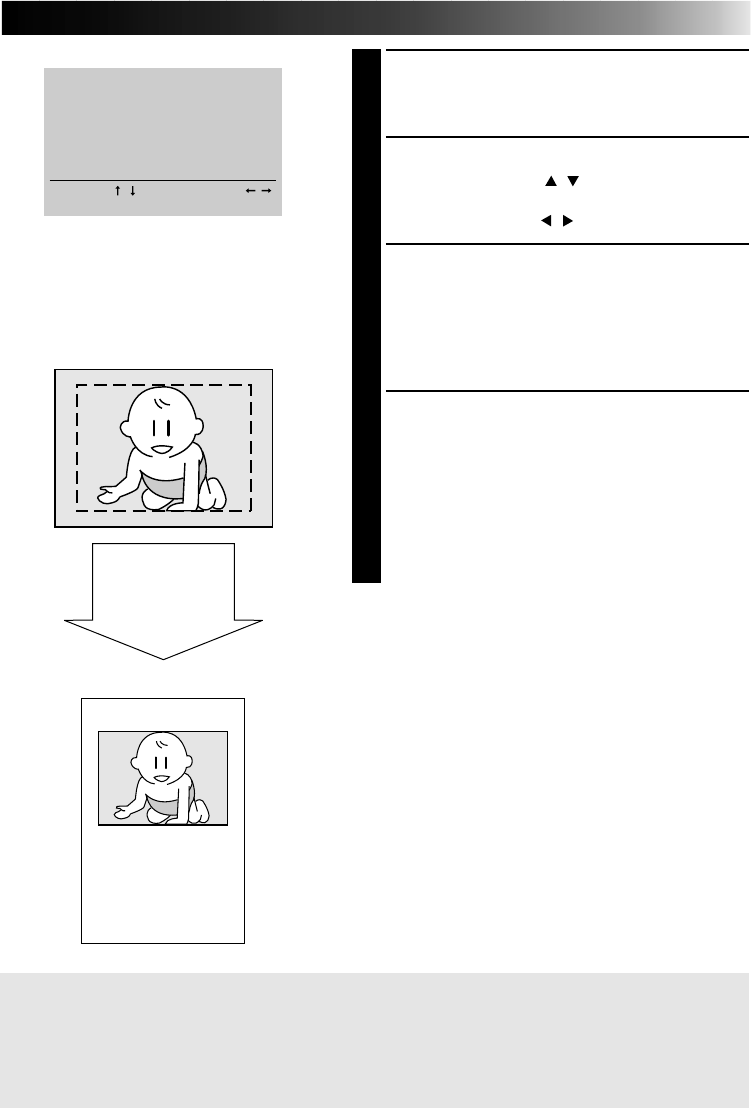
•MAKE/ERASE CALENDAR display appears
with the image of vertical layout.
6
SET YEAR/MONTH OF CALENDAR
Press cursor buttons
/
, place the pointer ੬
on year or month and change year or month
with cursor buttons
/
.
7
PRESS OK BUTTON
•Screen turns blue with “Please wait.”
displayed. After a while, the image com-
bined with the calendar is displayed on
screen.
•Holidays are not colored red.
8
PRESS PRINT
•Print Lamp blinks, indicating that printing
has started.
•“Now printing!!” appears on screen during
printing.
•When the printed sheets are delivered to the
output tray and “Now printing!!” disappears,
printing is complete. Do not leave more
than 25 printed sheets stacked on the tray.
5 When you want to erase the calendar
before printing, press CANCEL. Pressing
the OK button restores the calender.
MAKE/ERASE CALENDAR
੬
YEAR
:
1997
MONTH
:
JUN
ERASE CALENDAR
SELECT
[
/
]
SET
[
/
]
OK
[
OK
]
QUIT
[
FORMAT
]
MEMORY display on vertical
layout appears in the center of
screen together with this MAKE/
ERASE CALENDAR display
SUN
1
8
15
22
29
MON
2
9
16
23
30
TUE
3
10
17
24
WED
4
11
18
25
THU
5
12
19
26
FRI
6
13
20
27
SAT
7
14
21
28
JUN 1997
Image to be stored
The area within
the broken line is
stored in memory.
Image on the TV monitor
FRAME STABILIZER
Switching between ON/OFF of FRAME STABILIZER is not available in the Calendar Print
mode.
If you store the wrong calendar ...
redo steps
3
through
7
.


