64
Print
Printer
Name:
Properties
PC OPERATION
5
.
Capture the image.
•Select [Capture New (N)] in the File
menu to transfer the image data from
printer to PC.
•The captured image is framed in white.
6
.
Repeat steps 2 through 5 to capture other images.
NOTE: A maximum of four images can be captured with the Capture Utility. If you want to
capture more images, save and close one or more of the images you have already
captured. You may then capture additional images.
7
.
Save the captured image(s).
•Type the file name in [Save As (A)] of the File menu and save it. The file will be saved in
the bitmap (BMP) form.
PRINT OPERATION
You cannot print the captured image with the provided Driver & Capture Utility Software. Use a
commercially available Paint or other photo editing software program to print the image.
8
.
Launch your photo editing program. Add text or make modifications to the image as
desired.
•Refer to the photo editing software’s user manual for details.
9
.
Press and hold the SOURCE for at least two seconds to turn the ON LINE lamp on.
•“PC mode is selected.” is displayed on the monitor.
10
.
Set up the printer.
(Example)
•Windows
ா
95
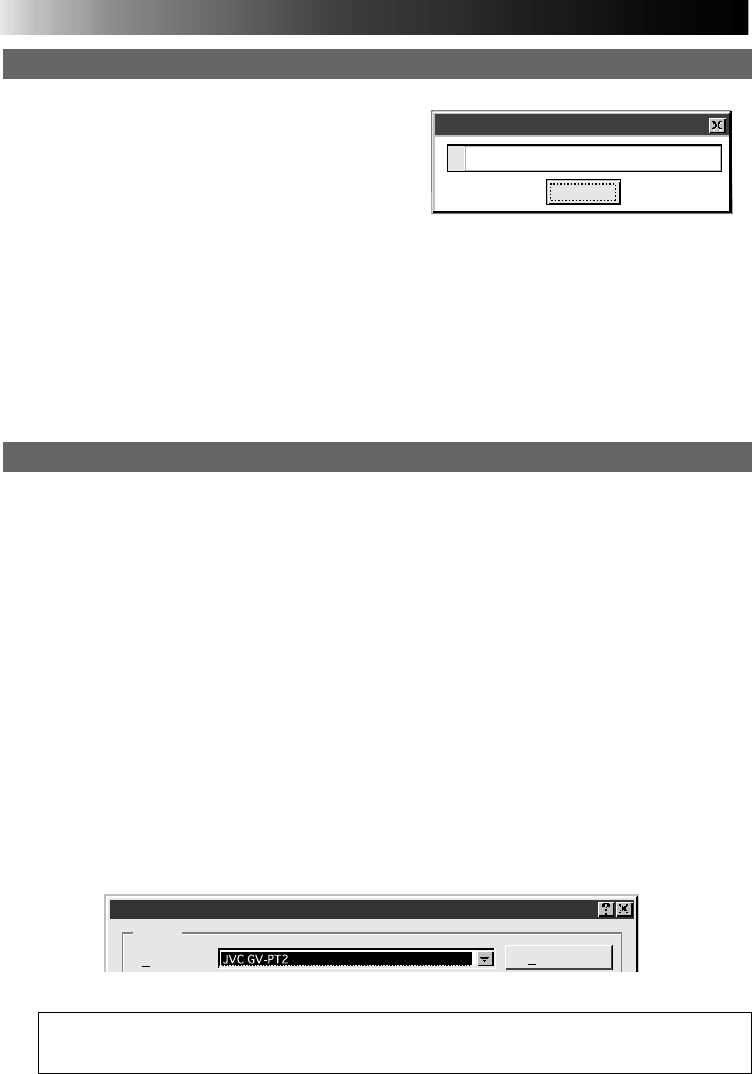
Select [Print (P)] of the File menu to call up the print display. Select [JVC GV-PT2] in the
printer name box.
•Windows
ா
3.1
Select [Printer Setup (R)] of the File menu to call up the printer setup display. Select [JVC
GV-PT2] as the printer name.
Operations and displays may be different than described above in some applications.
Refer to the application’s instruction manual for details.
Cancel
Capture in progress
10%
PRINTING PROCEDURE
(cont.)


