bizhub C360/C280/C220 9-14
9.2 One-Touch/User Box Registration
9
Reference
- To check a registered destination, select its registered name, and then press [Check Job Set.].
- To change the settings for a registered destination, select its registered name, and then press[Edit].
- To delete a registered destination, select its registered name, and then press [Delete].
9.2.7 Address Book - WebDAV
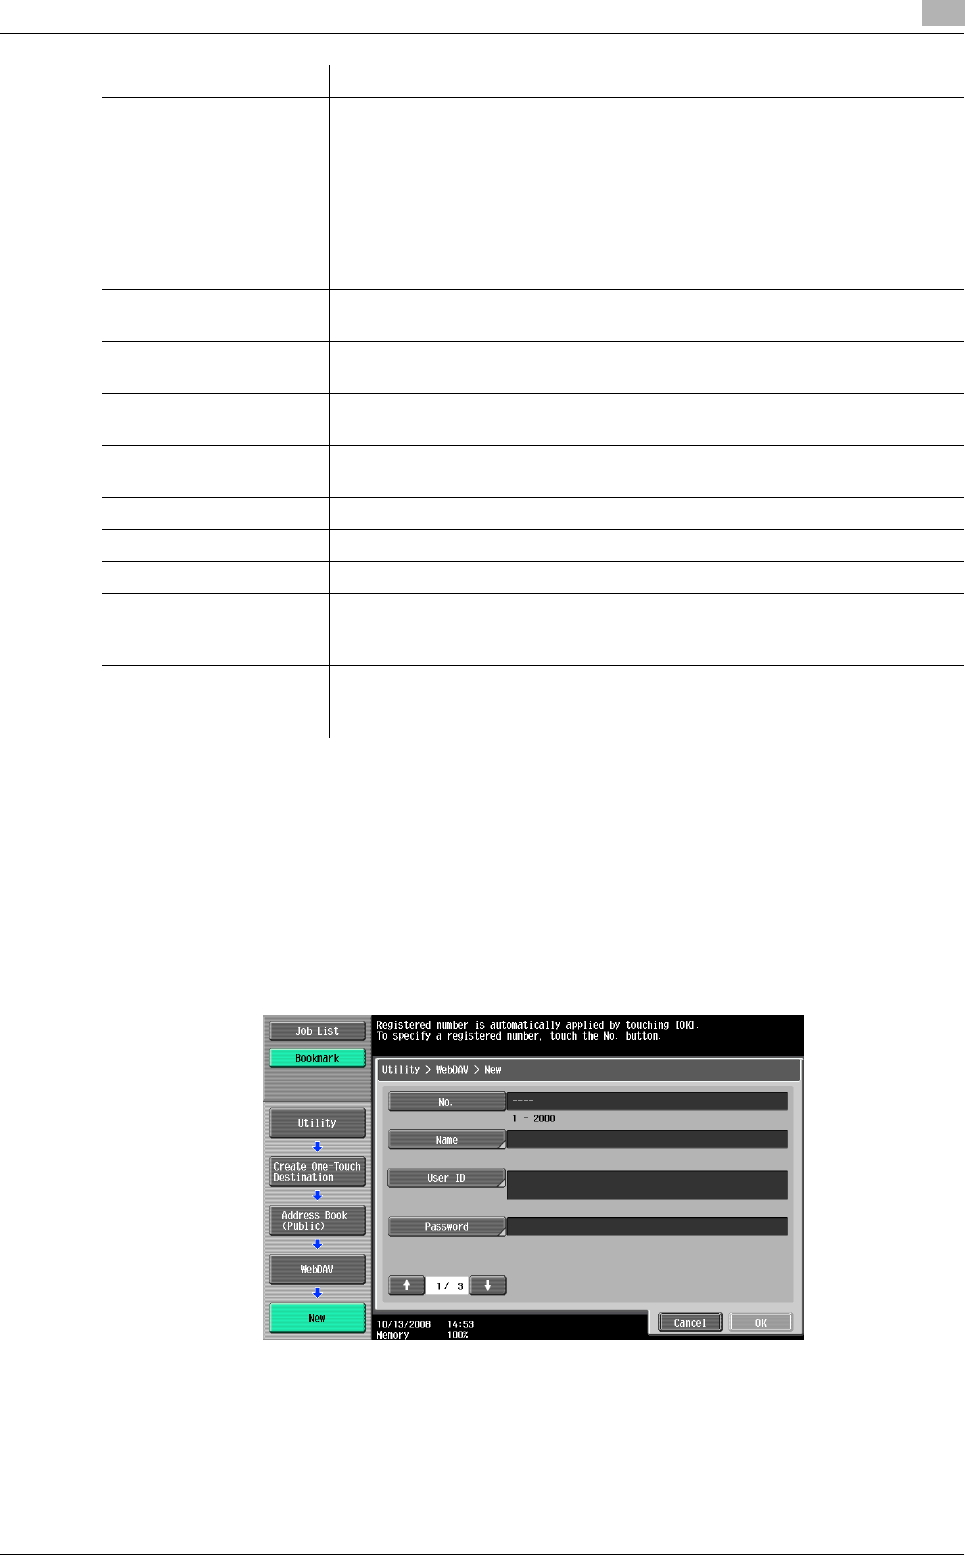
Register WebDAV destinations. To register a new destination, press [New].
1/3 page
[Host Address] Enter the host name, IPv4 address or IPv6 address as the host address for
the destination server.
The host name must be less than 63 characters in length.
• If you enter a host name and then select to enter an IP address, the host
name is cleared.
• If you enter the IP address and then press [Input Host Name], the IP ad-
dress is saved and displayed in the input screen.
• Before entering the host name, check that the DNS settings are correctly
specified. For details, refer to the [User's Guide Network Administrator].
[File Path] Enter the destination file path for saving data via the touch panel (up to 127
bytes).
[User ID] Enter the user ID for logging into the destination computer via the touch panel
(up to 63 bytes).
[Password] Enter the password for logging into the destination computer via the touch
panel (up to 63 characters).
[anonymous] If you do not want to specify the user ID for logging in to the host using the
host name, press [ON].
[PASV] Select whether to use the PASV mode.
[Proxy] Select whether or not a proxy server is used.
[Port Number] Enter the port number (any number between 1 and 65535).
[Index] Select the index. For a frequently used destination, specify the index charac-
ters and select [Favorites] at the same time. This allows you to find it more
easily.
[Icon] Select an icon.
• The selected icon is used for the image panel function that is available
when the optional function code "CAA" is enabled.
Item Description


