


bizhub C360/C280/C220 3-9
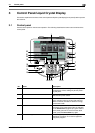
3.2 Touch panel
3
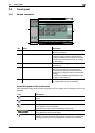
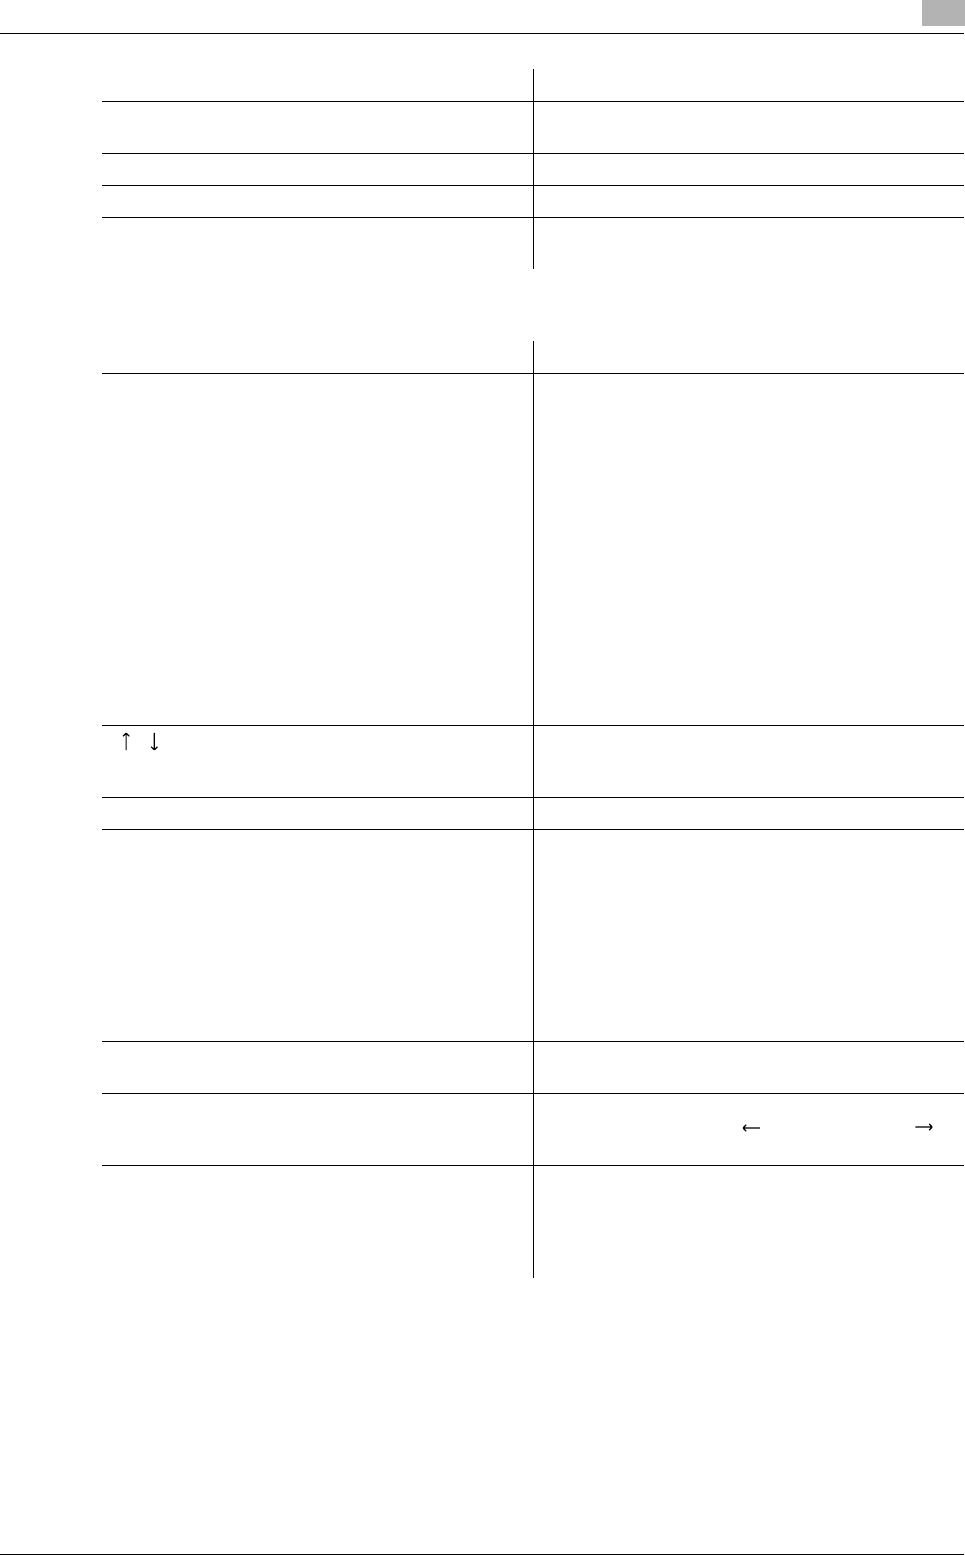
<Current Jobs of [Print]>
Item Description
[Print] Lists print jobs for copying, computer printout, and
received faxes.
[Send] Lists scanner and fax transmission jobs.
[Receive] Lists fax reception jobs.
[Save] Lists jobs with documents being saved in User
Boxes.
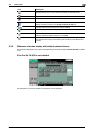
Item Description
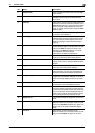
List items [No.]: Job identification number assigned when the
job is queued.
[User Name]: The user name or user name/account
name of the user who stored the document.
[Status]: The status of the job (receiv-
ing/queued/printing/printing stopped/print er-
ror/saving to memory) is displayed.
[Document Name]: File name being printed.
• If user authentication settings have been ap-
plied, the names of documents are not dis-
played for other users.
• The names of confidential documents are not
displayed.
[Time Stored]: The time that the job was queued.
[Org.]: Displays the number of pages in the original.
[Copies]: Displays the number of copies to be
printed.
[ ][ ] When there are more than the upper limit of seven
jobs to be displayed at one time, press these but-
tons to display other jobs.
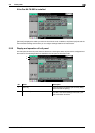
[Delete] Press this button to delete the selected job.
[Increase Priority] Press this button to change the priority of the job.
• If you set Changing Job Priority in Administrator
Settings to [Restrict], you cannot specify the
output priority of the jobs.
• If the setting is specified so that the current
print job can be interrupted, printing is inter-
rupted and printing of the job given priority be-
gins. Printing of the interrupted job restarts
automatically once printing for the job given pri-
ority is finished.
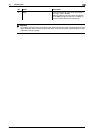
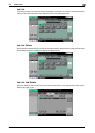
[Release Held Job] Press this button to change the settings of a stored
job, or print or delete the job.
[Check Job Set.] Press this button to check the settings of the se-
lected job. Press either [ Back] or [Forward ]
to check the settings.
[Detail] Press this button to check the registration
source/user name, file name, output tray, stored
time, number of original pages and number of cop-
ies for the selected job. To delete a job, press [De-
lete].