1.7. Memory Expansion Installation
1-22
1.7. Memory Expansion Installation
In this section is explained how to expand the printer's memory. Expanded printer memory enables you to
print more complex pages, download more fonts, and define more macros.
It begins by explaining how to remove the main circuit board from the printer, and explains how to install a
DIMM (dual in-line memory module) on the main circuit board.
The FS-1200 comes supplied with 4 MB of memory installed. A slot is provided for expanding the memory
in your printer so that more complex printing can be done, as well as increasing the printing speed. By
installing an optional memory card into your printer, the memory in the FS-1200 can be increased to a max-
imum of 68 MB.
☛ The expansion memory should be installed only by a Kyocera authorized dealer or Kyocera certified
technician. Kyocera shall not be liable for damage due to improper installation of the expansion
memory.
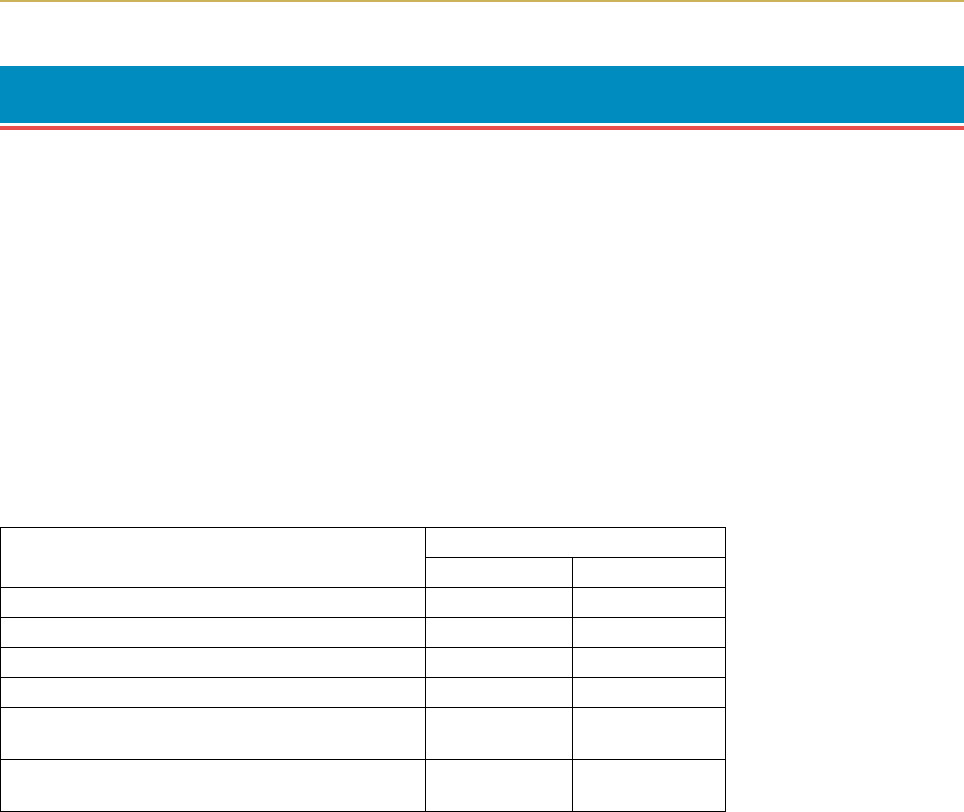
The minimum memory requirements for the printer with various options installed are listed in the table
below. Please refer to this table when expanding the printer's memory.
Removing the Main Circuit Board
The main circuit board of the printer is equipped with a socket for memory expansion. Expansion memory
is available in the form of a DIMM.
☛ The following instructions are intended for the technician only.
Notes on Handling the Main Circuit Board and DIMM
Protect the electronics by taking these precautions:
❒
Before touching the main circuit board, touch a water pipe or other large metal object to discharge yourself
of static electricity. While doing the work, it is recommended that you wear an antistatic wrist strap.
❒
Touch the main circuit board and DIMM only by the edges.
Printing condition
Resolution
300 dpi 600 dpi
PCL 6, duplex mode = None 4 MB 4 MB
PCL 6, duplex mode = On 4 MB 5 MB
KPDL, duplex mode = None 4 MB 4 MB
KPDL, duplex mode = On 4 MB 5 MB
PCL 6/KPDL resource protection,
duplex mode = None
–10 MB
PCL 6/KPDL, resource protection,
duplex mode = On
–14 MB


