


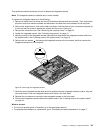
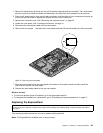
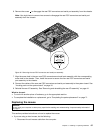

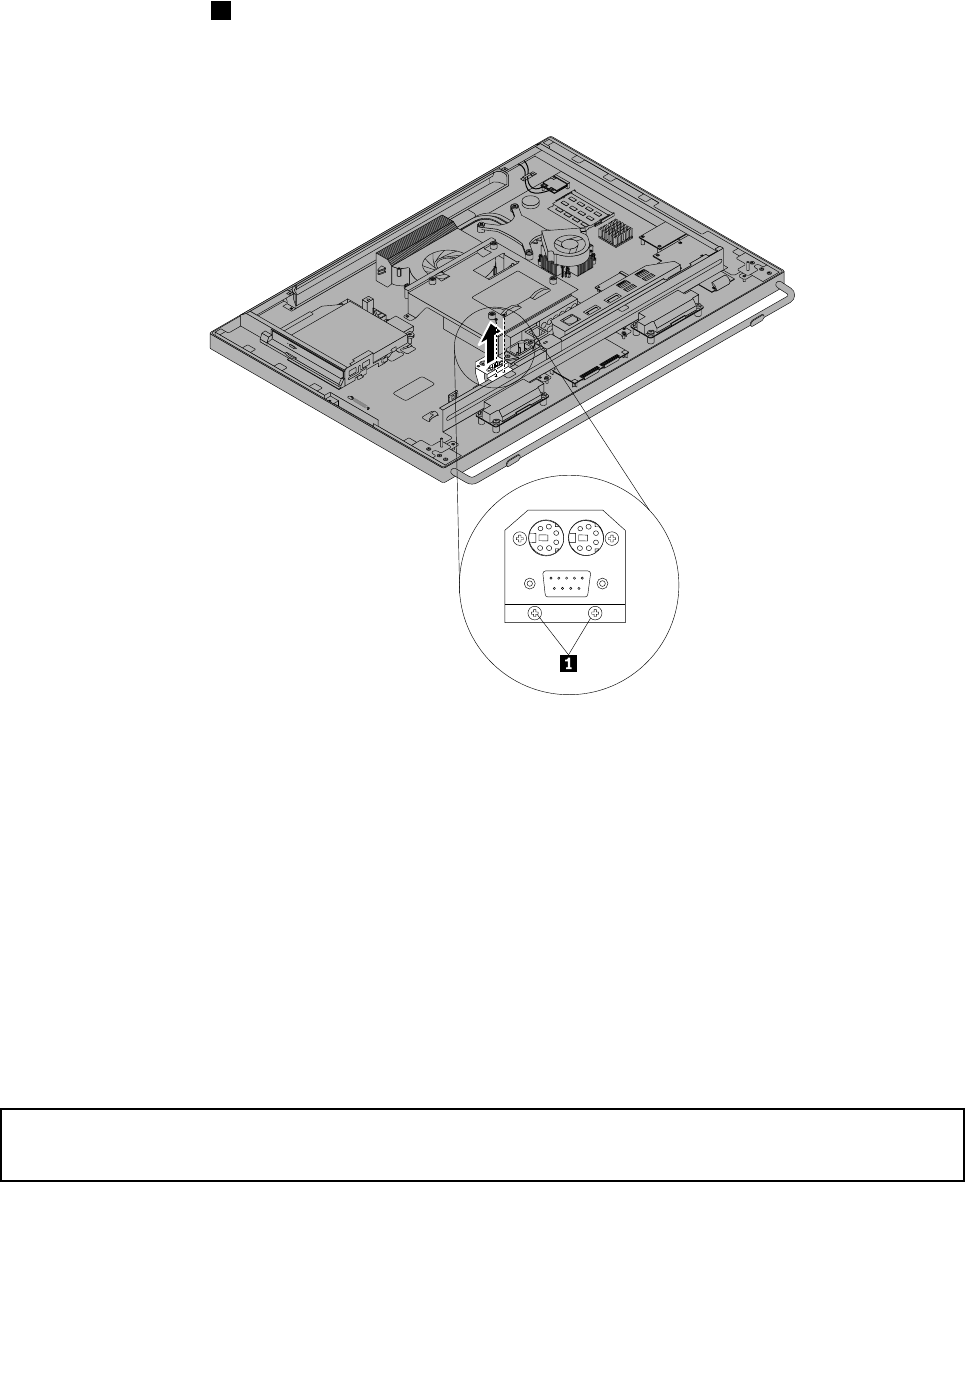
6. Remove the screw 1 to disengage the rear PS/2 connectors and serial port assembly from the chassis.
Note: You might have to remove two screws to disengage the rear PS/2 connectors and serial port
assembly from the chassis.
Figure40. Removing the rear PS/2 connectors and serial port assembly
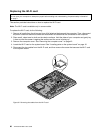
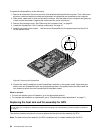
7. Align the screw hole in the new rear PS/2 connectors and serial port assembly with the corresponding
screw hole in the chassis. Then, install the screw to secure the new rear PS/2 connectors and serial
port assembly to the chassis.
8. Connect the cables of the new rear PS/2 connectors and serial port assembly to the system board. See
“Locating parts on the system board” on page 16.
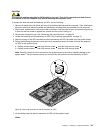
9. Reinstall the rear I/O assembly. See “Removing and reinstalling the rear I/O assembly” on page 44.
What to do next:
• To work with another piece of hardware, go to the appropriate section.
• To complete the installation or replacement, go to “Completing the parts replacement” on page 71.
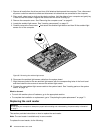
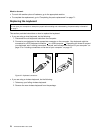
Replacing the mouse
Attention:
Do not open your computer or attempt any repair before reading and understanding “Important safety information”
on page v
.
This section provides instructions on how to replace the mouse.
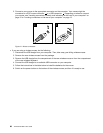
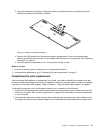
• If you are using a wired mouse, do the following:
1. Disconnect the old mouse cable from the computer.
Chapter 5. Installing or replacing hardware 67