113
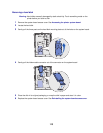
Removing a hard disk
Warning: Hard disks are easily damaged by static electricity. Touch something metal on the
printer before you touch a disk.
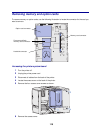
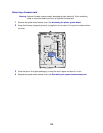
1 Remove the system board access cover. See Accessing the printer system board.
2 Locate the hard disk.
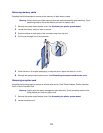
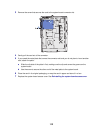
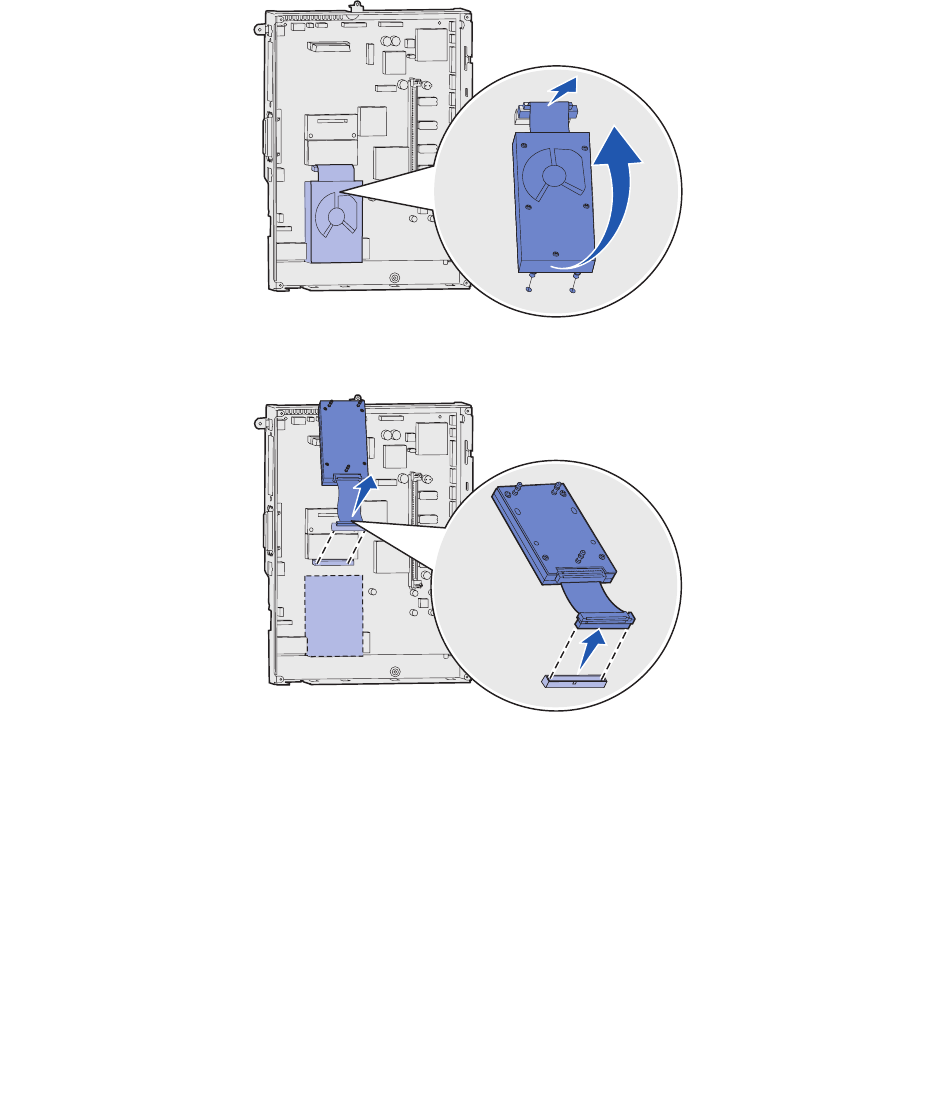
3 Gently pull the three posts on the hard disk mounting plate out of the holes on the system board.
4 Gently pull the ribbon cable connector out of the connector on the system board.
5 Place the disk in its original packaging, or wrap the disk in paper and store it in a box.
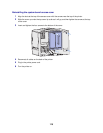
6 Replace the system board access cover. See Reinstalling the system board access cover.


