


37
Improving Security
Linksys E-Series
To manually set your router’s wireless security settings:
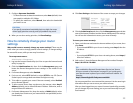
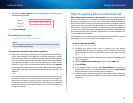
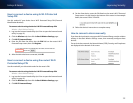
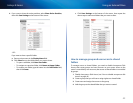
Wireless > Wireless Security
1.
Log into the browser-based utility (see “How to open the browser-based
utility” on page 21).
2.
Click the Wireless tab, then click the Wireless Security page.
3.
Select your preferred security type from the Security Mode drop-down
list For most home networks, we recommend WPA2/WPA Mixed Mode.
4.
Enter a passphrase (security key) for your wireless network in the
Passphrase field. The most secure type of security key should include a
mix of uppercase and lowercase letters, numbers, and punctuation.
5.
Click Save Settings at the bottom of the screen.
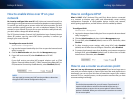
How to set up wireless security using
Wi-Fi Protected Setup
Why would I use Wi-Fi Protected Setup? Wi-Fi Protected Setup™ is a feature
of your router that makes it easy to add devices to your wireless network. If you
have network devices, such as wireless printers, that support Wi-Fi Protected
Setup, then you can use Wi-Fi Protected Setup to add the devices.
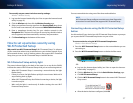
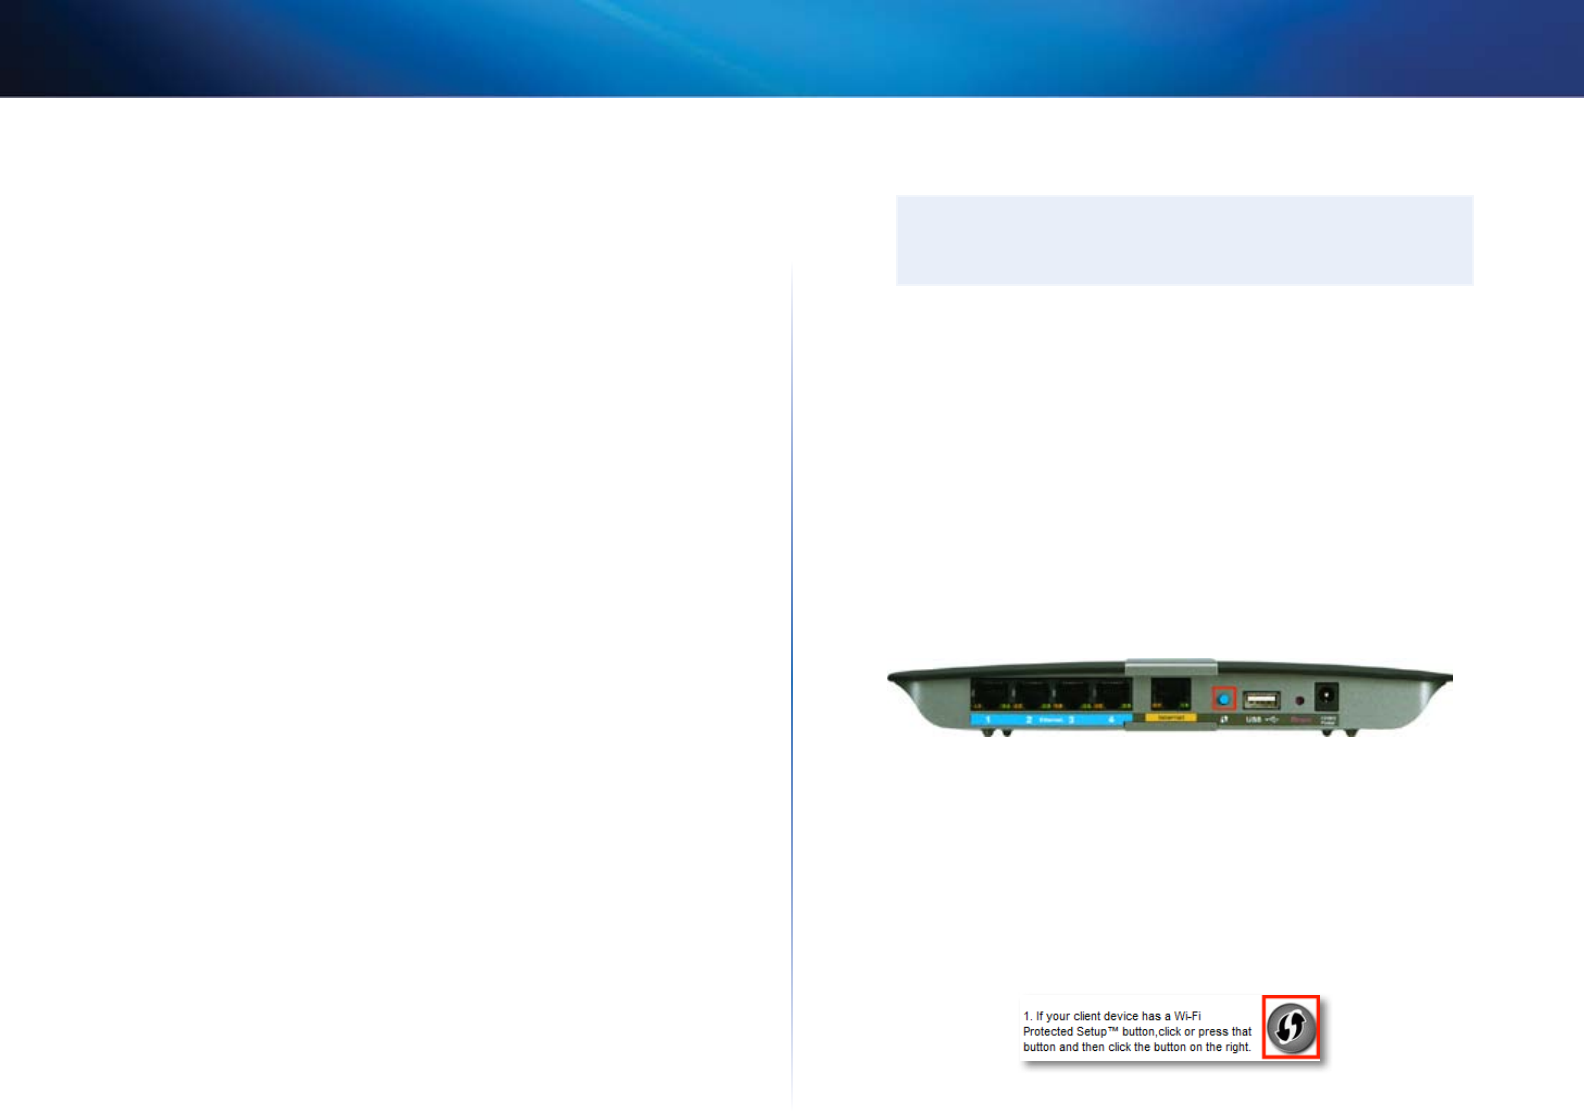
Wi-Fi Protected Setup activity light
The power indicator light on the back of the router (or on top for the E4200)
indicates the status of Wi-Fi Protected Setup while you are connecting devices.
• When Wi-Fi Protected Setup is connecting a network device, the light
flashes slowly.
• If there is an error, the light flashes quickly for two minutes. Wait until it
stops flashing, then try again.
• When Wi-Fi Protected Setup has finished connecting a device, the light
is continuously lit .
• Wait until the light is continuously lit before starting the next Wi-Fi
Protected Setup session.
Connect network devices using one of the three methods below.
NOTE
Wi-Fi Protected Setup configures one device at a time. Repeat the
instructions for each device that supports Wi-Fi Protected Setup.
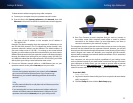
Connecting a device using the Wi-Fi Protected Setup
button
Use this method if your device has a Wi-Fi Protected Setup button or prompts
you to press the Wi-Fi Protected Setup button on your router.
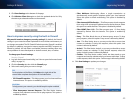
To connect a device using the Wi-Fi Protected Setup button:
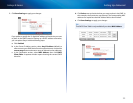
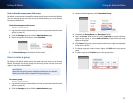
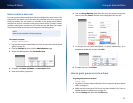
Wireless > Basic Wireless Settings
1.
Press the Wi-Fi Protected Setup button on the network device you are
connecting to.
2.
Press the Wi-Fi Protected Setup button on the back of the router.
- OR -
a.
Log into the browser-based utility (see “How to open the browser-
based utility” on page 21).
b.
Click the Wireless tab, then click the Basic Wireless Settings page.
c.
Click Wi-Fi Protected Setup.
d.
Click the Wi-Fi Protected Setup button in the router’s Wi-Fi Protected
Setup screen.
e.
After the device has been configured, click OK.