6
Chapter 3: Connecting the PrintServer
Overview
Wireless-G PrintServer
Chapter 3: Connecting the PrintServer
Overview
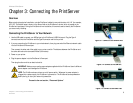
Before starting the physical installation, note the PrintServer’s default name, which starts with “LK” (for example,
LK71107). The default name is shown in the Server field on the PrintServer’s sticker, which is located on the
PrintServer’s back panel. During the PrintServer driver installation, this name is used to identify the PrintServer
you are currently installing.
Connecting the PrintServer to Your Network
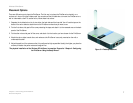
1. Use the USB cable to connect your USB printer to the PrintServer’s USB Printer port. Plug the Type A
connector end into the PrintServer and the Type B connector end into the printer.
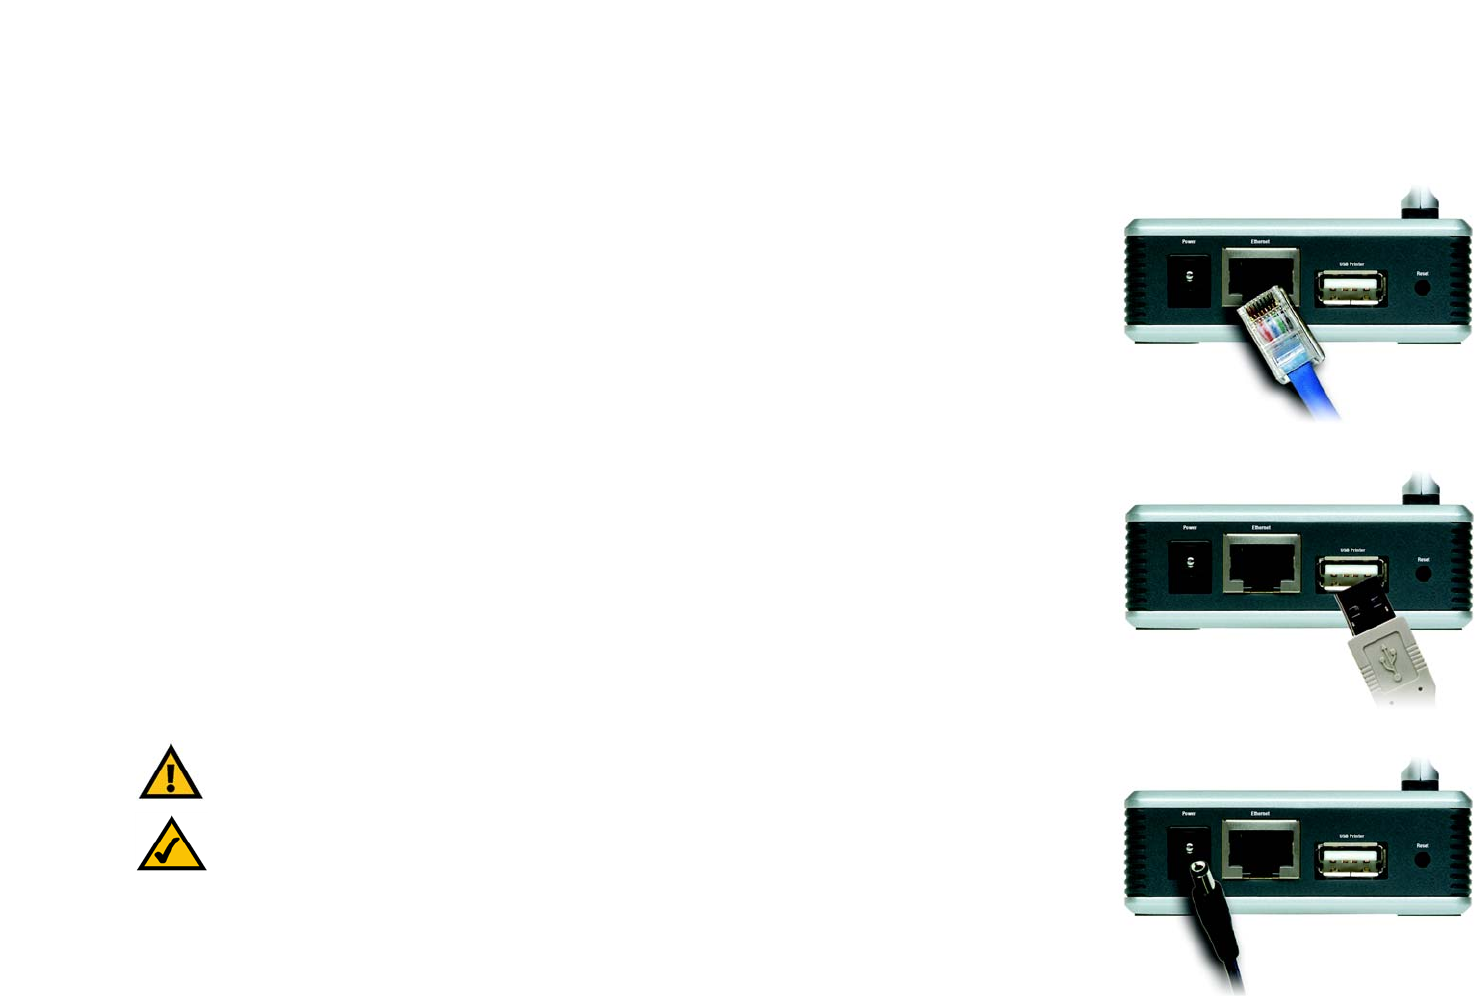
2. If you are connecting the PrintServer to your wired network, then plug one end of the Ethernet network cable
into the PrintServer’s Ethernet port.
Then connect the other end of the cable to your router or switch. The distance between the PrintServer and
the other device should not exceed 328 feet (100 meters).
3. Power on your printer.
4. Plug the power adapter into the PrintServer’s Power port.
Then plug the other end into an electrical outlet.
Proceed to the next section, “Placement Options.”
Figure 3-1: Connect to the Ethernet Port
NOTE: The PrintServer does not have an on/off power switch. Whenever its power adapter is
plugged into a power supply, the PrintServer is powered on. The PrintServer can be powered on
before, during, or after your network is powered on.
Figure 3-2: Connect to the USB Port
Figure 3-3: Connect to the Power Port
IMPORTANT: Make sure you use the power adapter supplied with the PrintServer. Use of a different
power adapter could damage the PrintServer.


