


15
LAMP - Lighting function ON or OFF and TIME
Press the D-5 direct function button, and you can then set the time (in
seconds) directly using the numeric key pad B buttons. A time figure
consisting of only 1 digit can be input by pressing the figure then waiting
for 2 seconds or input “0” before entering a desired digit. You can set
time in the range from 0 up to 60 seconds (which would use up more
battery life than a lower figure, such as 3 or 5 seconds). “2” is set when
shipped from the factory. You can set “OFF” to input “0”.
BEEP sound
The beep sounds when press any buttons.
The beep sound level can be set to decrease or increase by pressing the
D-6 button. The display indicates “+” indication and the beeps are sounded
by pressing the D-6 button. The “+” indication is followed the “+” indi-
cation as the beep sound is increaded; + → ++ → +++ → ++++
When the “++++” is indicated and the D-6 button is pressed, the mininum
level “+” is set.
“ ” is indicated in LCD window when the beep sound is set.
Note:
The beep sound is different between the function buttons and
other buttons.
VER
Press the D-7 direct function button to switch between US to REST.
If you need to change this function, we recommend that you make the
change before you begin “learning” any new infrared codes for other
brands of equipment in your system.
Note:
The name of the DIRECT button will be erased by changing
the VER(sion).
Battery life:
• Battery life will vary from user to user, if the remote is used constantly
or only occasionally, including the amount of backlighting usage. We
feel that you can expect the batteries to last about 4 months, based
upon 15 remote control operations per day (every day), and 3 lighting
operations per day (every day). If the remote is used more often, and
if the lighting times are set to longer times than the factory settings,
then the battery life may be shortened somewhat.
• As explained earlier in the guide, the RC2000MKII’s sophisticated
battery conservation system will advise you long before the battery
power is fully exhausted, and will further warn you to replace the bat-
teries by simply becoming inoperative at a certain point. The custom-
ized memory contents and user-adjusted settings will still be retained
in memory. When you install a fresh set of batteries, the memory
contents are protected always, because the RC2000MKII use the non-
volatile memory. Alkaline (and the newer lithium) types are recom-
mended for longest battery life.
As you become more familiar over time with how you are using the
RC2000MKII in your A/V system, you may wish to consider reducing
the lighting time(s) if possible, as this can help to extend the battery
life.
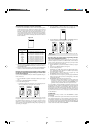
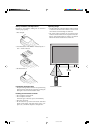
Adjustment of the LCD contrast
• The LCD contrast can be adjusted as follows;
Set SETUP mode to the RC2000MKII by pressing the MEMO and
OK button. Press the VOL+ to increase the LCD contraset. Press the
VOL - to decrease the LCD contrast. Press the OK button to end this
setting and return the original operation.
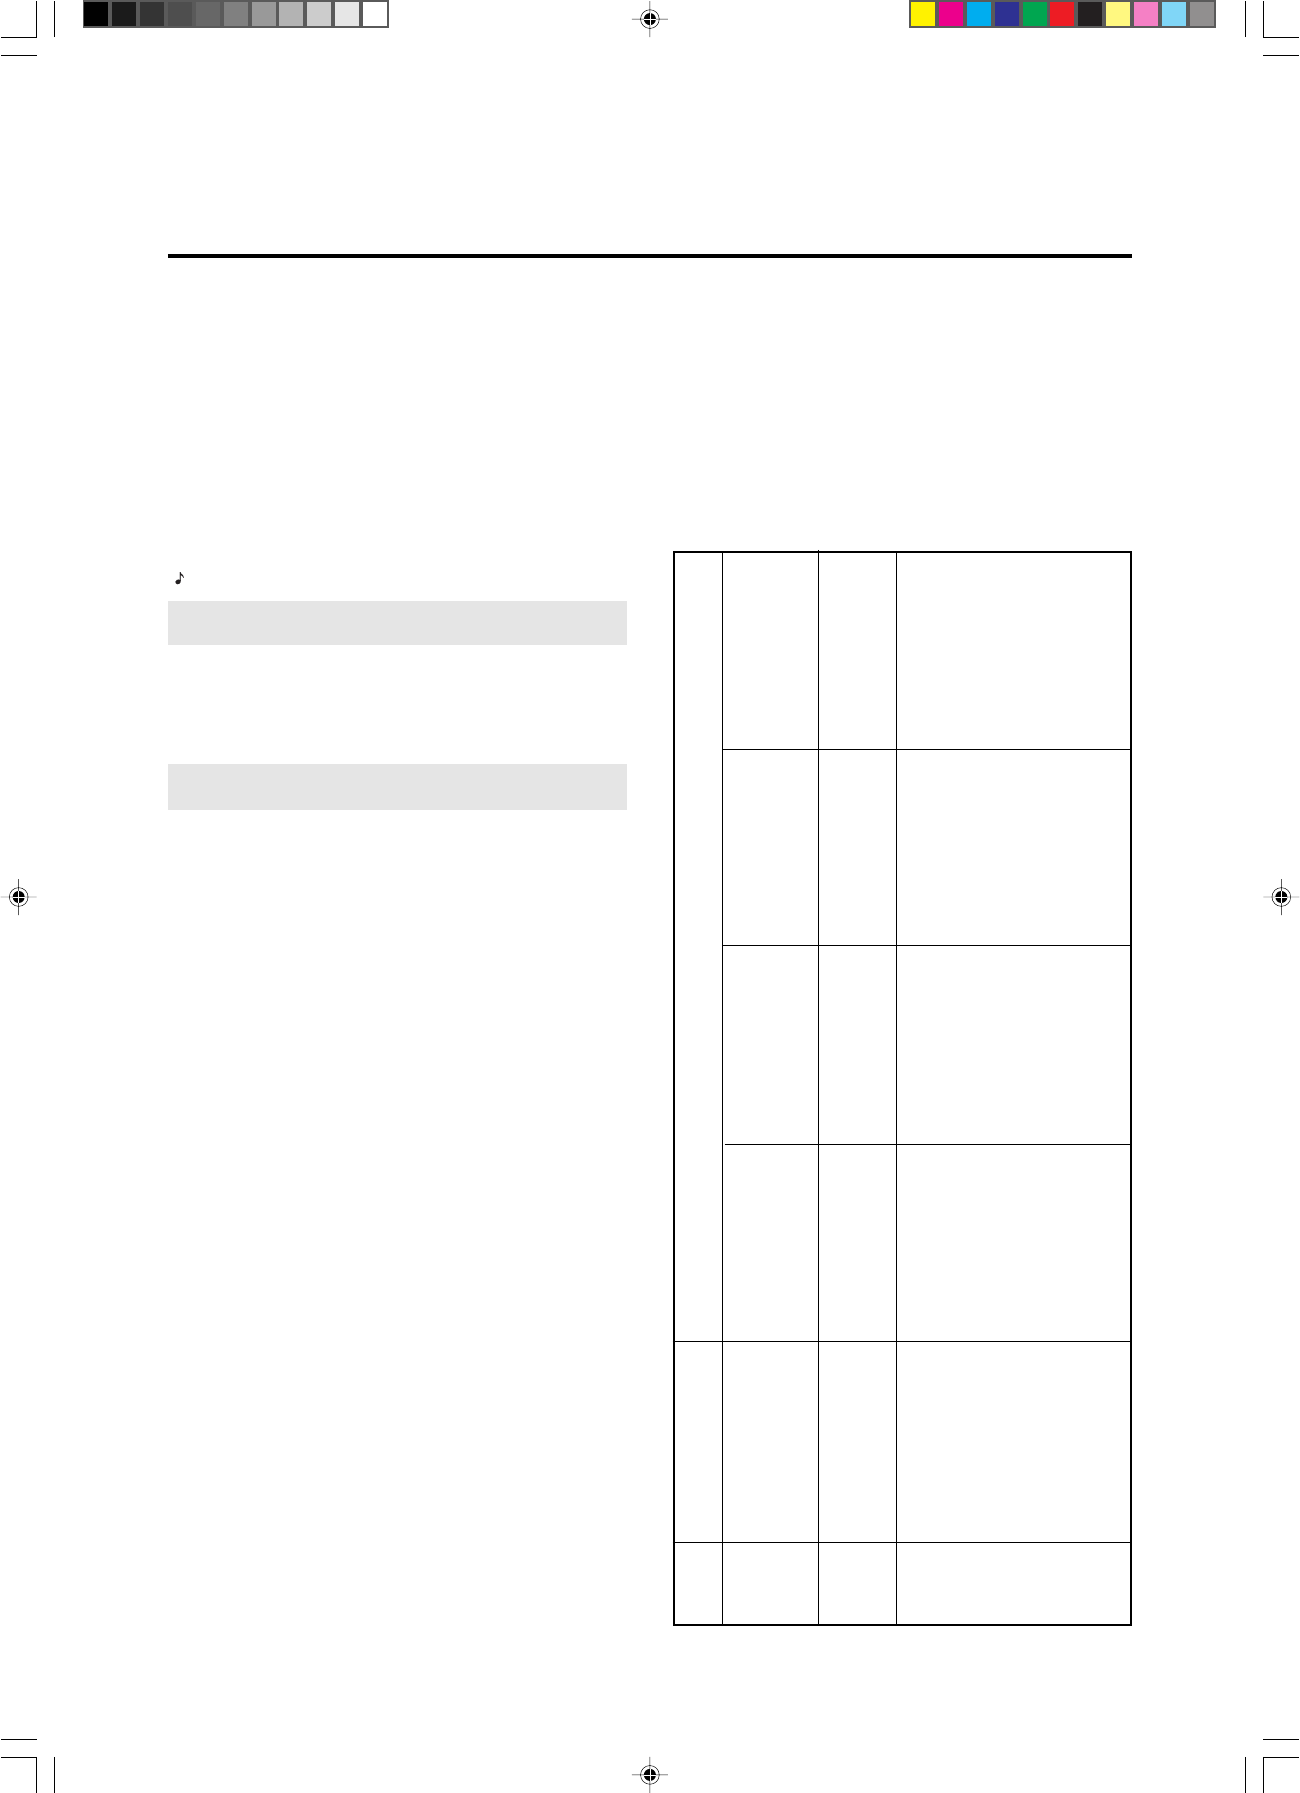
Direct Command Functions Listing
Within the RC2000MKII LCD window, each of the 8 Direct Function
buttons has 4 character label attached for pre-programmed remote com-
mands. These commands can be used with various Marantz A/V compo-
nents, or other components using the Philips RC-5 remote control lan-
guage.
You can easily replace the factory-supplied remote command codes with
different codes from other brands of equipment. Most functions that are
supplied apply to a wide variety of equipment from many companies.
The following list shows the remote code assignments for the direct func-
tion buttons, for each of the 10 main function selector buttons, as sup-
plied from the factory. You can add or replace function commands, in-
cluding re-naming them if you wish, in order to customize the
RC2000MKII for your own particular selection of A/V components.
AMP 1 MODE-1 1 AC-3
selects Dolby Digital (AC-3) decoding
2 RF selects Dolby Digital RF input
3 OPT selects optical digital input
4 COAX selects coaxial digital input
5 P/L Dolby Pro Logic decoding
6 6-CH activates 6 channel setup
7 2-CH Stereo (no surround decoding)
8 NITE selects NIGHT mode
2 MODE-2 1 AC-3
selects Dolby Digital (AC-3) decoding
2 P/L Dolby Pro Logic decoding
3 3-ST Dolby 3-stereo decoding
4 MOV Movie surround sound
5 THX THX Cinema decoding
6 MTRX Matrix surround sound
7 HALL Hall surround sound
8 2-CH Stereo (no surround decoding)
3 SETUP 1 TEST activates test tone
2 DLAY increases delay time
3 R-EQ activates RE-EQ function
4 ATT activates ATT function
5 CH+ next channel (up)
6 LVL+ increases channel level volume
7 LVL- decreases channel level volume
8 MLTI activates multi-room mode
4
PROCESSOR
1 RF selects Dolby Digital RF input
2 OPT selects optical digital input
3 COAX selects coaxial digital input
4 BYP bypasses Dolby Digital decoding
5 VOL+ increases Dolby Digital volume
6 VOL- decreases Dolby Digital volume
7 SLEP activates amplifier’s sleep timer
8 6-CH activates 6 channel setup
TUNER 1 BAND 1 FM FM band
2 AM AM/MW band
3 LW long wave band
4 BAND selects radio band
5 MODE mono/stereo/muting mode selector
6 TIME time display
7 F/P frequency or preset channel display
8 SCAN programmed preset channel scan
2 REC 1 TP-1 commands for Tape 1 control
(NO output)
2 REC record
PD4292D-2 00.10.4, 3:10 PM15