35
Reducing noise in the picture
Use these settings if the picture has noise due to poor re-
ception or when playing video tapes on which the picture
quality is poor.
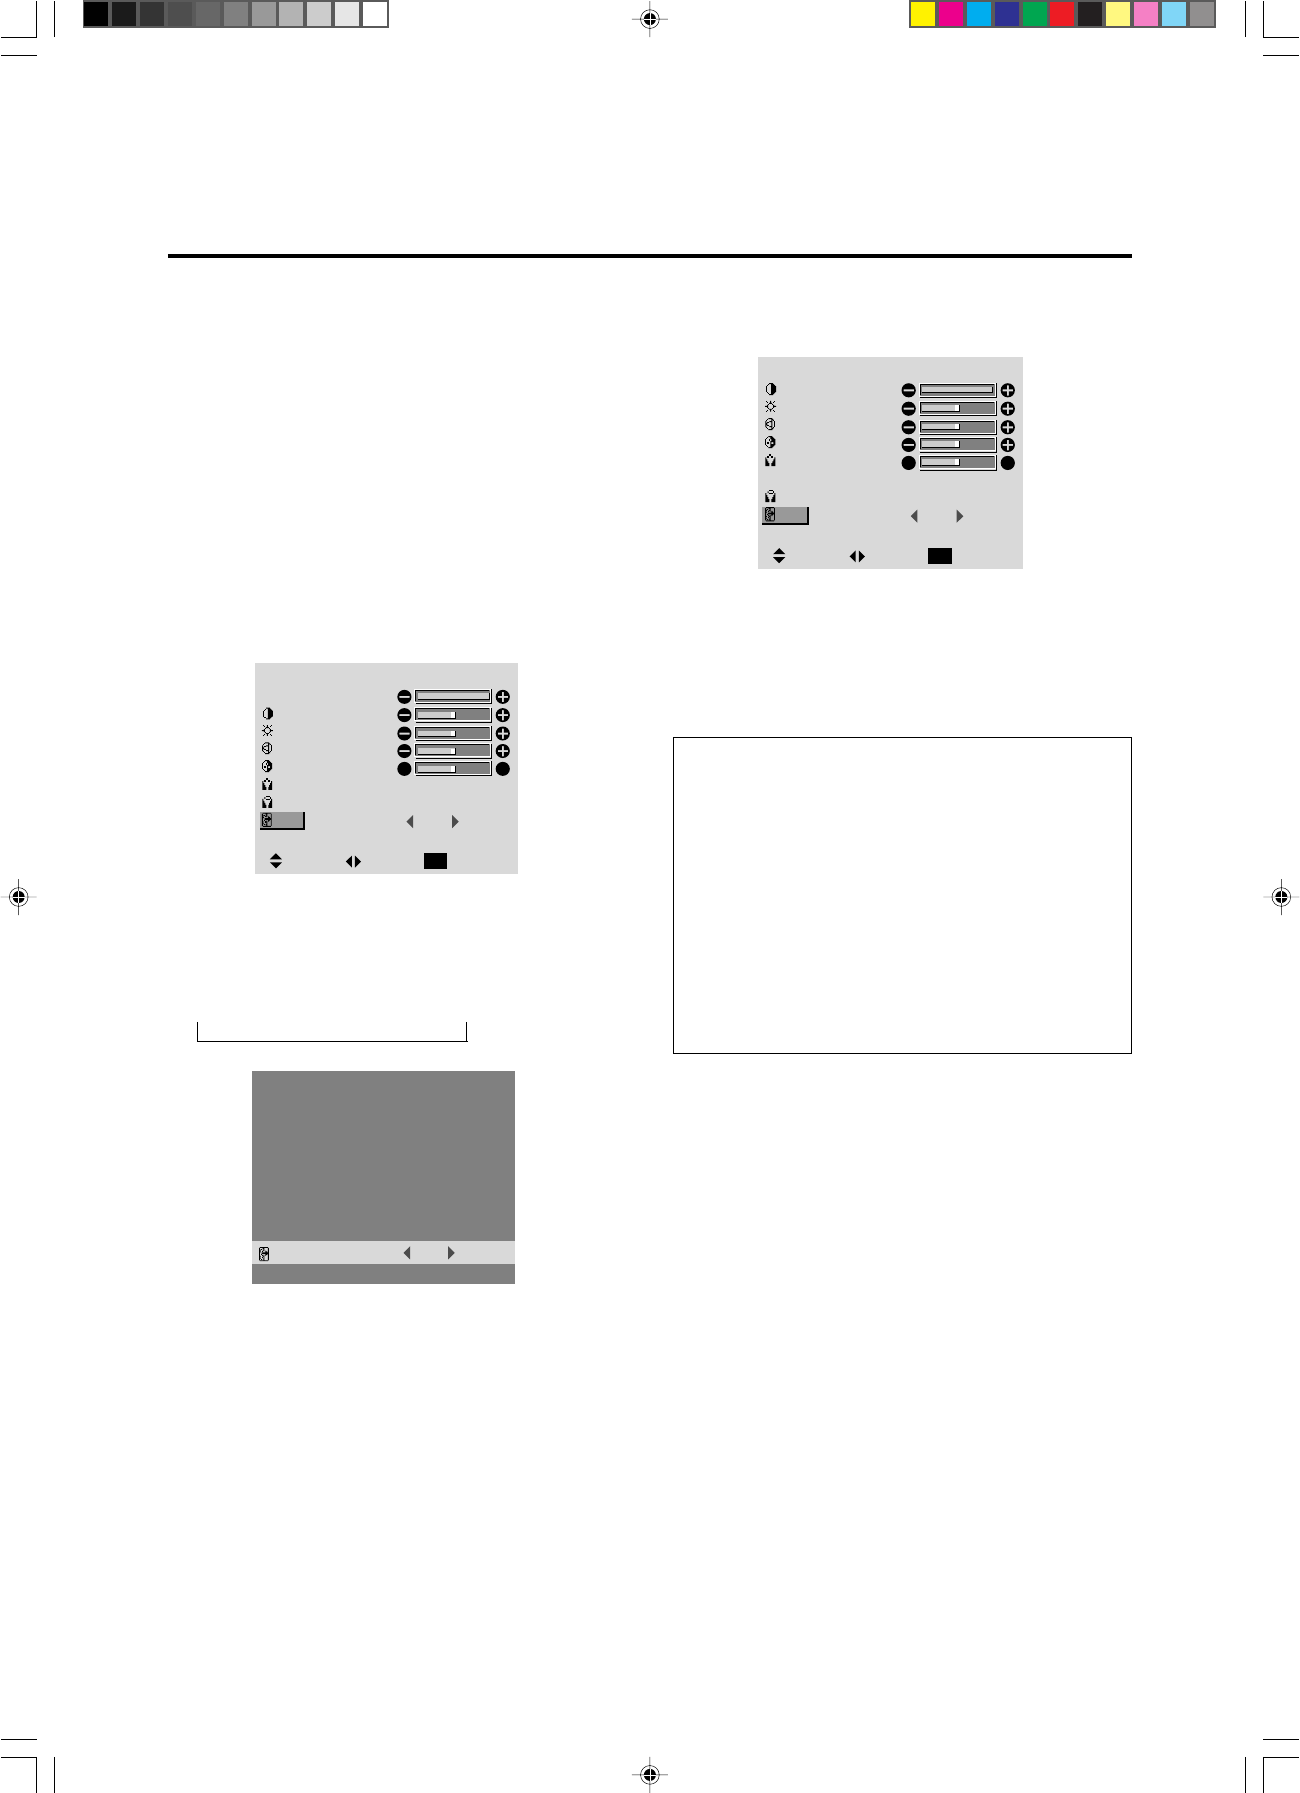
Example: Setting “NR-3”
Press the 3-D1(ON) button on the remote controller to
display the MAIN MENU on the screen, then...
1. Use the ▲ and ▼ buttons to select “PICTURE”, then
press the 3-D1(ON) button.
The “PICTURE” screen appears.
2. Use the ▲ and ▼ buttons to select “NR “.
4. Press the 3-D1(ON) button.
The noise reduction mode is set to “NR-3”.
NR
NR-3
:
3. Use the ᮤ and ᮣ buttons to select “NR-3”.
The mode switches as follows when the ᮤ and ᮣ but-
tons are pressed:
→ OFF ↔ NR–1 ↔ NR–2 ↔ NR–3 ←
* If neither the ᮤ or ᮣ button is pressed within 5 sec-
onds, the current selection is set and the previous
screen reappears.
5. Once the setting is completed ...
Press the “OK” button to return to the main menu.
To delete the main menu, press the “OK” button once
more.
Information
Ⅵ NR
* “NR” stands for Noise Reduction.
* This function reduces noise in the picture.
Ⅵ Types of noise reduction
There are three types of noise reduction. Each has a dif-
ferent level of noise reduction.
The effect becomes stronger as the number increases
(in the order NR-1 → NR-2 → NR-3).
OFF ..........Turns the noise reduction function off.
PICTURE
CONTRAST
BRIGHTNESS
SHARPNESS
COLOR
TINT
PICTURE MODE
COLOR TEMP.
NR
MEMORY
2
NR-3
:
:
:
RG
SEL. ADJ. RETURN
EXIT
PICTURE
CONTRAST
BRIGHTNESS
SHARPNESS
COLOR
TINT
PICTURE MODE
COLOR TEMP.
NR
MEMORY
2
NR-2
:
:
:
RG
SEL. ADJ. RETURN
EXIT
PD4292D-2 00.10.4, 3:11 PM35


