13
OKIPAGE
6e
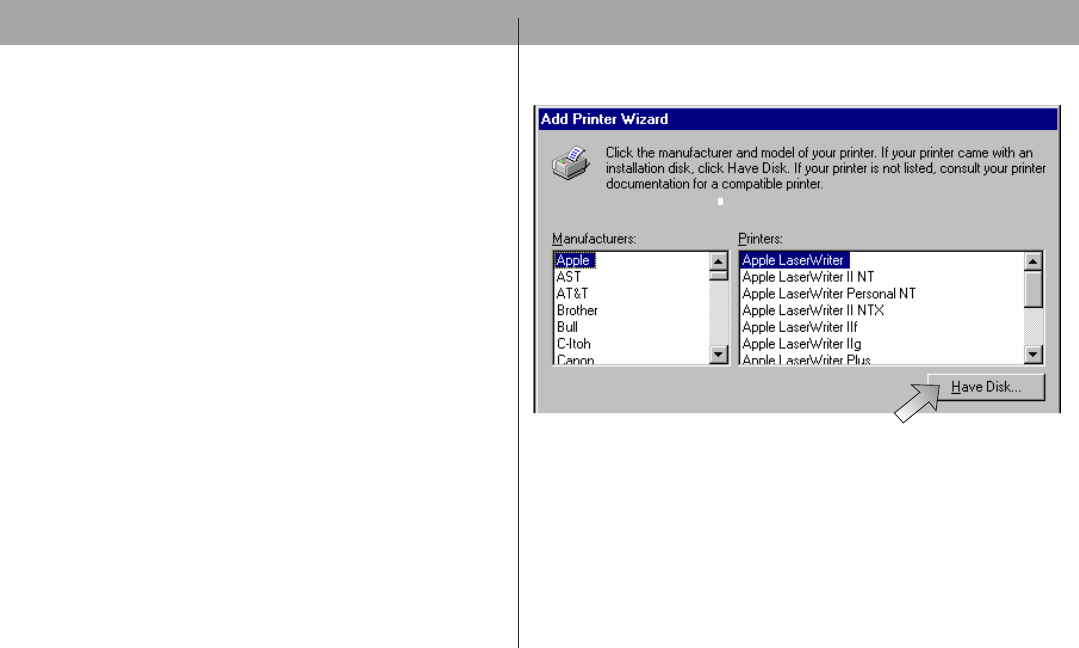
8. Click Have Disk.
9. Enter d:\ (or the location of your CD-ROM drive), then
click OK.
10.OKIDATA Okipage 6e Hi-Per W appears; click Next.
11.Click LPT1 Printer Port, then click Next.
12.Continue with the installation following the instructions
on your screen.
Section 2: Installing Printer Software
Installing the OKIPInstalling the OKIP
Installing the OKIPInstalling the OKIP
Installing the OKIP
AA
AA
A
GE 6e SGE 6e S
GE 6e SGE 6e S
GE 6e S
ofof
ofof
of
tt
tt
t
ww
ww
w
arar
arar
ar
e fe f
e fe f
e f
or or
or or
or
WW
WW
W
indoindo
indoindo
indo
ww
ww
w
s 95s 95
s 95s 95
s 95
.
1. Turn on your computer to start Windows.
✔
If “New Hardware Found” prompt appears, click
“Driver from disk provided by hardware
manufacturer,” then click OK. Insert the
OKIPAGE 6e CD into your CD-ROM drive and go
to step 9, then follow the instructions on your
screen.
2. Close any open applications.
3. Insert the OKIPAGE 6e CD into your CD-ROM
drive.
4. Click the Start button on the Windows taskbar, then
choose Settings→Printers.
5. Double-click the Add Printer icon.
6. The Add Printer Wizard screen appears; click Next
to begin the installation.
7. Select Local or Network printer, (depending on your
configuration), then click Next.


