24
4.7 Terminal Server Function
It is used to provide dedicated connectivity between computers and serial devices
through the iServer over the Ethernet, without dedicated wiring. The typical Internet
protocol consists of a request and a replay to that request. In this situation the server is
the Host that generates the request and receives the replay from the device, that gets
forwarded to the appropriate party on the network. But there are specific applications
where a message is generated by the device, and the server is simply passing the data
to the appropriate party on the network, in this situation the server acts as Slave.
Examples are the Attendance Time Clocks, Bar Code Readers, remote Displays or
Electronic signboards, etc.
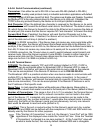
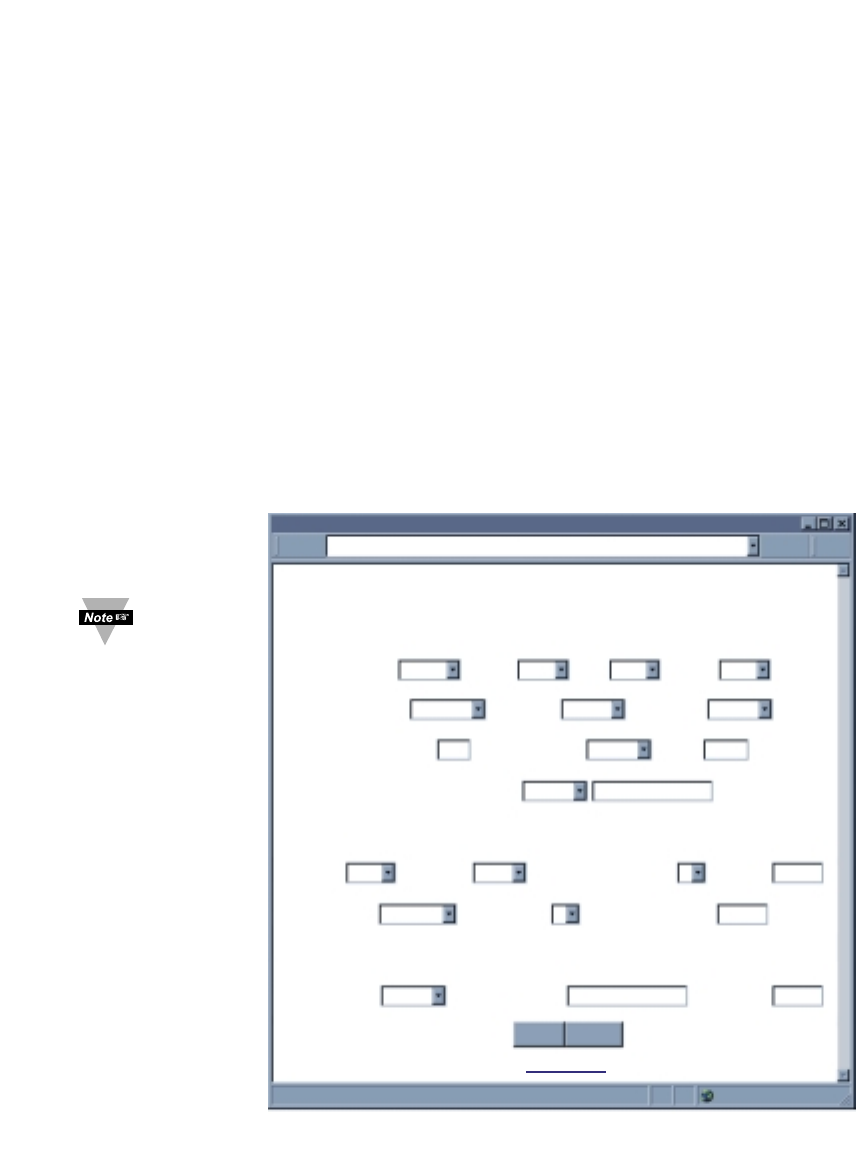
For the iServer to pass the data back and forth between its Serial and Ethernet
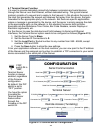
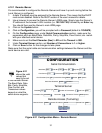
interfaces, the Terminal Server option needs to be configured as follows (Figure 4.13):
1. Set the Server Type to Slave
2. Set the Number of Connections to 0.
3. Set the Local Port or Socket number to any number from 599 - 65535, except
numbers 1000 and 2002.
4. Press the Save button to store the new settings.
From your application software on the host machine, you can now point to the IP address
of the iServer and the assigned port number to establish a TCP connection to your serial
device connected to the serial port of the iServer.
Figure 4.13 Terminal Server Configuration
CONFIGURATION
CONFIGURATION
http://192.168.1.200
Address
Serial Communication
Remote Access (Tunneling)
Terminal Server
Main Menu
Save Reset
Baud Rate 9600 Data Bit 7 Bits Parity odd Stop Bits1 bit
Flow Control none TranscieverRS-485
Modbus/TCP
disable
End Character (Hex) 0D Forward End Char enable
Timeout
0500 msecs
Serial Port Password disable 1234abcd
Connection Ctrl not used
Device No.
1
Connection Timeout 00100 msecs
TCP/UDP TCP
Server Type slave
Number of Connections
0
Local Port 02000
Remote Access
disable
Remote IP Address 0.0.0.0 Remote Port 02000
If DIP
switch #4 is
“ON”,
Terminal Server
function is always
enabled, regardless
of the firmware
configuration.
By default, this DIP
switch is set to
“OFF” position.
You have the option
to enable the
Terminal Server
feature either
through the
firmware or the DIP
switch #4.


