


Setup
16
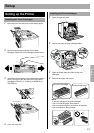
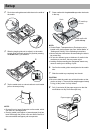
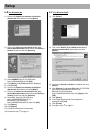
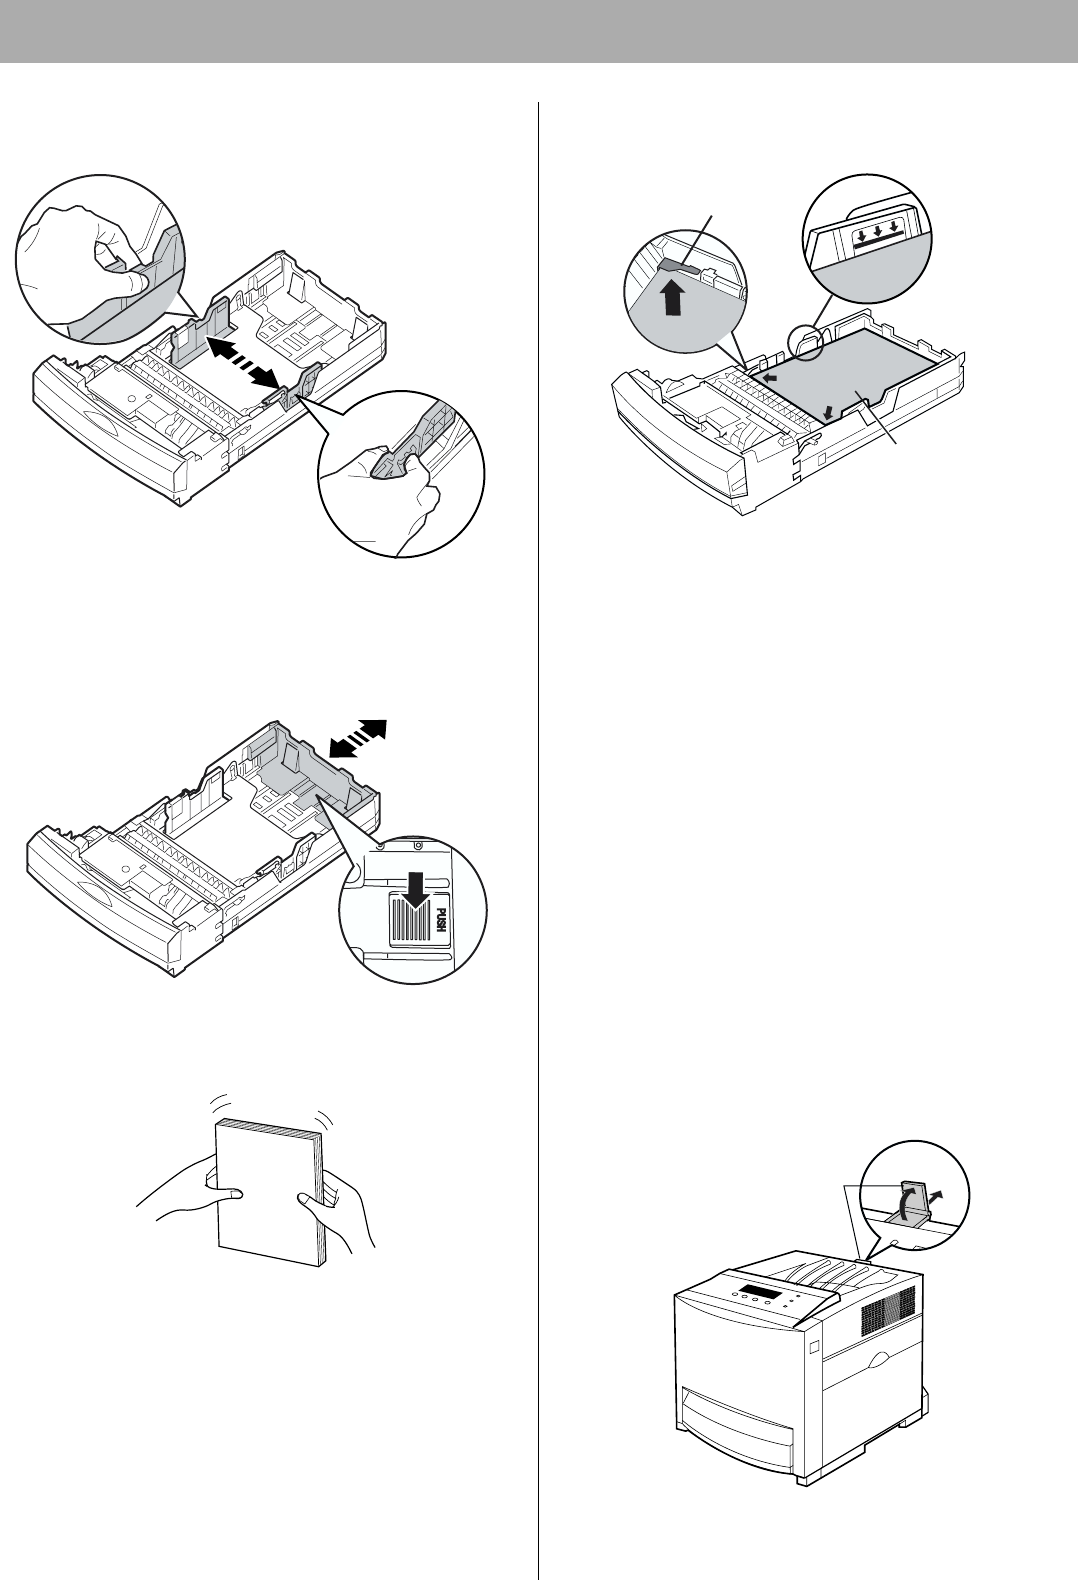
2 Pinch the media guides and slide them to the width of
the media.
3 Slide the length guide unit to adjust it to the media
length. Slide the length guide unit (2) while pressing
the PUSH mark (1) to extend it.
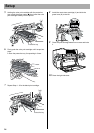
4 Tap the media stack on a level surface to avoid media
jams or skewed printing.
NOTE:
• Be careful not to leave fingerprints on the media, which
can result in a smudged print.
• Reusing media (used paper or jammed paper) that has
been fed through the printer once can reduce the life of
the consumables and paper path components.
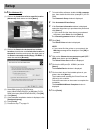
5 Place media with the print side up under the hooks
in the tray.
NOTE:
• Coated Paper, Transparencies or Envelopes can be
loaded in the multi-purpose tray. See “About Media” of
“Setting and Printing” in the Operating Instructions.
• Most media has instructions recommending the side to
be printed first.
• Do not mix different types or thickness of media in the
media tray at one time; this may cause a jam.
• Loading media exceeding the designated sheets may
cause a media jam or shifting of print.
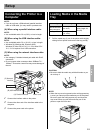
6 Confirm the media guides are adjusted to the media
size.
7 Slide the media tray completely into the slot.
CAUTION
• Be sure to hold the media tray with both hands so that
you do not drop it. The media tray weighs approximately
6.4 kg (14 lbs.) when it is fully loaded.
8 Pull (1) and raise (2) the paper support so that the
media does not drop from the output tray.
11
2
Fill media up
to here.
Load media with
print side up.
Hook
Paper support
1
2