


Setup
18
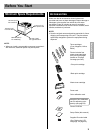
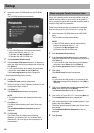
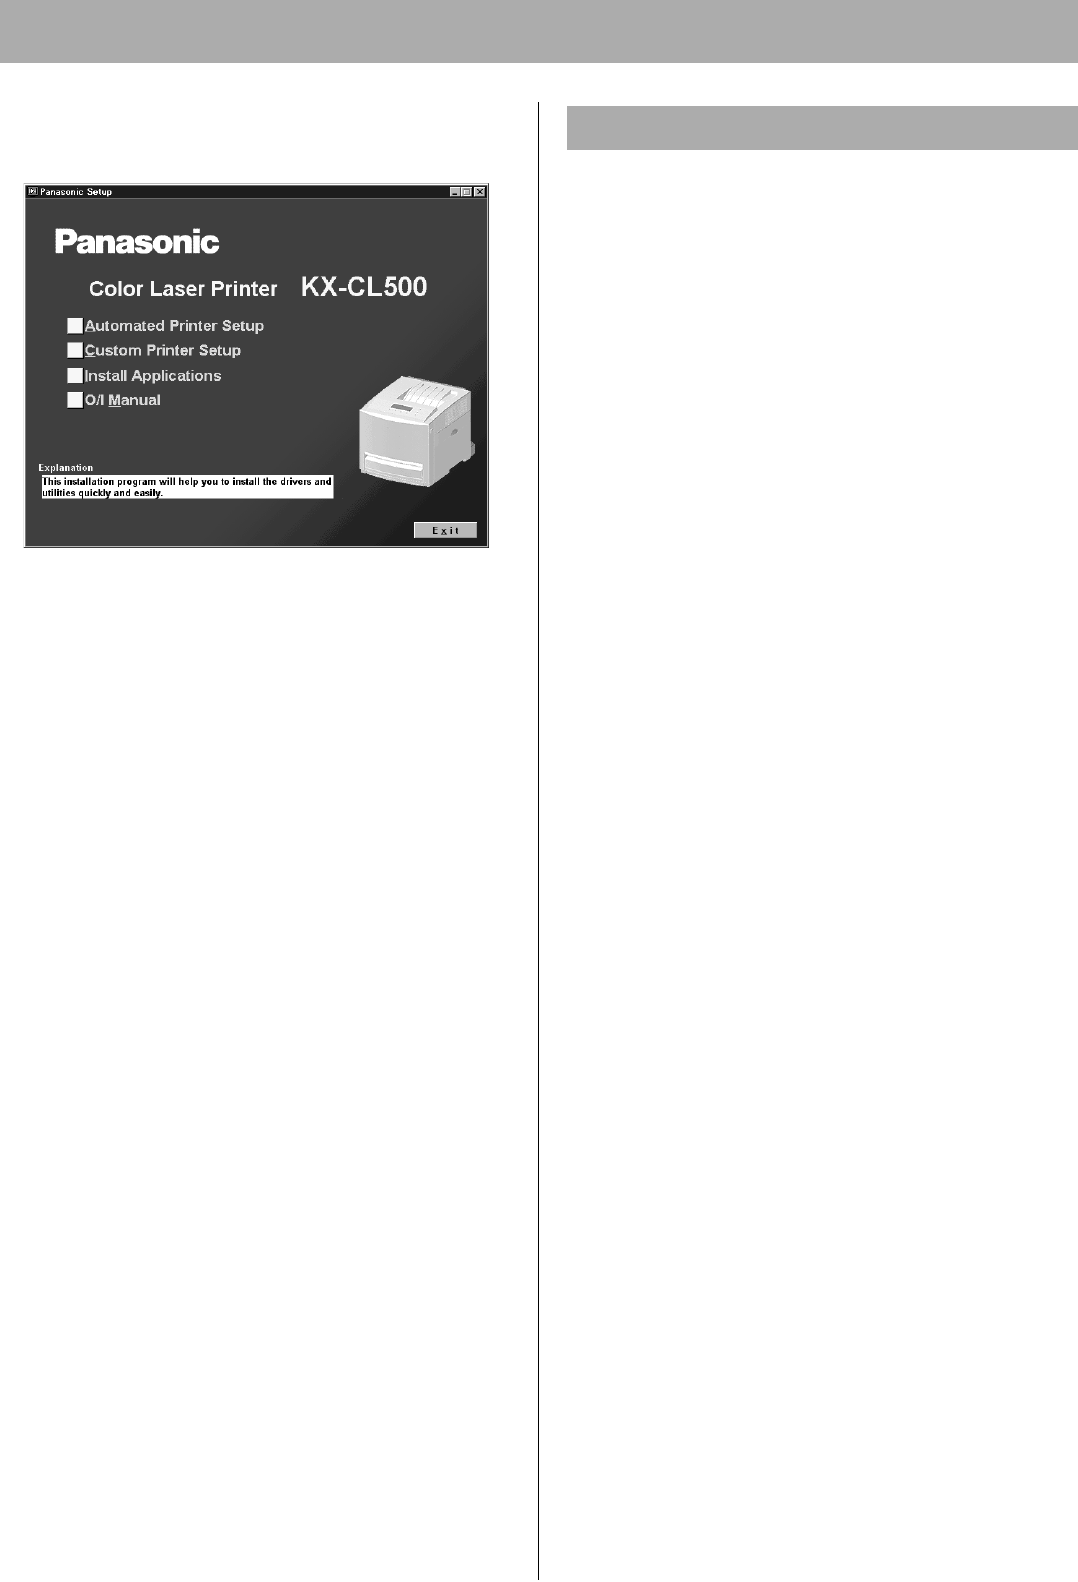
1 Insert the printer CD-ROM disk into the CD-ROM
drive.
The CD-ROM launches automatically.
NOTE:
• If the CD-ROM does not launch automatically,
perform the following steps (1) - (2).
(1) Double click My computer icon.
(2) Double click the CD-ROM icon.
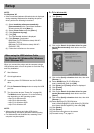
2 Click Automated Printer Setup.
3 If the Purchase Information window*
1
is displayed,
select the shop where you purchased the printer and
click [Next >].
• If you cannot find the shop where you purchased
the printer, select Other and click [Next >].
The License Agreement window is displayed.
*
1
Displayed depending on the country.
4 Click [Yes].
The Select Printer window is displayed.
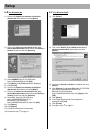
5 Select the printer of the IP Address confirmed on the
Configuration Page at Step 2.
6 Click [Next >].
The Installed Device window is displayed.
NOTE:
• The installed devices are already detected and
checked.
7 Click [Next >].
This wizard starts installing the Printer Driver and
Utilities.
The InstallShield Wizard Complete window is
displayed.
8 Click [Finish].
The printer driver is installed after restarting
Windows. (For Windows NT 4.0, Windows 2000,
Windows XP, you must log on the computer as an
Administrator.)
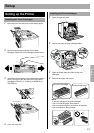
When you install the printer driver and utilities using the
parallel interface cable, be sure to turn off the printer or
not to connect the printer with a parallel interface cable to
avoid the Plug and Play installation.
Perform the following steps to complete the installation,
then turn the printer on (see “Power On” on page 29).
1 Insert the printer CD-ROM disk into the CD-ROM
drive.
The CD-ROM launches automatically.
NOTE:
• If the CD-ROM does not launch automatically,
perform the following steps (1) - (2).
(1) Double click My computer icon.
(2) Double click the CD-ROM icon.
2 Click Automated Printer Setup.
3 If the Purchase Information
window is displayed,
select the shop where you purchased the printer and
click [Next >].
• If you cannot find the shop where you purchased
the printer, select Other and click [Next >].
The License Agreement window is displayed.
4 Click [Yes].
The Select Printer window is displayed.
NOTE:
• If you cannot find the printer on your network, the
Warning message will be displayed. Click [OK] to
continue.
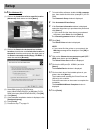
5 Click on the Choose the current port myself (LPT /
USB) check button and click [Next>].
The Select Printer Port window is displayed.
6 Click on the LPT port (Ex. LPT1:) and click [Next >].
The Installed Device window is displayed.
7 Click on the check box of the installed options in your
printer, then Click [Next >].
The Setup program starts installing the Printer Driver
and Utilities.
The InstallShield Wizard Complete window is
displayed.
8 Click [Finish].
When using the Parallel Interface Cable