


Setup
21
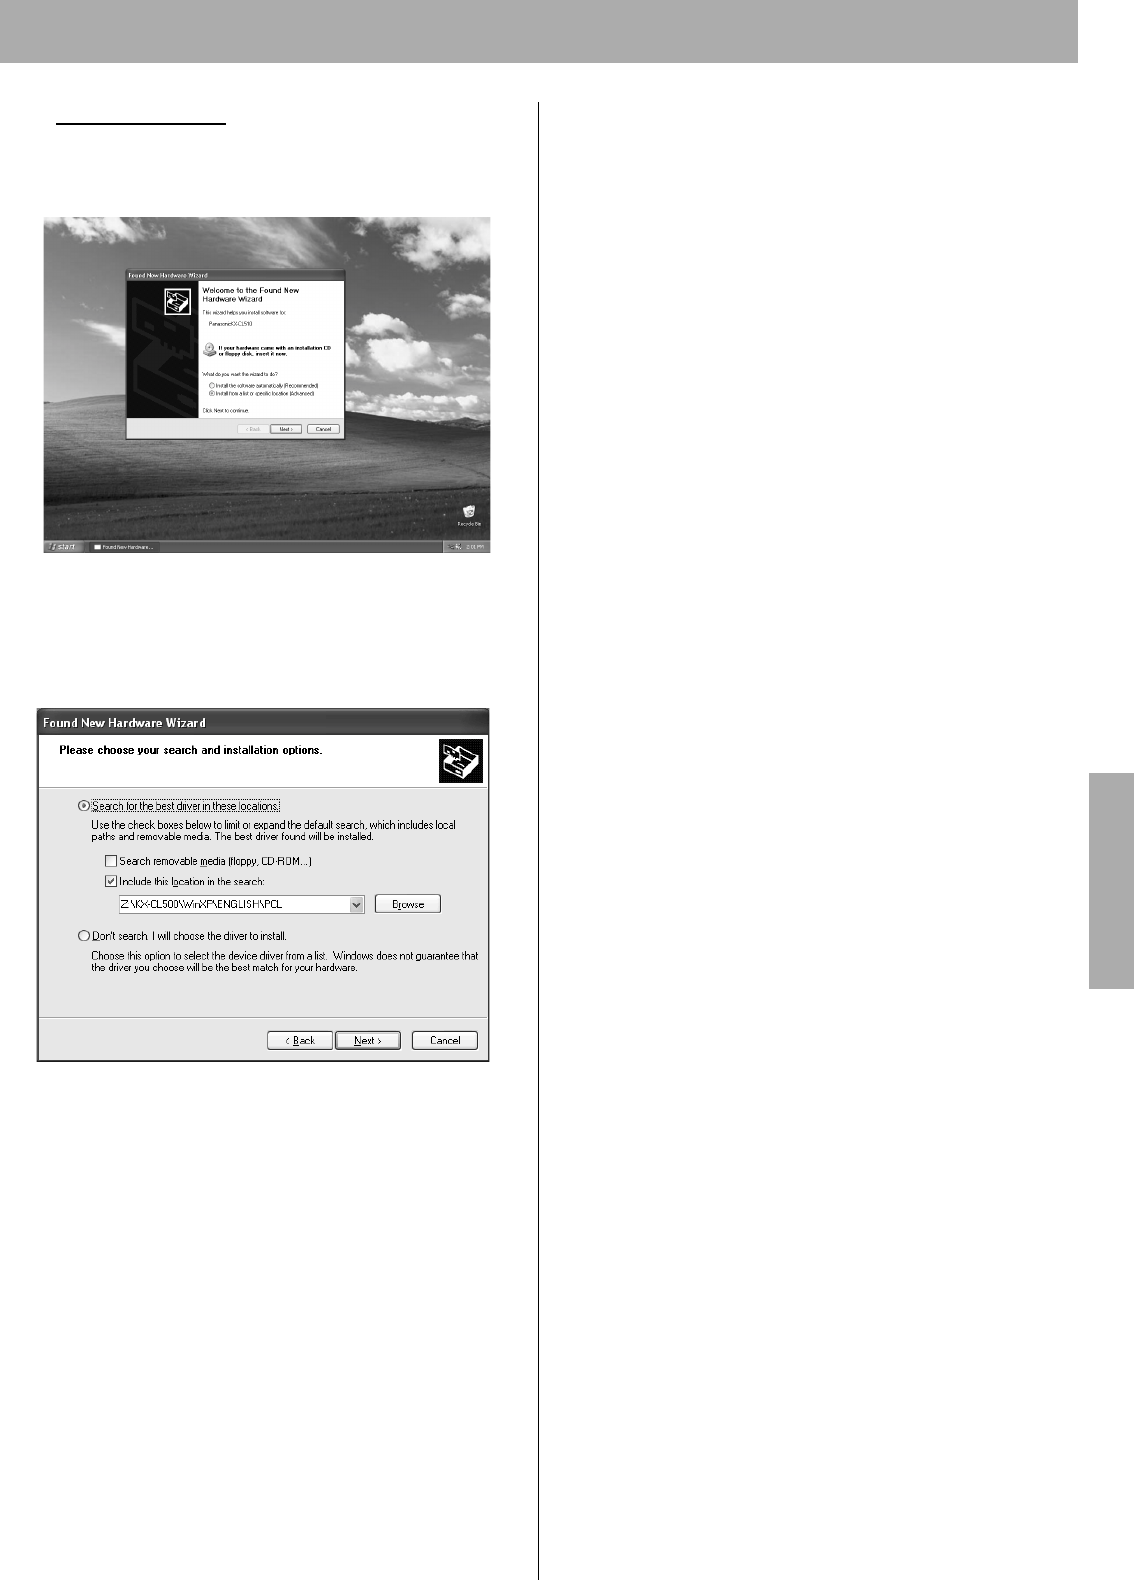
6-D (For Windows XP)
(1) Click on the Install from a list or specific location
(Advanced) check button and click [Next>].
(2) Click on the Search for the best driver in these
locations check button and Include this location in
the search check box and remove the check mark of
the Search removable media (floppy, CD-ROM...)
check box and click [Browse].
(3) Select PCL folder [D (CD-ROM drive
letter):\WinXP\ENGLISH\PCL] or PS folder [D (CD-
ROM drive letter):\WinXP\ENGLISH\PS]. Click [OK].
(4) Click [Next>].
(5) If the Hardware Installation window is displayed, click
[Continue Anyway].
(6) Click [Finish].
(7) Proceed to step
7 on page 21.
7 To install utilities software, double click My computer
icon, then double click the drive (example D:) for CD-
ROM.
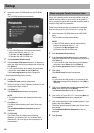
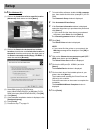
The Panasonic Setup window is displayed.
8 Click Automated Printer Setup.
9 If the Purchase Information window is displayed,
select the shop where you purchased the printer and
click [Next >].
• If you cannot find the shop where you purchased
the printer, select Other and click [Next >].
The License Agreement window is displayed.
10 Click [Yes].
The Select Printer window is displayed.
NOTE:
• If you cannot find the printer on your network, the
Warning message will be displayed. Click [OK] to
continue.
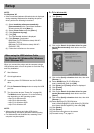
11 Click on the Choose the current port myself (LPT /
USB) check button and click [Next>].
The Select Printer Port window is displayed.
12 Click on the USB port (Ex. USB001) and click
[Next >].
The Installed Device window is displayed.
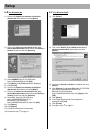
13 Click on check box of the installed options in your
printer, then click [Next >].
The Installer starts installing the Printer Driver and
Utilities by this condition.
Follow the instruction on the screen to complete the
installation.
The InstallShield Wizard Complete window is
displayed.
14 Click [Finish].
Setup