


[DISPLAY OPTION] menu
58 - ENGLISH
Settings
■ When selecting [DEFAULT] or
[WIDE] in Step 3)
4) Press the <ENTER> button.
z
Automatic adjustment is executed.
[PROGRESS] is displayed while automatically
adjusting. When the adjustment is complete,
the system returns to the [AUTO SETUP]
screen.
■ When selecting [USER] in Step 3)
4) Press ▲▼ to select [DISPLAY DOTS]
and press ◀▶ to adjust [DISPLAY
DOTS] to the horizontal resolution of
the signal sou
rce.
5) Press ▲▼ to select [MODE].
6) Press the <ENTER> button.
z
Automatic adjustment is executed.
[PROGRESS] is displayed while automatically
adjusting. When the adjustment is complete,
the system returns to the [AUTO SETUP]
screen.
[DVI-D IN]
You can switch the setting when the external
equipment is connected to the <DVI-D IN> terminal of
the projector and the image is not projected correctly.
1) Press ▲▼ to select [DVI-D IN].
2) Press the <ENTER> button.
z
The [DVI-D IN] screen is displayed.
3) Press ▲▼ to select [DVI EDID].
4) Press ◀▶ to switch [DVI EDID].
z
The setting will change as follows each time
you press the button.
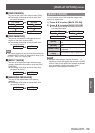
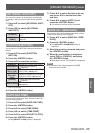
[EDID3] [EDID1] [EDID2:PC]
[EDID3]
Switch between ne settings for a
moving image and for a still image.
[EDID1]
Select this mainly when an
external device (DVD player, etc.)
for outputting video signals of a
moving image system is connected
to DVI-D IN.
[EDID2:PC]
Mainly use this when an external
device (PC, etc.) for outputting
video signals of a still image
system is connected to DVI-D IN.
5) Press ▲▼ to select [DVI SIGNAL
LEVEL].
6) Press ◀▶ to switch [DVI SIGNAL
LEVEL].
z
The setting will change as follows each time
you press the button.
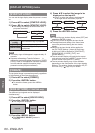
[0-255:PC] [16-235]
[0-255:PC]
Select when the external equipment
(computers, etc.) is connected via
DVI terminal output.
[16-235]
Select when the external equipment
(DVD players, etc.) is connected
via HDMI terminal output using a
conversion cable, etc.
Note
z
The optimal setting is different depending on the output
setting of the connected external equipment. Refer
to the instruction manual of the external equipment
regarding the output of the external equipment.
z
The data for Plug and play will change when the
setting is changed. Refer to
“
List of compatible
signals
”
(
page 102) for the resolution supporting the
Plug and play.
[ON-SCREEN DISPLAY]
You can set the on-screen display.
1) Press
▲▼
to select [ON-SCREEN
DISPLAY].
2) Press the <ENTER> button.
z
The [ON-SCREEN DISPLAY] screen is
displayed.
3) Press
▲▼
to select an item, and press
◀▶ to change the setting.
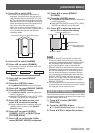
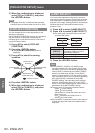
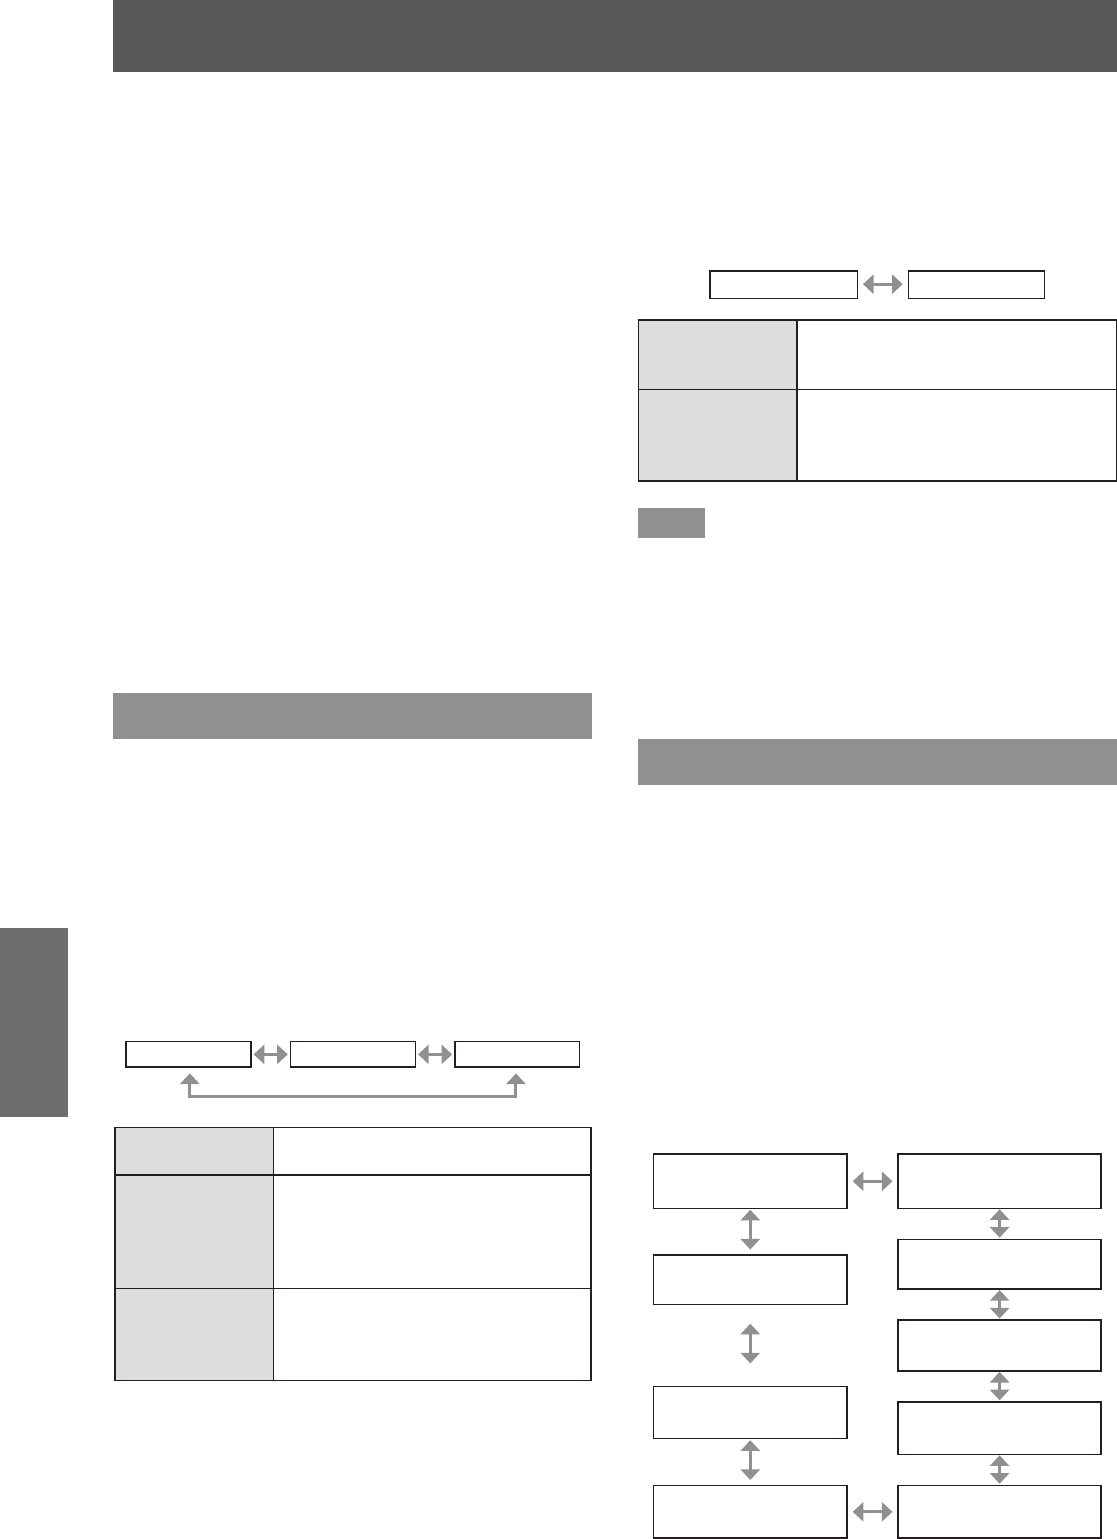
■ [OSD POSITION]
Set the position of the menu screen (OSD).
z
The setting will change as follows each time
you press the button.
[2](Center left of
the screen)
[3](Bottom left of the
screen)
[4](Top center of the
screen)
[1](Top left of the
screen)
[5](Center of the
screen)
[9](Bottom right of
the screen)
[6](Bottom center of
the screen)
[8](Center right of
the screen)
[7](Top right of the
screen)