


Maintenance/Replacement
92 - ENGLISH
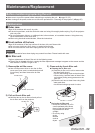
Maintenance
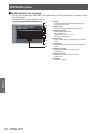
■ Replacing the lamp unit
Attention
z
When the projector is mounted on the ceiling, do not put your face near the lamp unit.
z
Securely attach the lamp unit and lamp unit cover.
z
If the lamp unit is not installed properly, remove it and then install it again. Pushing it in forcibly may break the
connector.
1) Follow the procedures described in
“Powering off the projector” (
page 35)
to set the <MAIN POWER> switch to
<
OFF>, disconnect the power plug
from the power outlet, and wait at least
one hour, and then check if the lamp
unit has cooled down.
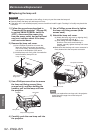
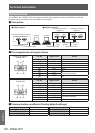
2) Remove the lamp unit cover.
(a) Use a Phillips screwdriver to loosen the
lamp unit cover xing screw (one screw)
until it turns freely, and then open the lamp
unit cover in the direction of the arrow.
(b) Hold the lamp unit rmly, slide it towards the
control buttons, then pull it out.
(a)
(b)
Lamp unit cover
Lamp unit cover
fixing screw
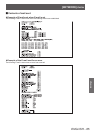
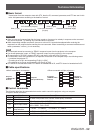
3) Use a Phillips screw driver to remove
the lamp unit xing screws (three
screws each), and then holding the
handles, pull out the lamp unit from
the projector.
Handles
Lamp unit 1
Lamp unit 2
Lamp unit fixing screws
4) Carefully push the new lamp unit into
the projector.
5) Use a Phillips screw driver to tighten
the lamp unit xing screws (three
screws each).
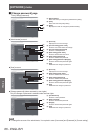
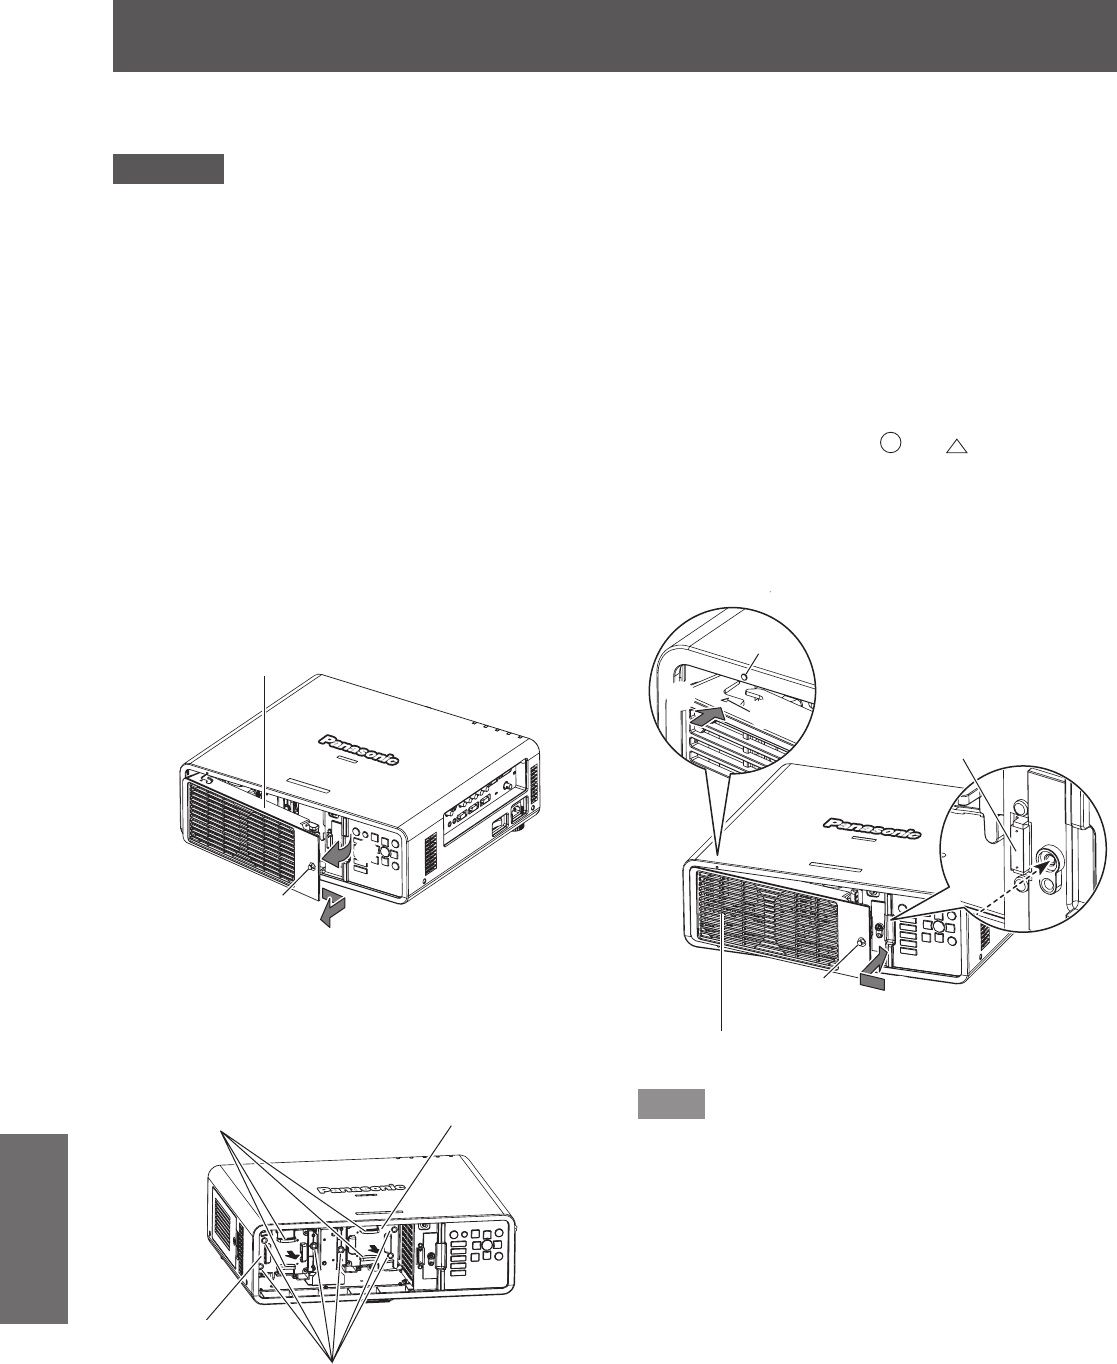
6) Attach the lamp unit cover.
(a) Attach the lamp unit cover by aligning the (i)
and (ii) symbols (
and ).
(b) After sliding the lamp unit cover in the
direction of the arrow and inserting it
forward, securely tighten the lamp unit cover
xing screw.
z
Make sure that the lamp unit cover connector is
rmly inserted into the fan power connector.
(a)
(b)
(i)
(ii)
Fan power connector
Lamp unit cover
fixing screw
Lamp unit cover
Note
z
When you replace the new lamp unit, the projector
resets the total usage time of the lamp unit
automatically.