


Getting Started with the DA700/DA750 Printer • 2
2-7SV61027 Rev. D
Assembling the
DA700/DA750
(continued)
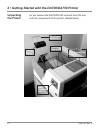
Install the Sliding Fence
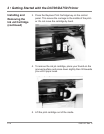
The DA700/DA750 has two fences—a long one and a short
one. Use the short fence when printing material smaller than
a #10 envelope. Use the long fence for larger material.
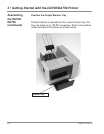
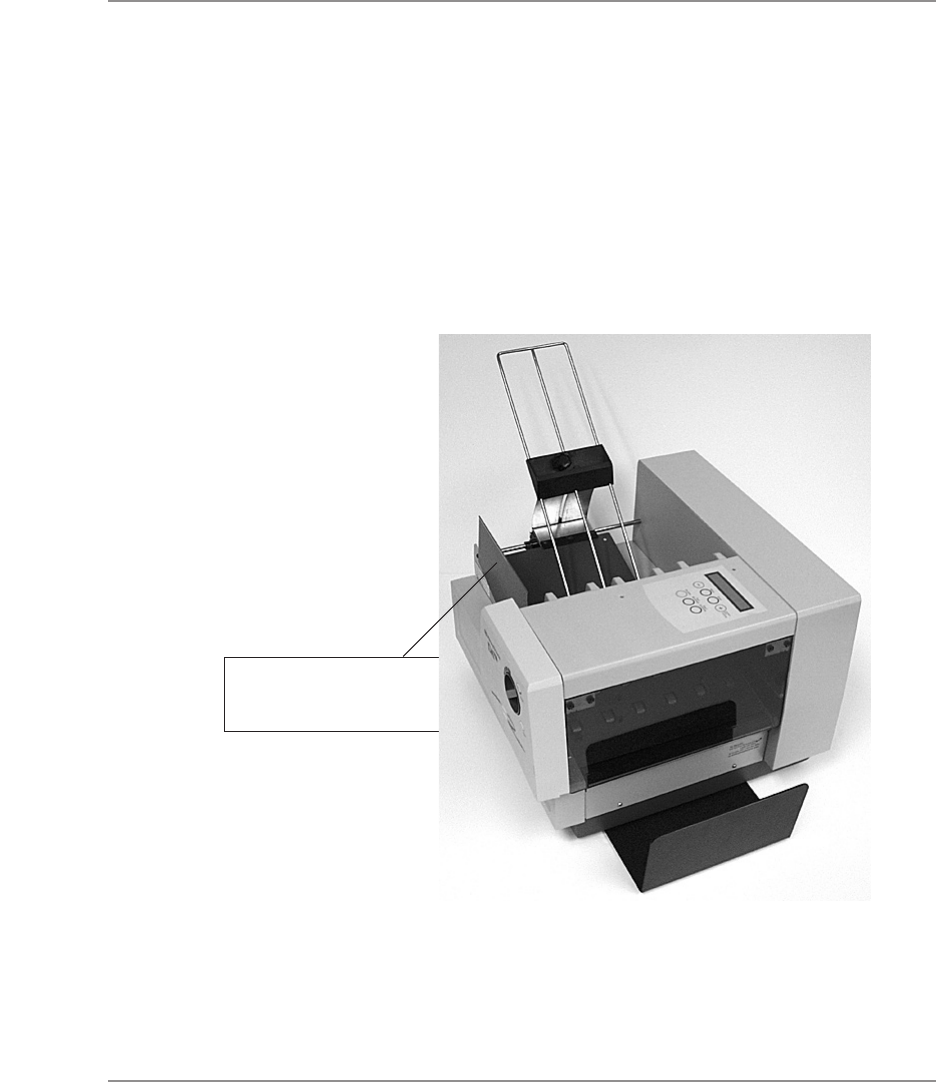
1. Slide the square edge of the sliding fence into the slots
on the frame slide as shown below.
Insert Sliding Fence
between Slide Guides
and Feed Carriage.
2. The next chapter explains how to set the fence to the
width of the material you’re running.