


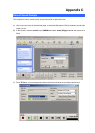
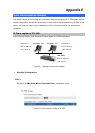


STEP 4:
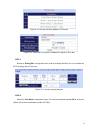
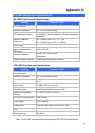
Browse to “IP PBX Setup Æ Trunk Management Æ Gateway Trunk” configuration menu. Fill in
the IP address of VIP-480FO for connecting with VIP-480FO by peer-to-peer mode, and press the
“Insert” button for activate the configuration.
Figure D-12. Add a Gateway trunk for connecting with VIP-480FO
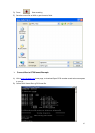
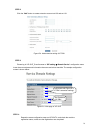
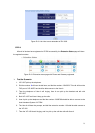
STEP 5:
Browse to “IP PBX Setup Æ Trunk Management Æ Trunk Group” configuration menu. Add a
Trunk Group for making
off-Net calls via VIP-480FO.
Figure D-13. Add Trunk Group number for grabbing the FXO ports of VIP-480FO
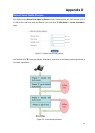
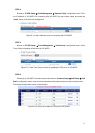
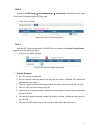
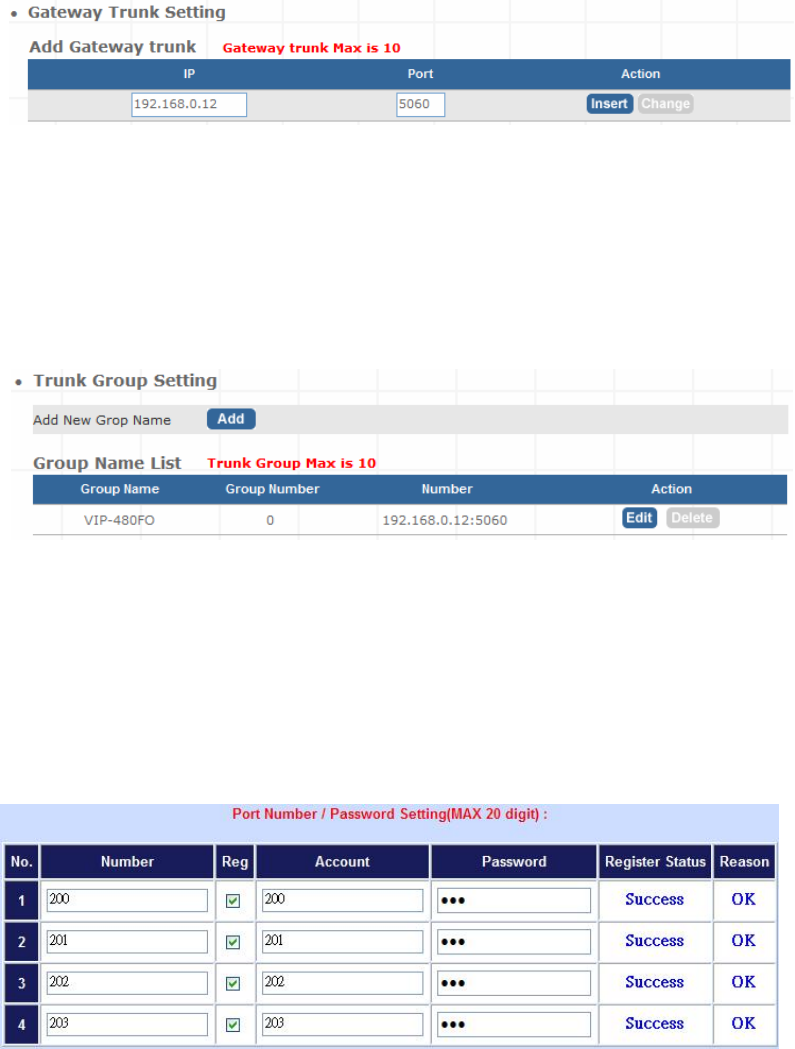
STEP 6:
Please log in VIP-480FO via web browser and browse to “Advance Setup Æ VoIP Setup Æ VoIP
Basic” configuration menu. Insert the account/password information and set up the hunting function.
The sample configuration screen is shown below:
Figure D-14. Set up the number of FXO ports of VIP-480FO
73