User’s Guide • 2–13
Chapter 2 • Detailed Setup
To connect an NTSC, PAL, or SECAM source to your Desktop
Projector:
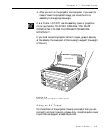
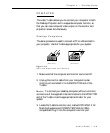
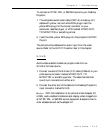
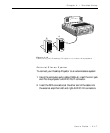
1. The composite audio/video cable (C497–6) is made up of 3
cables with yellow, red, and white RCA plugs. Insert the
yellow RCA plug into the circular connector on your
camcorder, laserdisc player, or VCR marked VIDEO OUT,
TO MONITOR, or something similar.
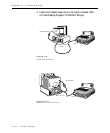
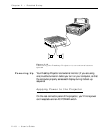
2. Insert the other yellow RCA plug into the projector's VIDEO
IN port.
The red and white cables are for audio input from the video
source. Refer to the AUDIO IN section later in this chapter.
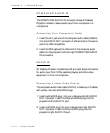
S–VHS
Audio/video-enabled models can project video from an
S-VHS or S-Video source.
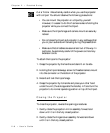
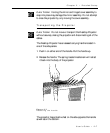
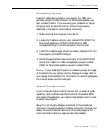
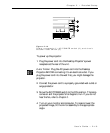
1. Connect one end of the S-Video (Y-C) cable (C466–6) to your
video source connector marked VIDEO OUT, TO
MONITOR, or something similar. The cable has identical
round 4-pin connectors on either end.
2. Connect the other end of the cable to the Desktop Projector's
input connector marked S-VHS.
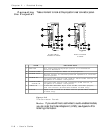
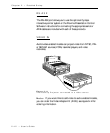
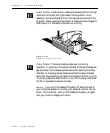
Note: With the installation of an optional Video Adapter Kit
(A195), audio-enabled models can also display video images from
an NTSC, PAL, or SECAM source. Appendix B explains how to
order accessories such as the adapter kit.


