


2–14 • User’s Guide
Chapter 2 • Detailed Setup
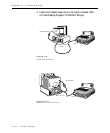
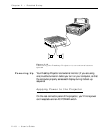
COMPUTER AUDIO IN
The COMPUTER AUDIO IN connector allows all Desktop
Projector models to receive audio input from a computer or a
microphone.
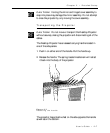
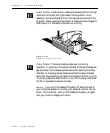
Connecting Your Computer’s Audio
1. Insert the mini jack end of the computer audio cable (C498-6)
into the AUDIO OUT connector of a Macintosh or the sound
card of an IBM compatible.
2. Insert the RCA jacks at the other end of the computer audio
cable into the projector’s left and right COMPUTER AUDIO
IN connectors.
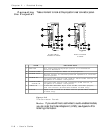
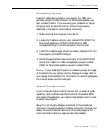
AUDIO IN
All Desktop Projector models have left and right stereo connectors
for audio input from VCRs, laserdisc players, and other video
equipment, or from a microphone.
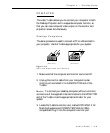
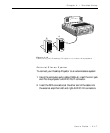
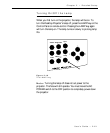
Connecting a Video Audio Source
The composite audio/video cable (C497-6) is made up of 3 cables
with yellow, red, and white RCA plugs.
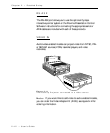
1. Insert a white RCA plug into your video source’s left AUDIO
OUT connector. Insert the other white RCA plug into the
projector's left AUDIO IN port.
2. Insert a red RCA plug into your video source’s right AUDIO
OUT connector. Insert the other red RCA plug into the
projector's right AUDIO IN port.