


Installation
26 Runco CL-610 Series Owner’s Operating Manual
PRE
L
IMINAR
Y
3.10
Installing and
Adjusting the
CineWide Anamorphic
Lens
If you are installing a CineWide-equipped projector, proceed as follows to install and
adjust the anamorphic lens.
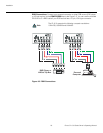
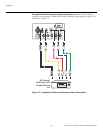
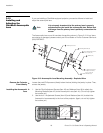
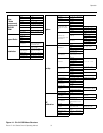
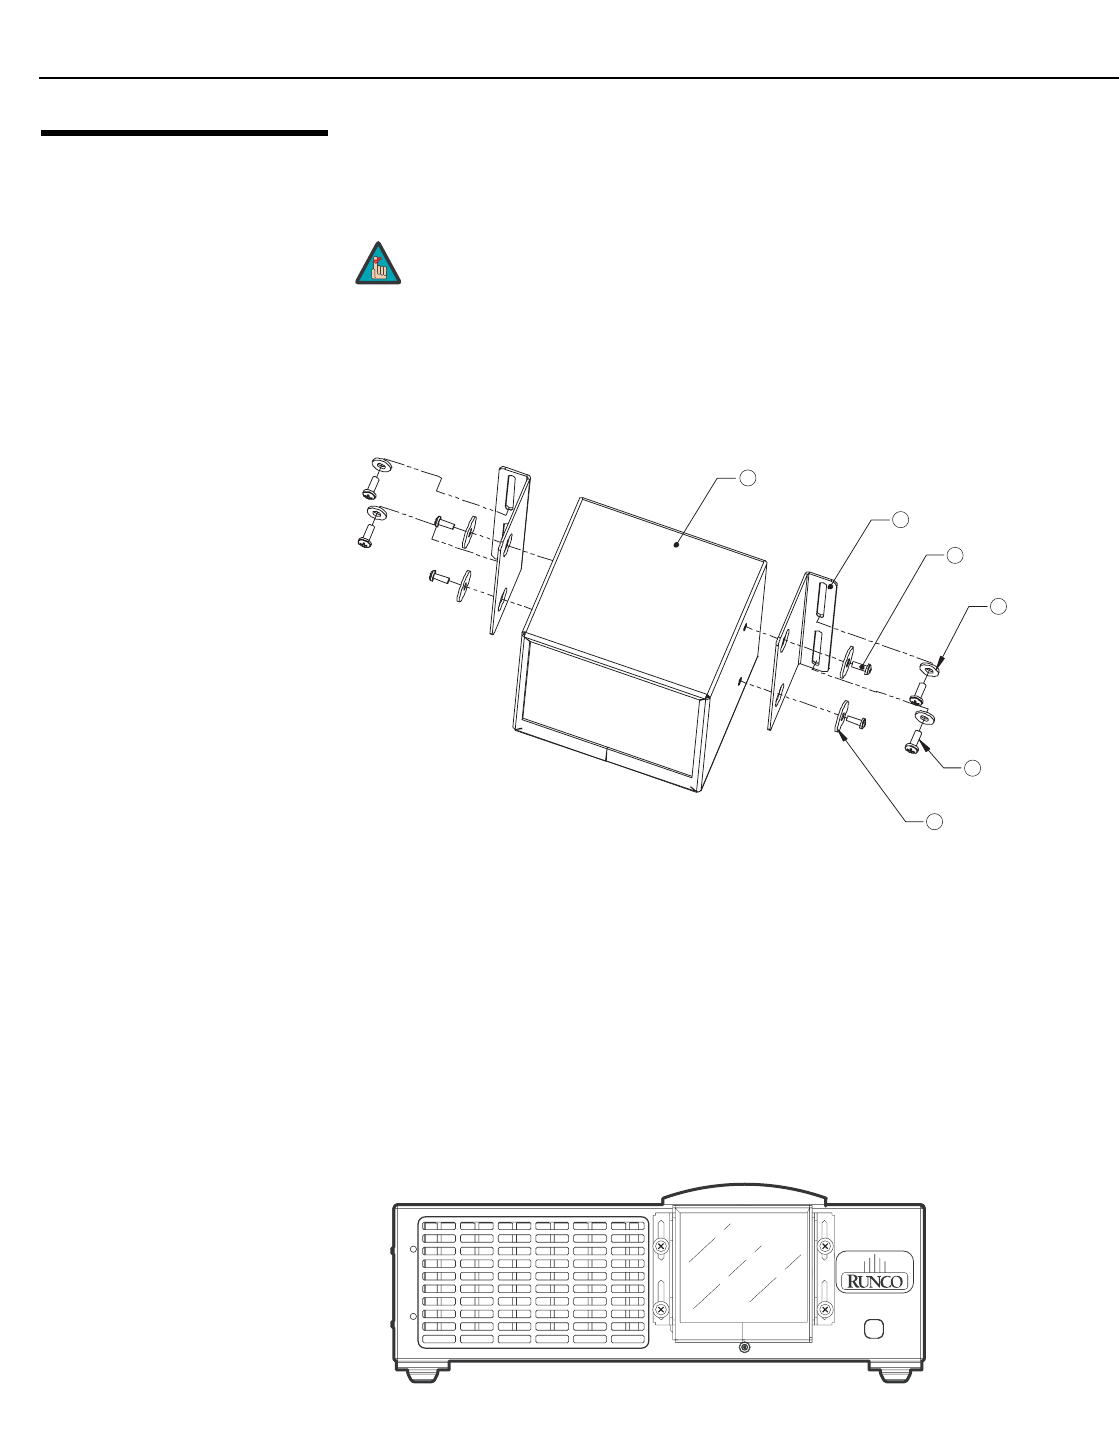
The Anamorphic lens mount kit consists of everything shown in Figure 3-10. If any items
are missing or damaged, please contact your Runco dealer or Runco Customer Service at
(800) 23RUNCO.
Figure 3-10. Anamorphic Lens Mounting Assembly - Exploded View
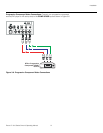
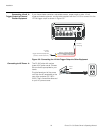
Remove the Projector
Front Jewelry
Loosen the small Phillips screw (directly below the lens) holding the jewelry in place. Then,
remove the jewelry.
Installing the Anamorphic
Lens
1. Use the Pitch Adjustment Screws (item #3) and Washers (item #6) to attach the
Mounting Brackets (item #2) to the Anamorphic Lens (item #1). (Do not fully tighten
the screws yet.)
2. Use the four Y-Adjustment Screws (item #5) and Washers (item #4) to attach the
Anamorphic Lens assembly to the front of the projector. (Again, do not fully tighten
the screws yet.)
It is extremely important that the primary lens is properly
adjusted before you install the anamorphic lens. Ensure that
the image from the primary lens is perfectly centered on the
screen.
Note
3 Pitch Adjustment Screw,
4-40 x 5/16" (4x)
6 Fender Washer (4x)
2 Mounting Bracket (2x)
4 Washer (4x)
5 Y-Adjustment Screw,
Phillips Pan-Head,
6-32 x 3/8" (4x)
1 Anamorphic Lens
➤
➤