


18
Chapter 2 Installation
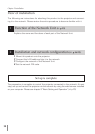
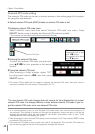
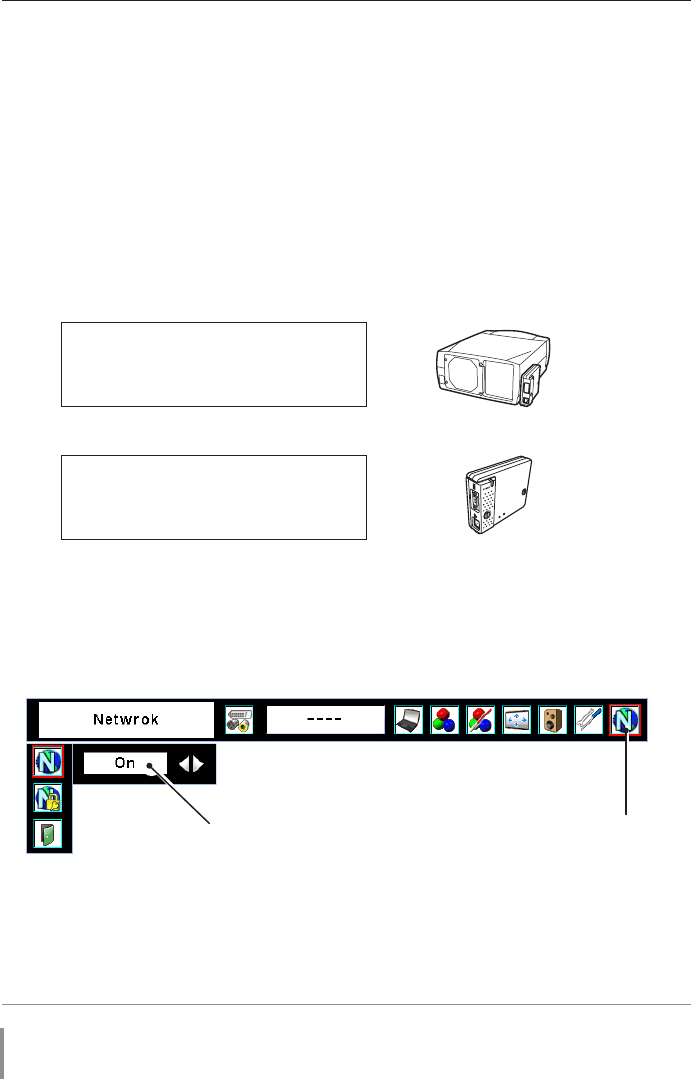
1 Selection of network menu
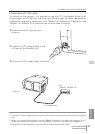
Turn on the projector and display the menu on the screen. Select network icon from
the main menu and then press
SELECT button once. Check that the mode is "On".
If not, change mode to "On" using the pointer buttons (
7,8).
Network configuration
Confirmation of the network menu
When installing this product to the projector, the network on-screen menu items for
this product are activated automatically. If not activated, the product may not have
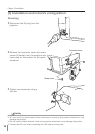
been installed correctly. Please check item "Mounting" (
☞ p.16).
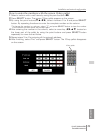
Configure the network
Before performing the network configuration, prepare network address numbers (IP
Address, Subnet Mask, Default Gateway, DNS) assigned to the projector. Ask your
network administrator for the network address.
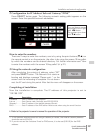
For example, the case where the following network address is set up is explained.
IP Address : 192.168.1.201
Subnet Mask : 255.255.255.0
Default Gateway : 192.168.1.1
DNS : 0.0.0.0
The default network configuration is set as follows.
IP Address : 192.168.0.2
Subnet Mask : 255.255.255.0
Default Gateway : 0.0.0.0
DNS : 0.0.0.0
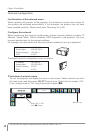
L
I
N
K
A
C
T
Network icon
Select "On" or "Off"
with 7,8 button
✐ The network unit begins restarting each time the mode is set "On".