


5-68
SCANNER/INTERNET FAX
Contents
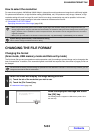
CHANGING THE COLOUR MODE
This procedure is used to change the colour mode used to scan the original when the [START] key is pressed.
This function cannot be used in Internet fax mode.
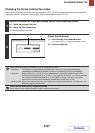
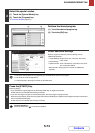
Mode Scanning method
Auto Greyscale
The machine detects whether the original is colour or black and white and automatically selects full
colour or black and white (Mono2 or Greyscale) scanning.
Mono2
Full Colour The original is scanned in full colour. This mode is best for full colour originals such as catalogues.
Greyscale The colours in the original are scanned in black and white as shades of grey (greyscale).
Mono2 Colours in the original are scanned as black or white. This mode is best for text-only originals.
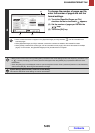
1
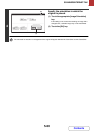
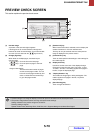
Select the mode and display the colour mode settings screen.
(1) Touch the tab of the mode that you wish to use.
(2) Touch the [Colour Mode] key.
☞ IMAGE SETTINGS (page 5-53)
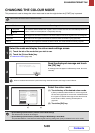
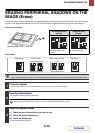
2
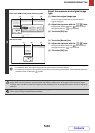
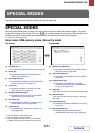
Read the displayed message and touch
the [OK] key.
A message does not appear in USB memory mode. Go to the
next step.
When a broadcast transmission is performed using mixed send modes, the image is sent in Mono2.
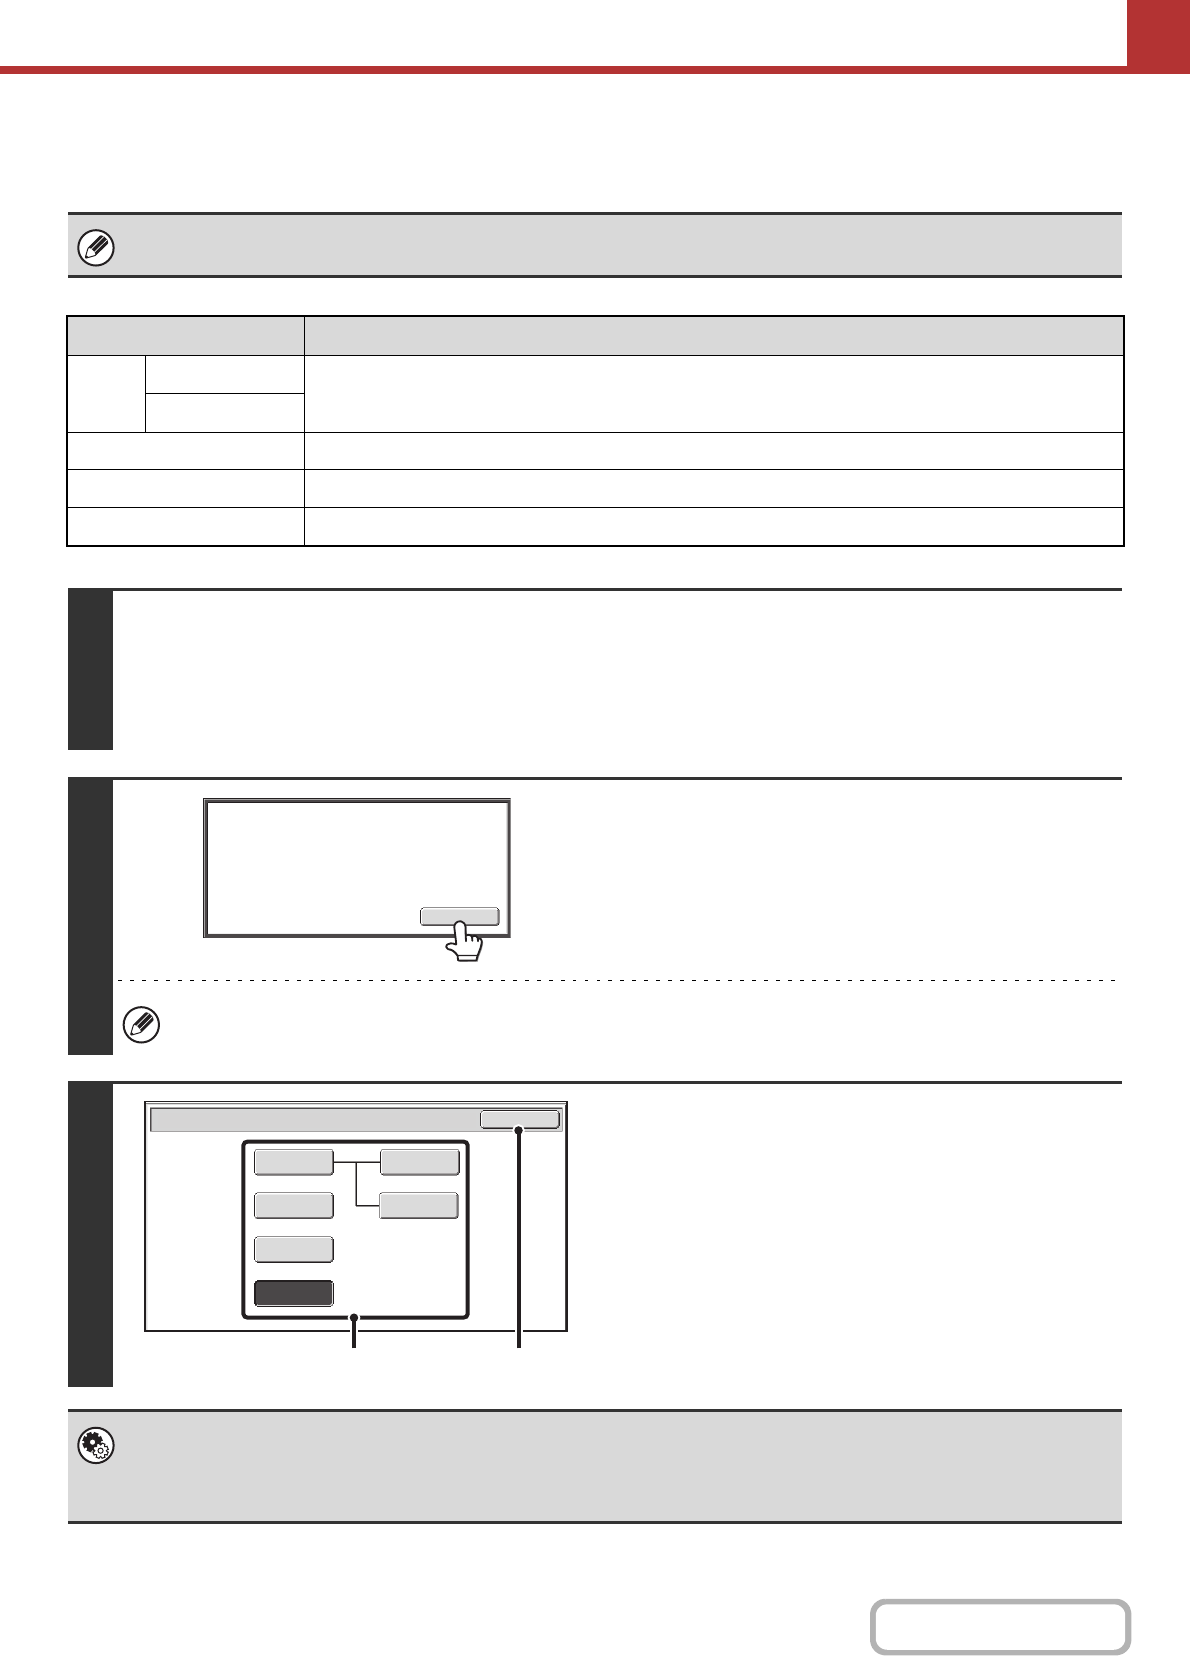
3
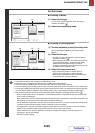
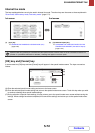
Select the colour mode.
(1) Touch the key of the desired colour mode.
If [Auto] is selected, select whether or not the original will
be scanned in greyscale or mono2 when it is detected that
the original is a black & white original. Note that if the file
format is set to JPEG, scanning will take place in
greyscale.
(2) Touch the [OK] key.
• System Settings (Administrator): Default Colour Mode Settings
The default colour mode can be changed.
• System Settings (Administrator): Disable Change of B/W Setting in Auto Mode
This prohibits selection of the black and white original scanning setting when [Auto] is selected for the colour mode.
Image will be sent in [Mono2]
if Fax or I-Fax destination is included.
OK
Scan/Colour Mode
OK
Mono2
Greyscale
Mono2
Mono2
Greyscale
Auto
Full Colour
(1) (2)