


80
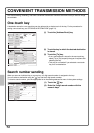
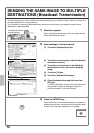
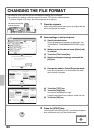
CHANGING THE FILE FORMAT
The format for scan send (file type and compression method) can be changed.
The procedure for sending a scanned image in full colour TIFF format is explained below.
* To scan an original in full colour, the colour expansion kit is required.
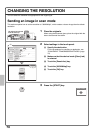
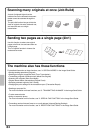
1 Place the originals.
When using the document glass, place the original with the
side to be scanned face down.
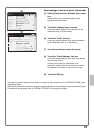
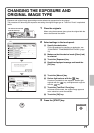
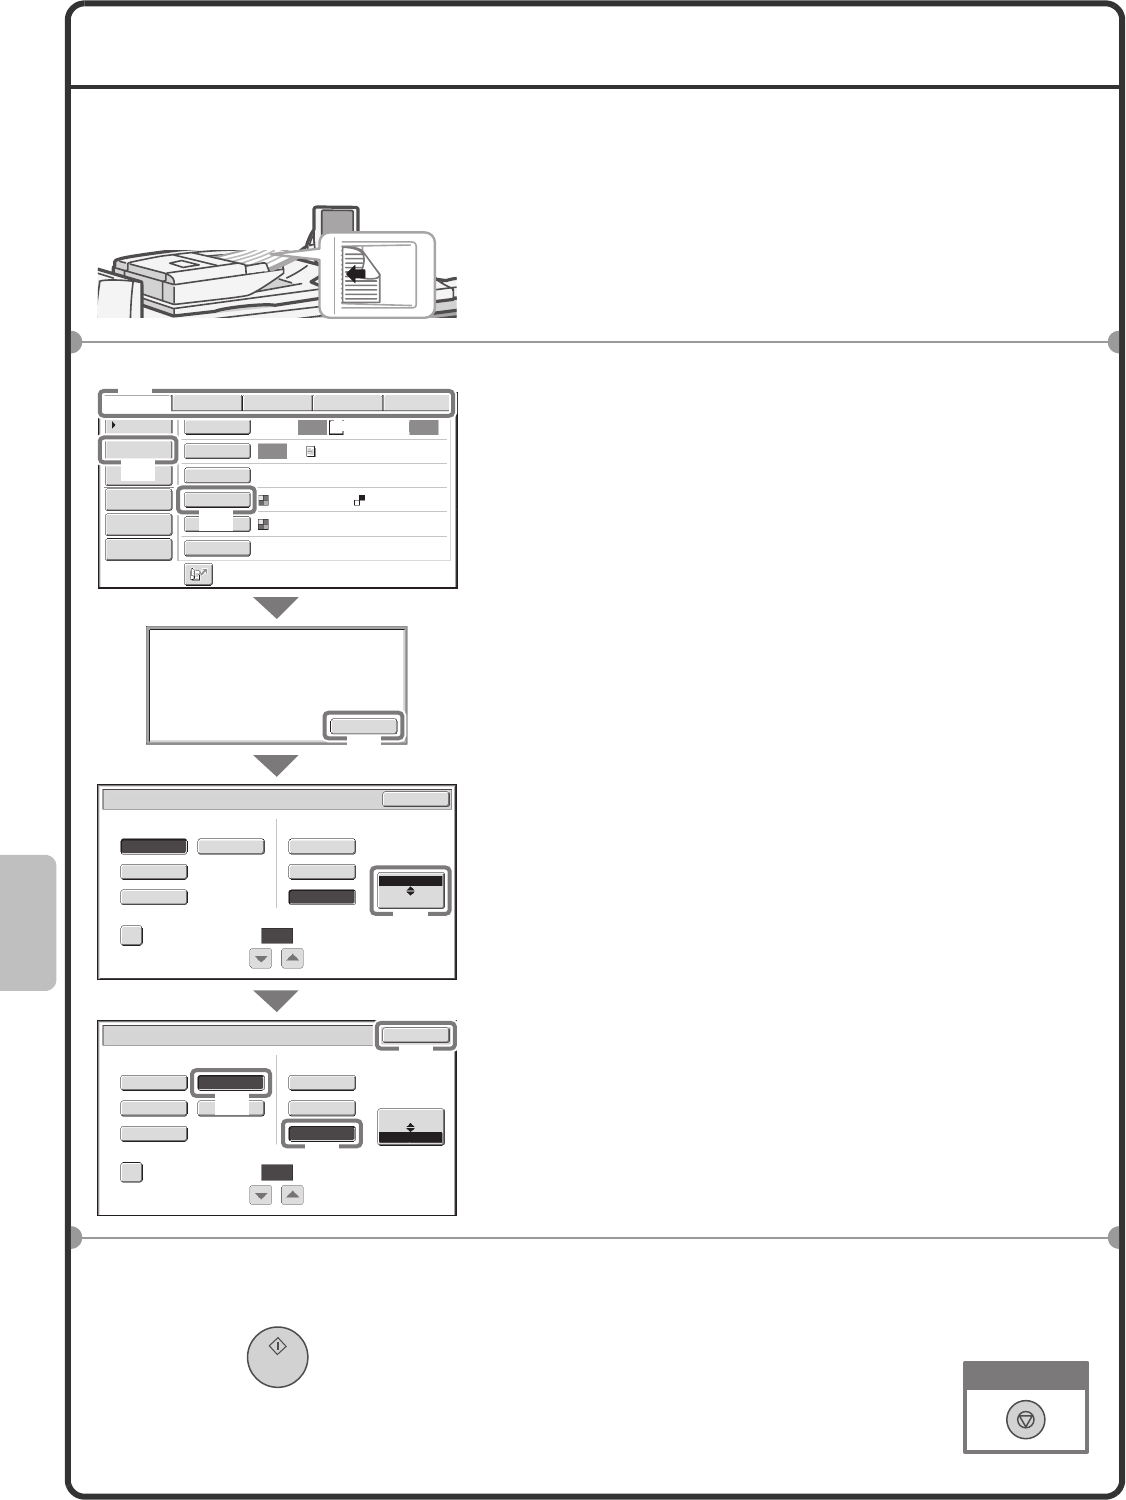
2 Select settings in the touch panel.
(1) Specify the destination.
For the procedures for specifying a destination, see
"CONVENIENT TRANSMISSION METHODS" (page
72).
(2) Make sure that the desired mode ([Scan] tab)
is selected.
(3) Touch the [File Format] key.
(4) Read the displayed message and touch the
[OK] key.
(5) Change the mode to Colour/Greyscale mode.
If the colour expansion kit is not installed, the mode
select key will not appear.
(6) Touch the [TIFF] key.
(7) Touch the [High] key.
This sets the compression to high.
A higher compression ratio creates a smaller file size.
(8) Touch the [OK] key.
3 Press the [START] key.
If the file type is set to [Encrypt PDF], you will be prompted to
enter a password when you start transmission.
The side to be scanned
must be face up!
A4
Auto Auto
Auto
File
Quick File
Address Review
Send Settings
Address Entry
Address Book
Data EntryFaxInternet Fax USB Mem. Scan
Special Modes
Colour Mode
File Format
Resolution
Exposure
Original
Scan:
Scan
Send:
Text
200X200dpi
PDF
Auto/Greyscale
PDF
Select a file format to apply it to
all scan destinations.
OK
Scan/File Format
OK
PDF
MMR (G4)
B/W
TIFF
Encrypt PDF
Programmed
None
MH (G3)
Colour/Grey
Specified Pages per File
File Type
(1-99)
Compression Mode
Medium
B/W
JPEG
High
Colour/Grey
Scan/File Format
OK
PDF
TIFF
Encrypt PDF
Programmed
Low
Specified Pages per File
File Type
(1-99)
Compression Ratio
(8)
(4)
(5)
(6)
(7)
(3)
(1)
(2)
Cancel scanning