E-34
Operation Buttons
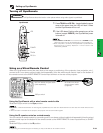
Using GyroRemote
Using the Presentation Tools
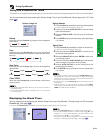
This projector is equipped with presentation tools that can be used to emphasize keypoints within your presentation.
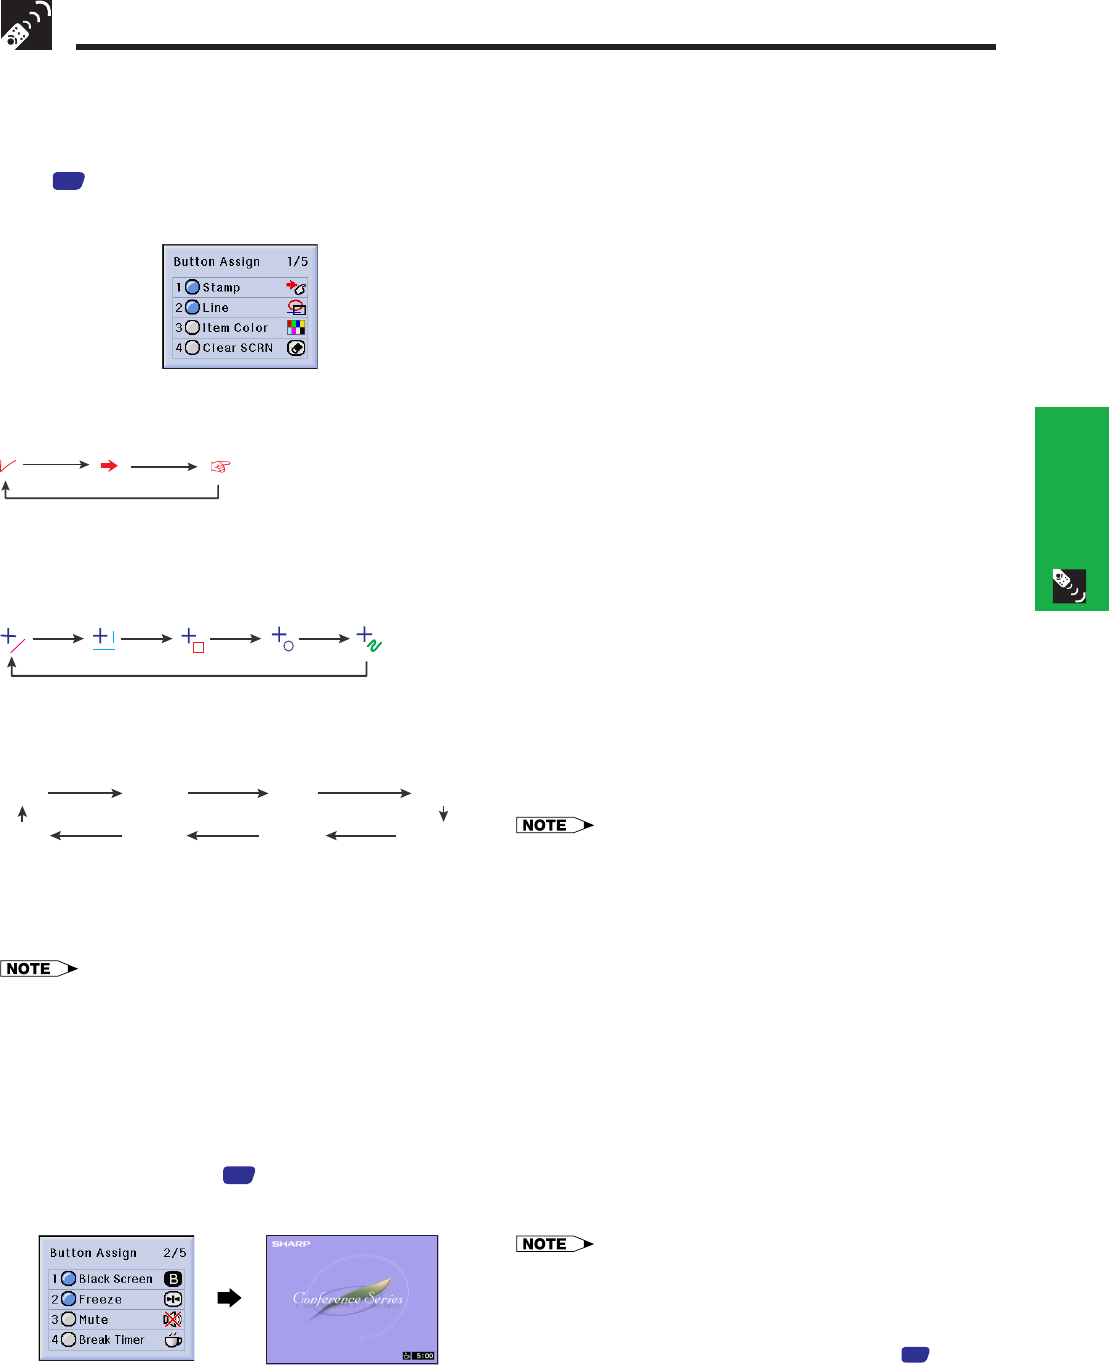
You can use these tools by accessing the “Button Assign” list on your GyroRemote. Choose popup list “1/5”. (See
page
33
.)
Button Assign list
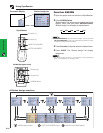
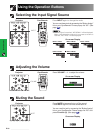
Stamp
Each time you press Function (1), stamps can be changed as
shown below.
Line
Each time you press
Function (2)
, lines can be changed as
shown below (straight line, horizontal or vertical line, box, circle,
free line).
Using stamps
1 Press Function (1) repeatedly to select the desired stamp.
• Types of stamps are changed as shown left.
2 Press and hold down GYRO ACTIVE to move the stamp
to the desired position.
3 Release GYRO ACTIVE to set the stamp in the desired
position.
4 Press ENTER to bring up another stamp, then repeat steps
1 to 3 above.
Using lines
1 Press Function (2) repeatedly to select the desired line.
• Types of lines are changed as shown left.
2 Press and hold down GYRO ACTIVE to move the line to
the desired starting position.
3 Release GYRO ACTIVE and press ENTER to set the line
in its starting position.
4 Press and hold down GYRO ACTIVE again and draw the
line by waving the unit around in the air freely.
5 Release GYRO ACTIVE to set the ending point and
complete the line drawing.
6 Press ENTER to bring up another line, then repeat steps
1 to 5 above.
• In steps 2 and 4 above, while holding down GYRO ACTIVE, wave
the unit around in the air with your hand. The stamps and starting
positions of the lines move and the lines are drawn precisely in
concert with your hand movements.
• To change colors, press Function (3) while performing any of the
steps above.
• To erase the item you just placed on the screen, press UNDO.
However, when you are drawing lines with the free line tool, pressing
UNDO will erase all free lines drawn.
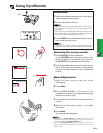
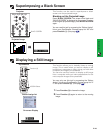
Displaying the Break Timer
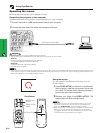
You can use this tool by accessing the “Button Assign” list on your GyroRemote. Choose popup list “2/5” and press
Function (4). (See page
33
.)
• As soon as Function (4) is pressed, the timer starts to count down from 5 minutes.
• If you press Function (4) again, the Break Timer is canceled.
• You can set the Break Timer from 1 to 60 minutes with ∂/ƒ on the
projector or / on the GyroRemote. The timer starts to count
down as soon as ∂/ƒ or / is pressed.
• The Break Timer is displayed against the background image
selected in “Selecting a Startup Image”. (See page
55
.)
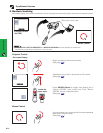
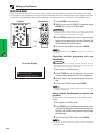
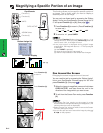
Item Color
Each time you press
Function (3)
, colors can be changed as
shown below.
Red Green Blue Yellow
Black White Purple Light blue
Clear SCRN
When you press
Function (4)
, all items shown on the screen
can be cleared.
• The last item selected before switching off the power is saved as
the default setting.
• A check mark signifies “Stamp”, a straight line is for “Line” and red
is for “Item Color”.


