E-51
Basic Operation
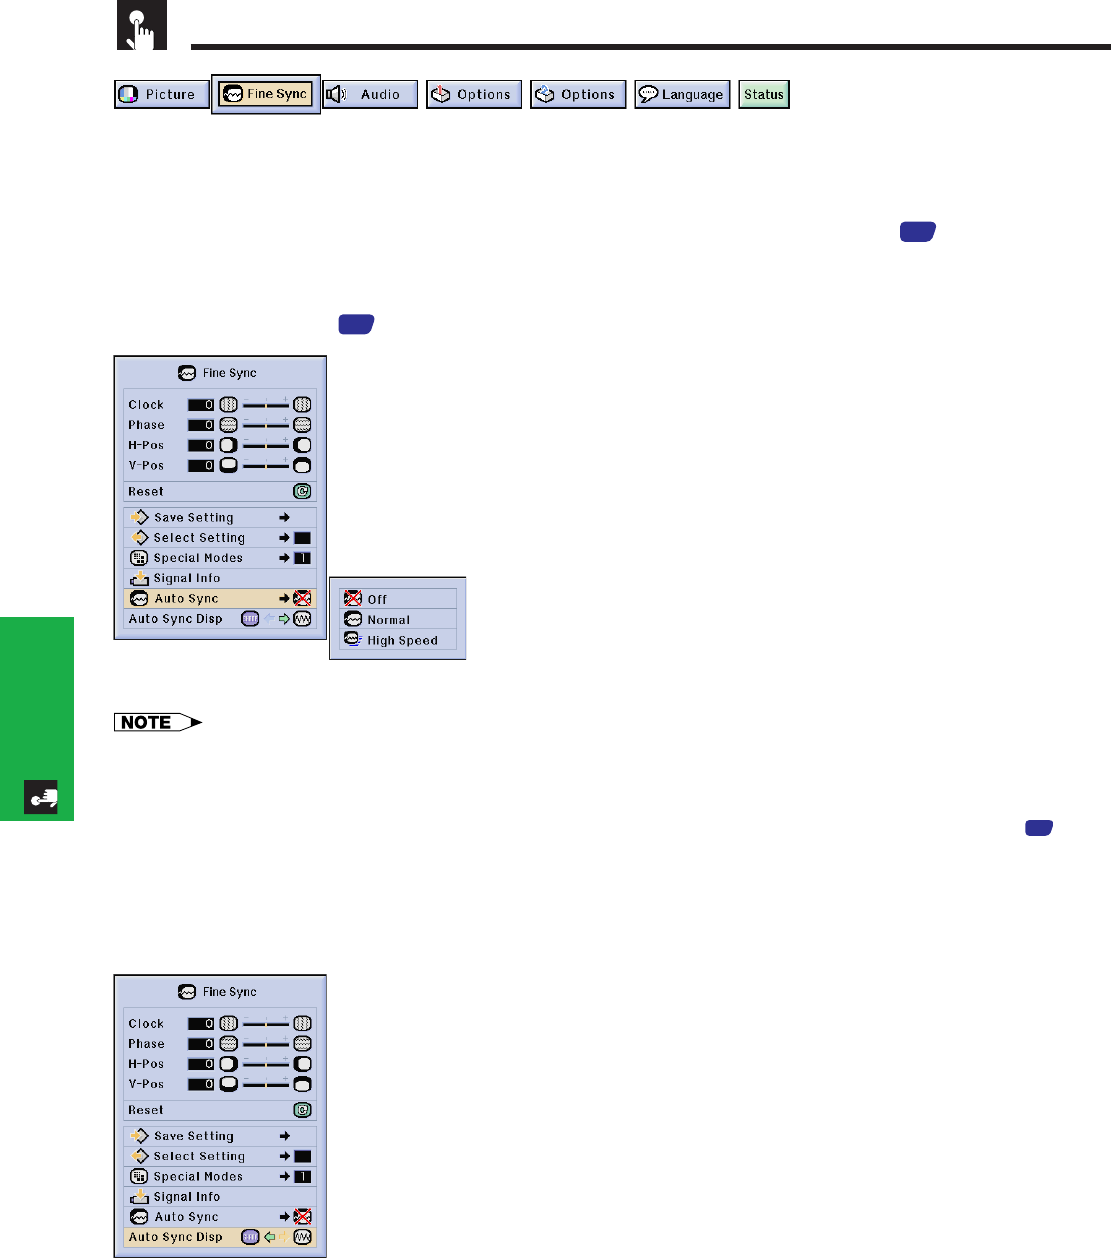
Adjusting the Computer Images (RGB menu only)
Auto Sync Adjustment
• Used to automatically adjust a computer image.
• Auto Sync adjustment can be made manually by pressing AUTO SYNC, or automatically by setting
“Auto Sync” to “Normal” or “High Speed” in the projector’s GUI menu. See page
44
for the procedure
details.
You can use this tool by accessing the “Button Assign” list on your GyroRemote. Choose popup list “4/5” and press
Function (2). (See page
33
.)
Off
• Synchronized adjustment is not automatically performed.
• Press AUTO SYNC to perform manual adjustment.
Normal
• Synchronized adjustment is automatically performed the
same as the “High Speed” setting.
• Adjustment using the “Normal” setting takes longer to
perform than using the “High Speed” setting, but it is more
accurate.
High Speed
• The sync adjustment is automatically made each time the
projector is turned on while connected to a computer or
the input selection is changed.
• The Auto Sync adjustment setting previously made is
cleared when the projector’s setting is changed.
• Automatic adjustments can be made by pressing AUTO SYNC.
• When performing AUTO SYNC in Off or High Speed mode, if you press AUTO SYNC once, then press it again within one
minute, AUTO SYNC will be executed in Normal mode.
• Auto Sync adjustment may take some time to complete, depending on the image of the computer connected to the projector.
• When the optimum image cannot be achieved with Auto Sync adjustment, use manual adjustments. (See page
49
.)
Auto Sync Display Function
Normally, an image is not superimposed during Auto Sync adjustment. You can, however, choose to
superimpose a background image during Auto Sync adjustment.


