


Ethernet-DK
28 Rev. 0.6
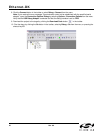
6.4.3. Re-Building the Project and Viewing Results
Once the file arrays are updated, it is time to re-build the project and view the results.
1. Open and re-build the project. This can be done by selecting ProjectOpen Project and selecting the
correct project, then clicking on the Build/Make Project button in the toolbar, selecting ProjectBuild/Make
Project from the menu, or pressing the F7 shortcut key.
2. If not already connected, click the Connect button in the toolbar or select DebugConnect from the menu.
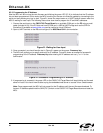
Note: If you receive the error message “Communication could not be established with the specified serial
adapter”, open the Connection Options Dialog by selecting OptionsConnection Options from the
menu. Verify that the USB Debug Adapter is selected and that the debug interface is set to JTAG.
3. Download the project to the target by clicking the Download Code button in the toolbar.
4. Run the server by clicking the Go button in the toolbar
, selecting
Debug
Go
from the menu, or pressing the
shortcut key
F5
.
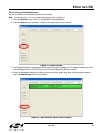
5. View the embedded web server from a web browser using the same methods learned in stage 1 or stage 2.
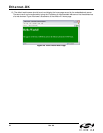
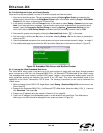
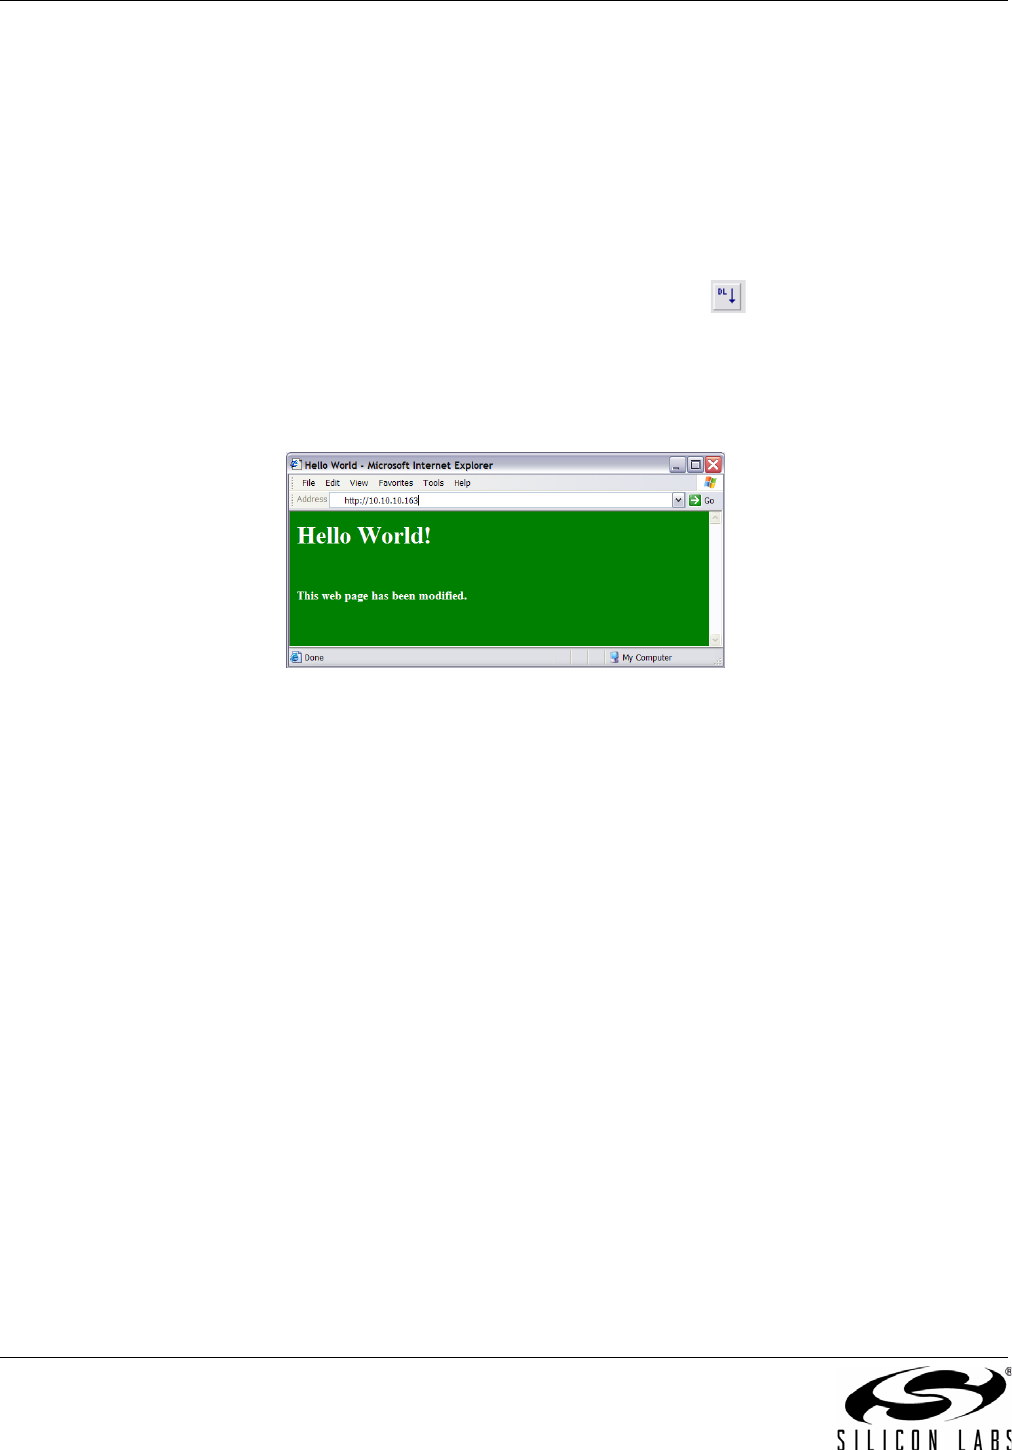
6. The updated web page stored inside the MCU should be displayed on the screen as shown in Figure 25.
Figure 25. Embedded Web Server with Modified Content
6.4.4. Viewing the uWeb Embedded Web Server
The “Hello World” server used in the demo up to this point contains a single static web page. Another example
server included as a HEX file in the Examples\C8051F12x_13x\Ethernet\HTTP\uWeb folder is the “uWeb” server.
This embedded web server contains multiple HTML pages, images, a Java temperature display applet, and CGI
script capabilities allowing the detection and control of an LED state. This server demonstrates some of the
capabilities of the Silicon Laboratories TCP/IP stack. The following instructions can be used to download the
“uWeb” server.
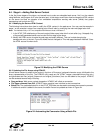
1. While connected to the C8051F120 Target Board, select
Debug
Download Object File
from the menu in the
Silicon Labs IDE.
2. Browse to the Examples\C8051F12x_13x\Ethernet\HTTP\uWeb folder. Select the uWeb_F120_3_1.hex and
click Download. Then press Go.
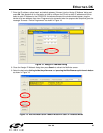
3. Program the IP address using the method in Section 6.3.3 on page 26.
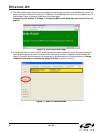
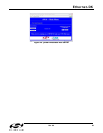
4. Type in the IP address of the embedded system in a web browser and press Enter. The uWeb server
executing on the MCU should be displayed on the screen as shown in Figure 26.